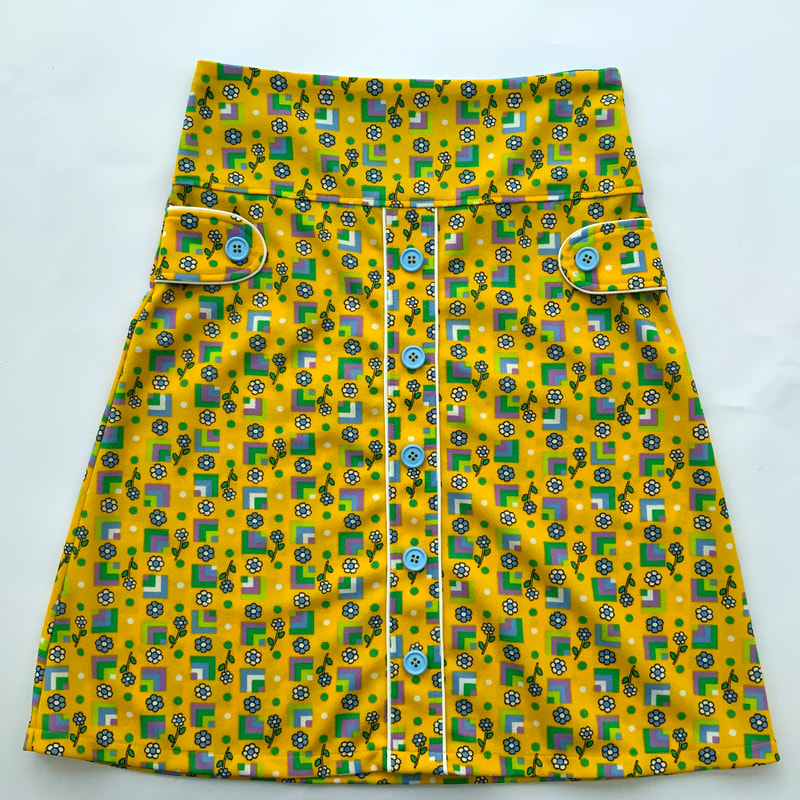
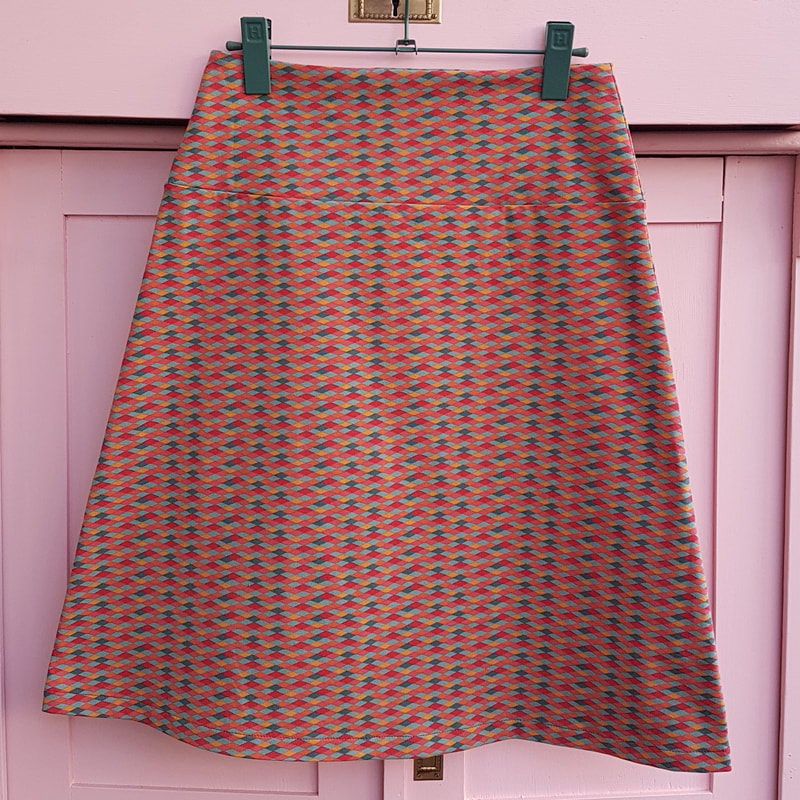
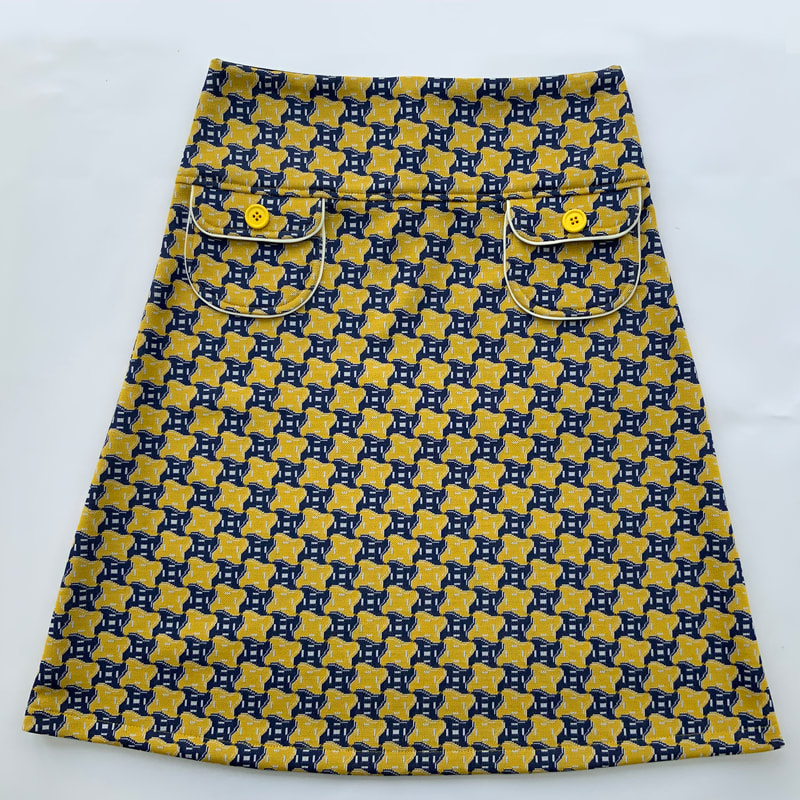
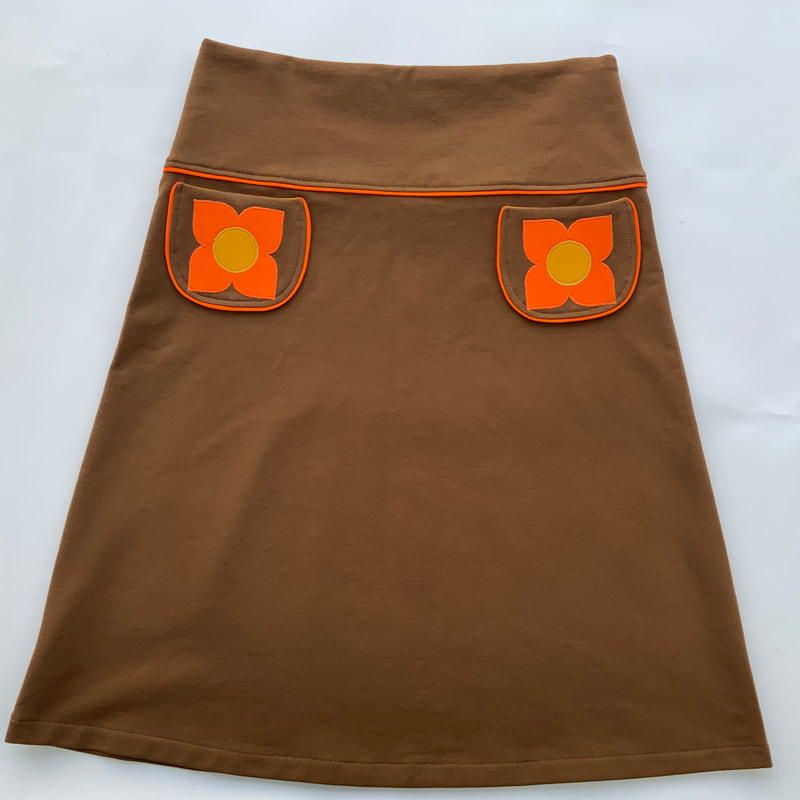
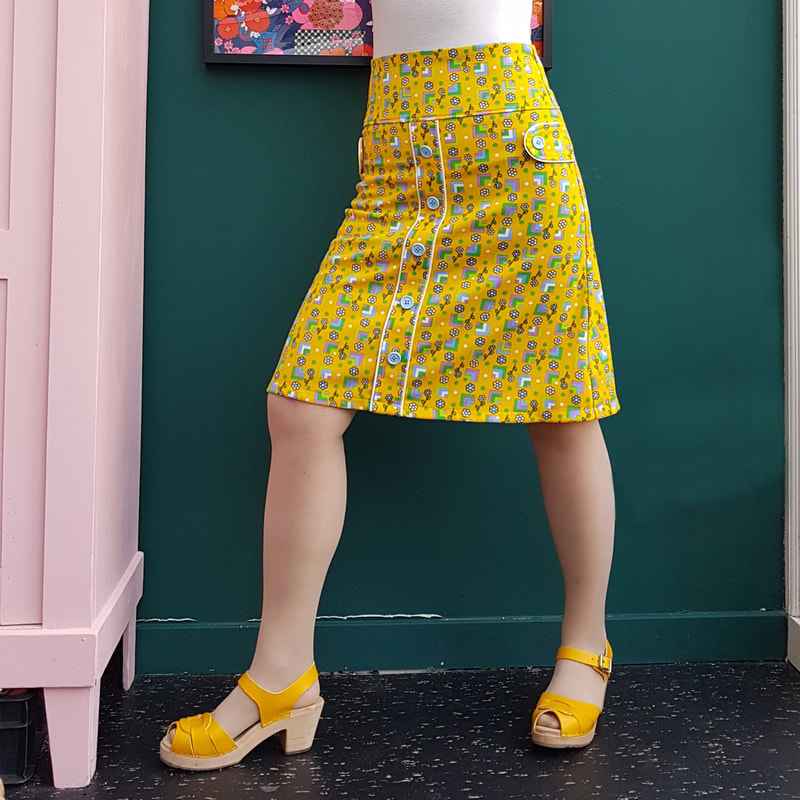
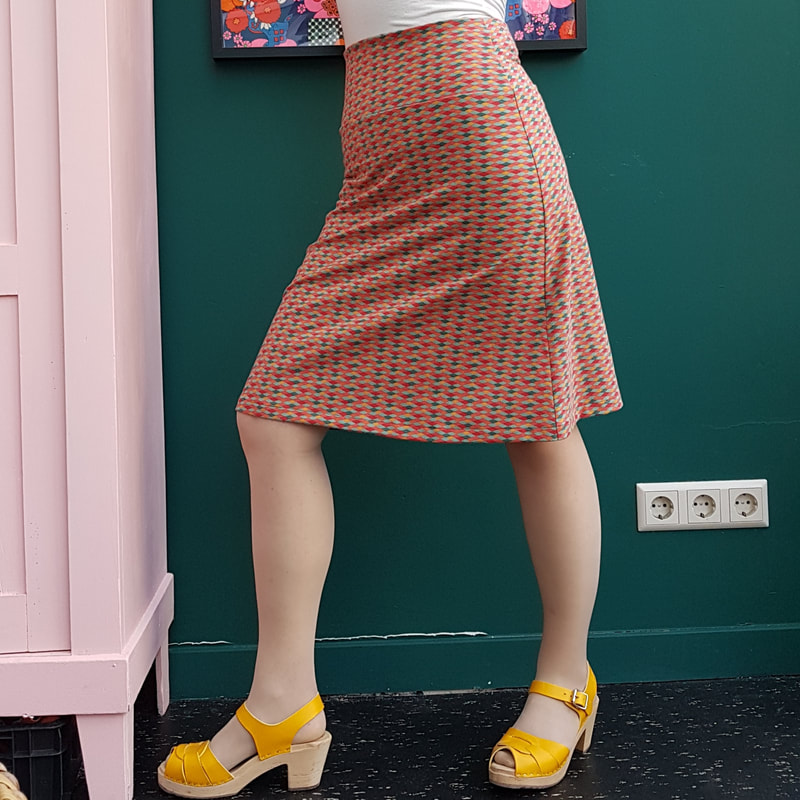
A-line Rok 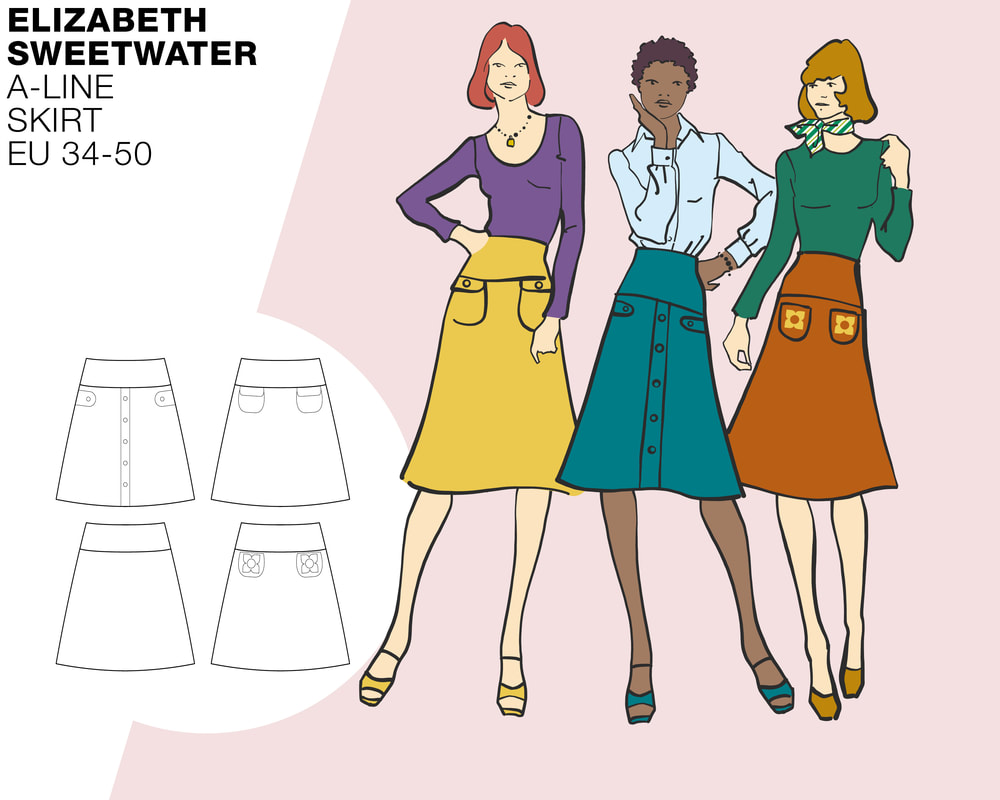 Introductie Heel veelzijdig en super retro dit tricot rokje in a-lijn met heel veel details om zelf je favoriete model te maken. Ik leg je in deze tutorial stap-voor-stap uit hoe je deze rok kunt maken. Het materiaal wat je voor deze rok kunt gebruiken is tricot in alle gewichten met lycra of elasthane. Als je een vintage trevira stof op de kop kunt tikken dan kun je deze ook gebruiken. Dit patroon is zeer geschikt voor beginners als je de details achterwege laat. Een heel fijn patroontje om snel je garderobe mee aan te vullen! Introduction Very versatile and super retro, this jersey a-line skirt with lots of details to make it your favorite style. In this tutorial I will explain step-by-step how to make this skirt. The material you can use for this skirt is jersey in all weights with lycra or elasthane. Or if you can find any vintage trevira fabric that would work great aswell. This pattern is great for beginners if you leave out the details. A very nice pattern to quickly supplement your wardrobe! Multiple options Begin je net met (tricot) naaien? Dan is dit basisrok een perfect project om mee te beginnen (zie stap 4). Je kunt het hele rokje (op de zoom na) naaien met de overlockmachine. Heb je deze niet, dan kun je ook de naden stikken met een stretchsteek en afwerken met zigzag. Multiple options In this tutotial we show 4 different ways to use this pattern. The first is a classic retro design with buttonband and flaps. This is shown in step 3. If you are just learning to sew (jersey)? Then the basic A-line skirt described in step 4 is a perfect project to start with. You can sew the entire skirt (except for the seam) with the overlock machine. If you don't have this, you can also stitch the seams with a stretch stitch and finish with a zigzag. If you would prefere pockets on the front with flaps then you can see how to make them in step 5. For the really creative sewers you can go one step further and applique or silkscreen print our flower design onto the pocket by following either steps 6 or 7.
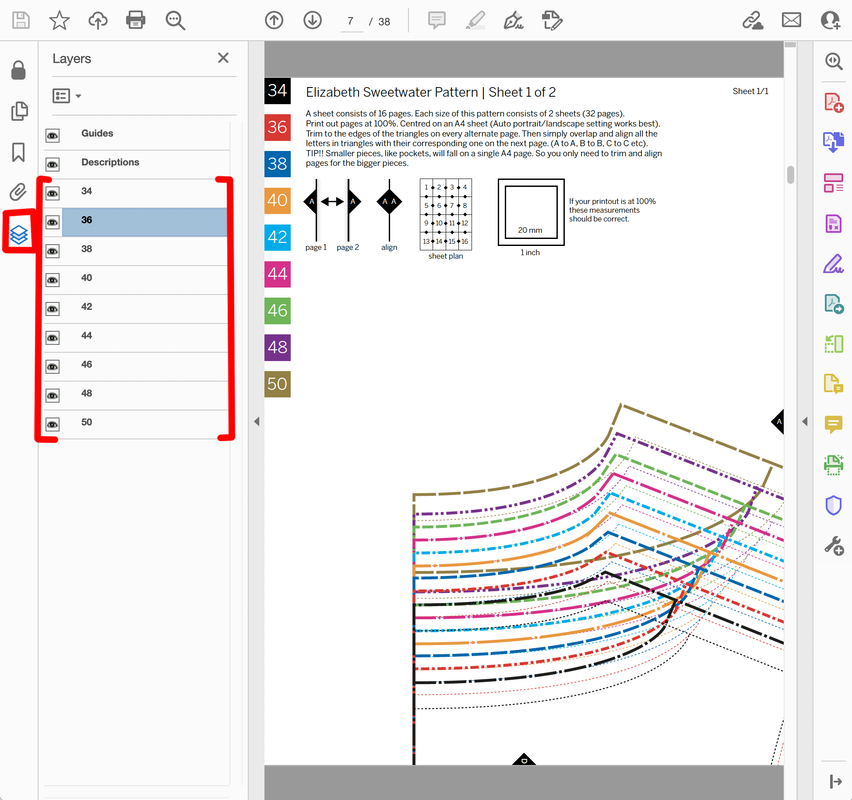
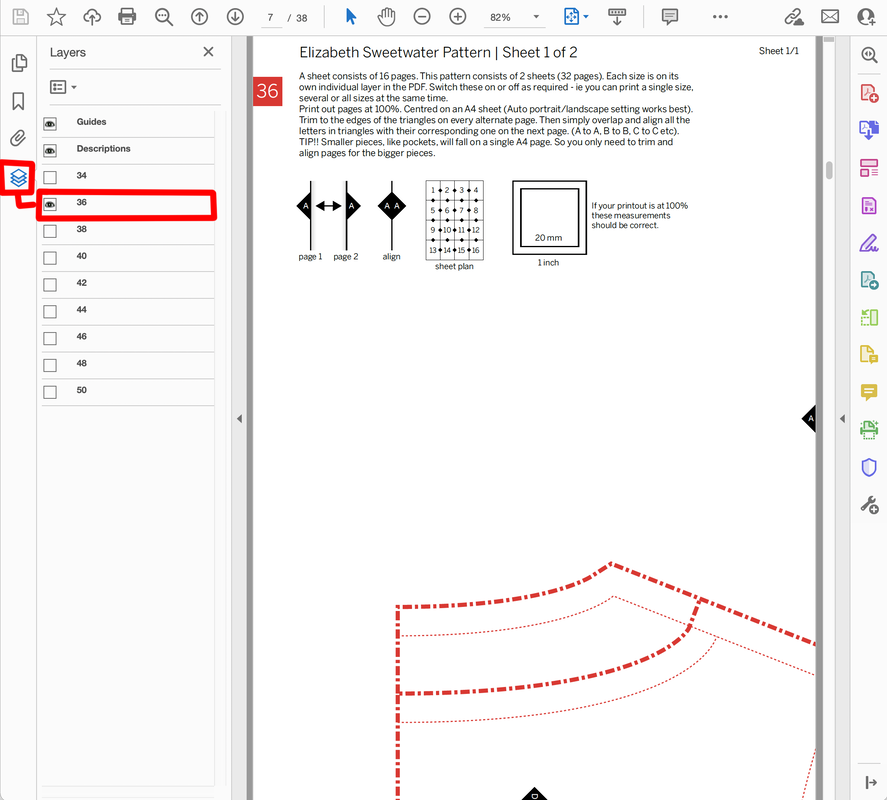
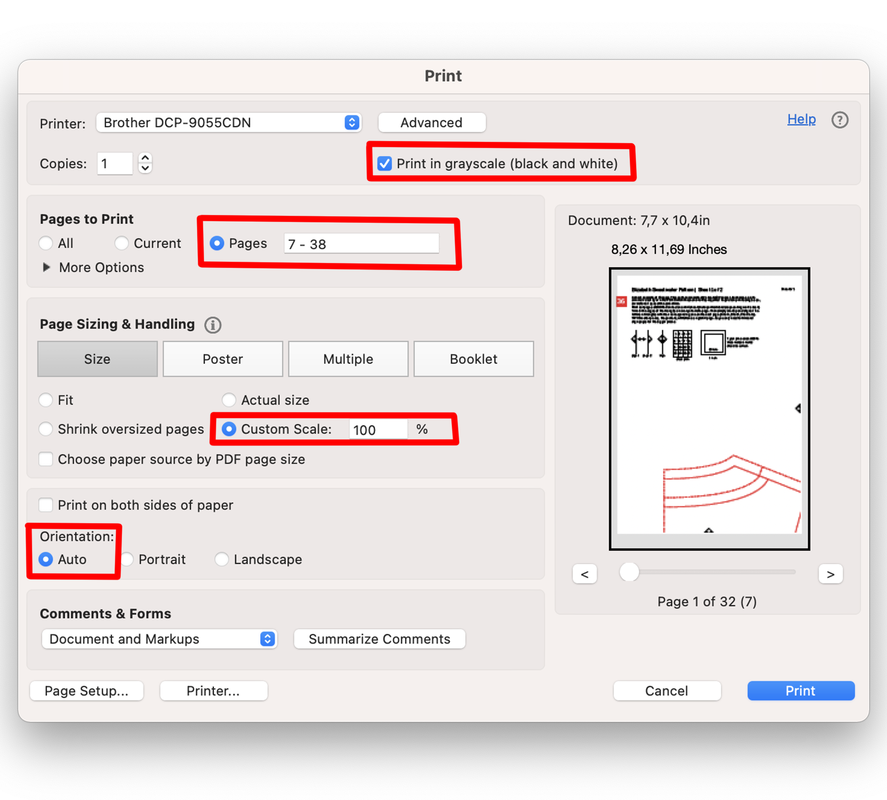
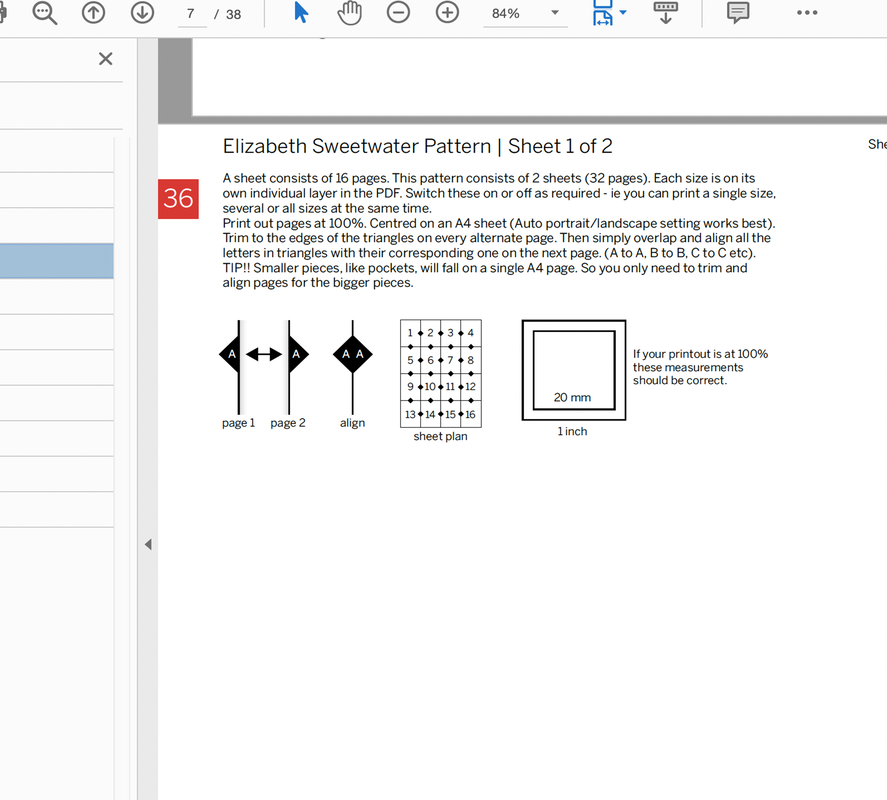
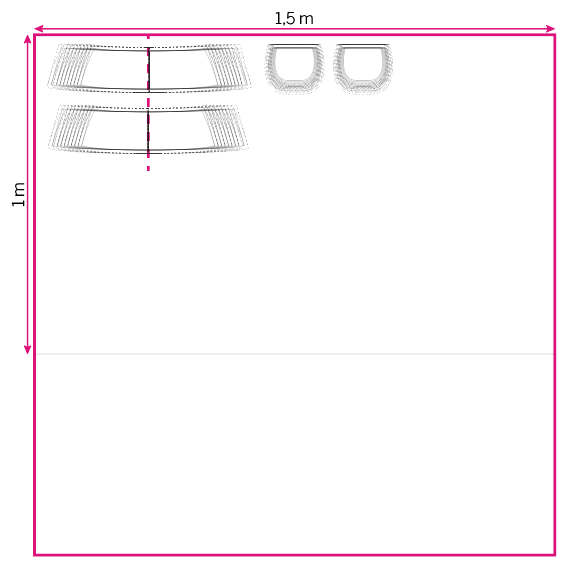
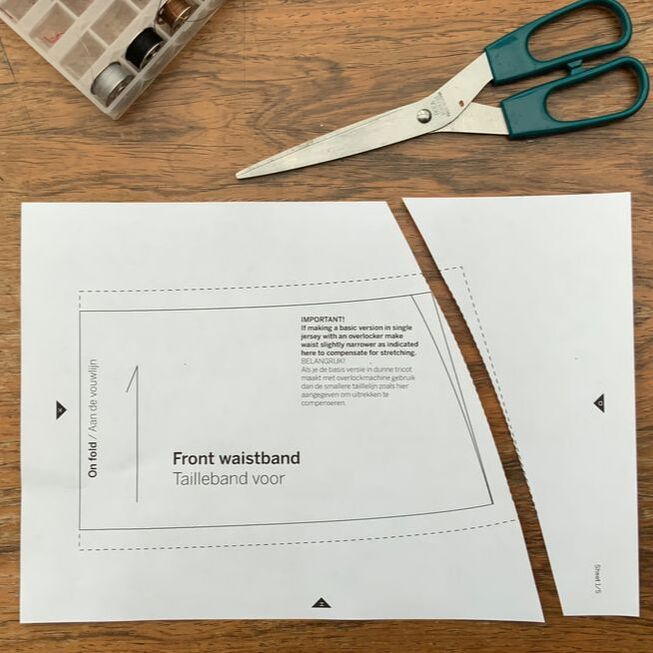
1. Voorbereiding Preparation Bij aankoop van een van onze patronen ontvangt u 3 PDF-bestanden: een voor thuisprinters om op A4-papier af te drukken, een tweede voor A0-gebruikers om af te drukken in een printshop en een derde is voor mensen die een overheadprojector gebruiken. De volgende algemene introductietekst geeft een overzicht van hoe onze patroon-pdf's zijn opgezet en legt uit hoe je de A4-versie kunt afdrukken en hoe je de pagina's aan elkaar kunt plakken. A0-gebruikers kunnen bij hun printshop aangeven welke pagina's ze nodig hebben. Op de projector bestanden staan alle panden in dezelfde richting. On purchasing any of our patterns you will receive 3 PDF files: one for home printers to print on A4 paper, a second at A0 is for printshop users and a third is for sewers who use an overhead projector. The following general introduction text provides an overview of how our pattern pdfs are set up and explains how to print out the A4 version and how to stick the pages together. A0 users should simply instruct their printshop which pages they require. Projector users will note that all pieces have the grain direction facing the same way.
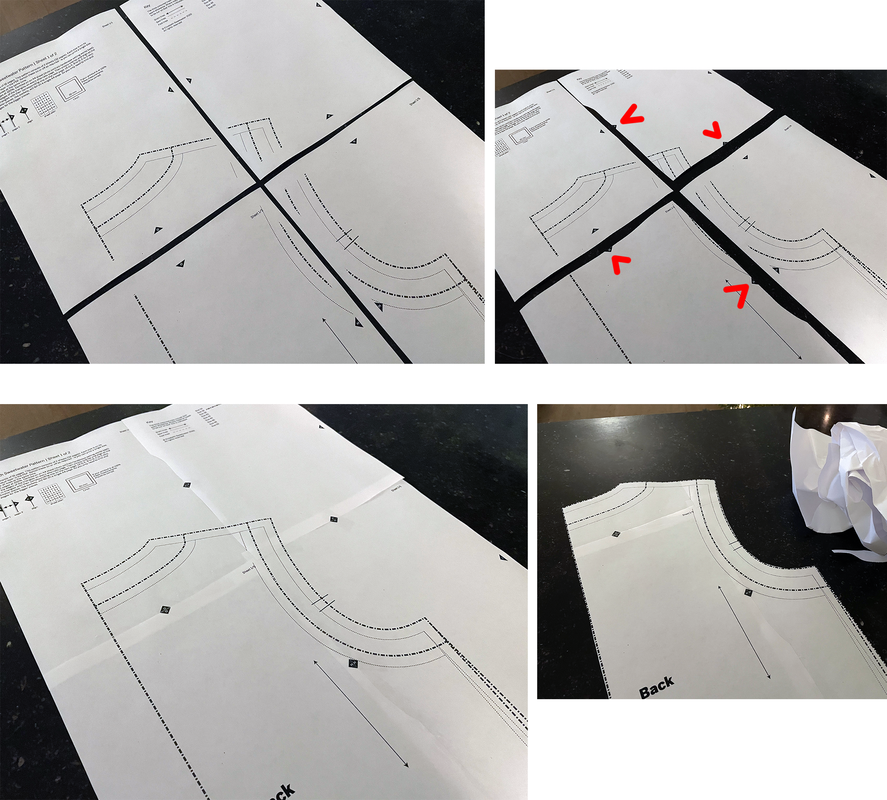
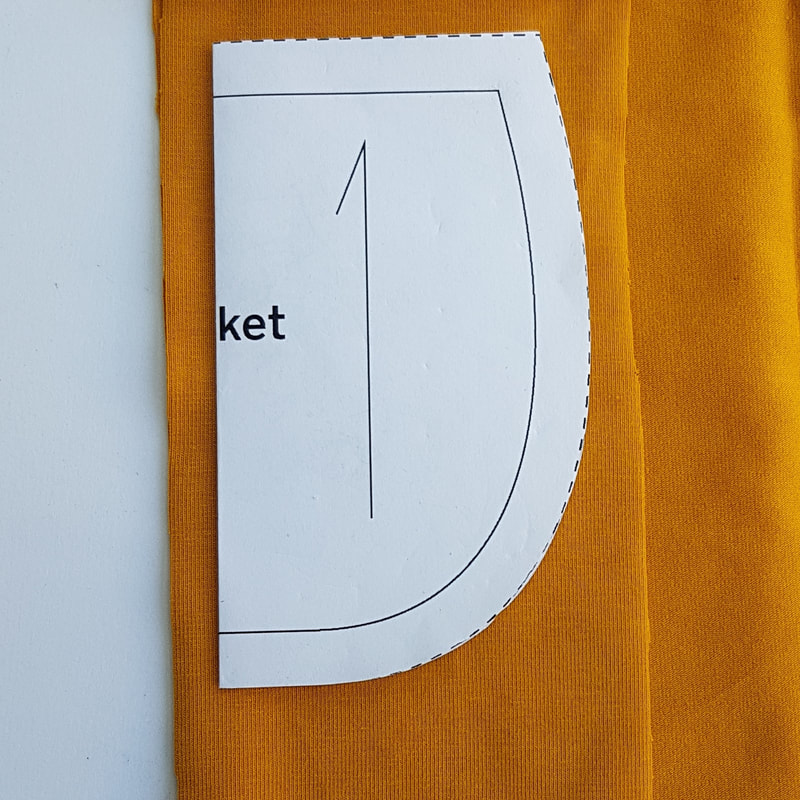
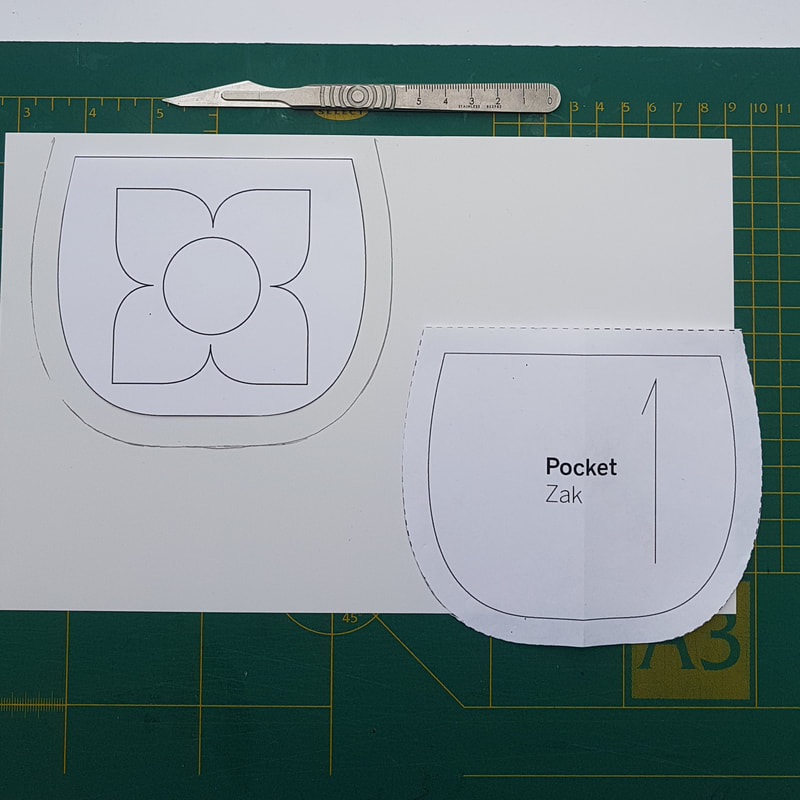
1g. Nu je al je stukken hebt uitgeknipt raadpleeg het onderstaande overzicht om je voor te bereiden op het uitknippen van de door jou gekozen stof. Now you have cut out all your pieces consult the overview below to prepare yourself for the next stage of cutting out the pieces from your chosen material.
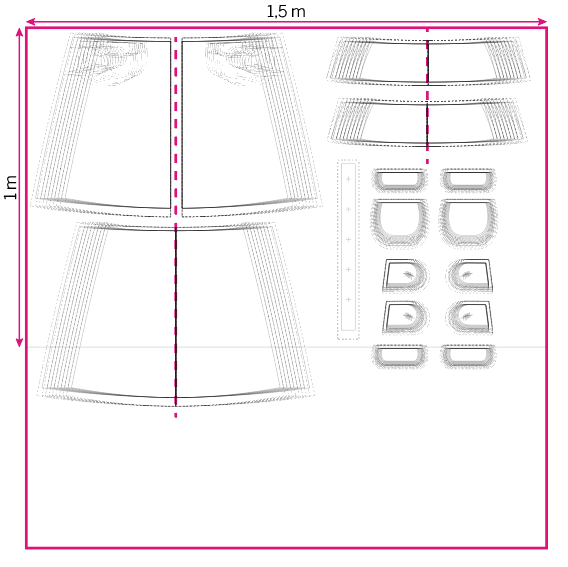
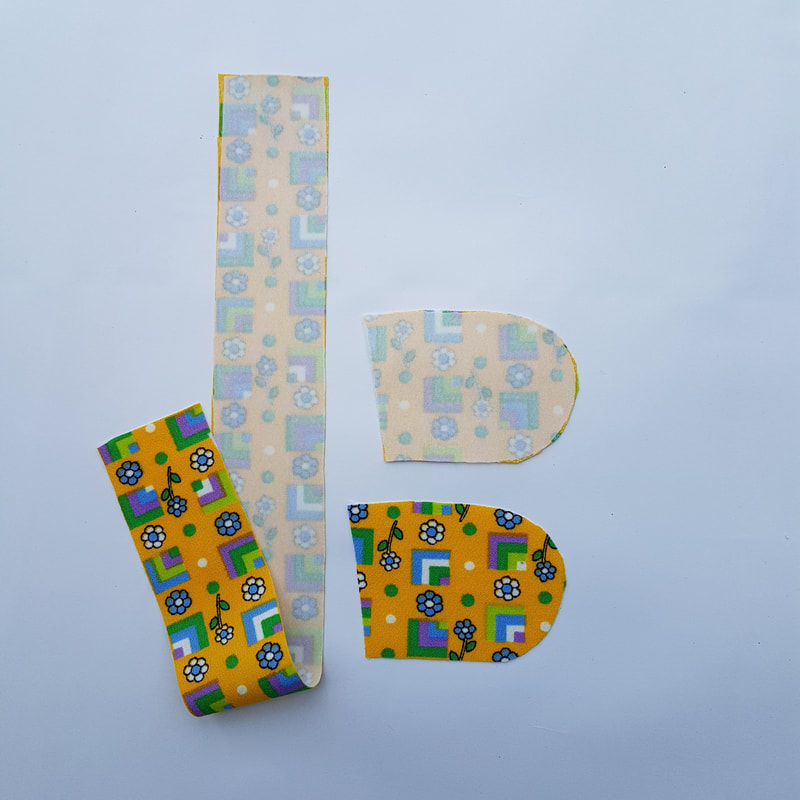
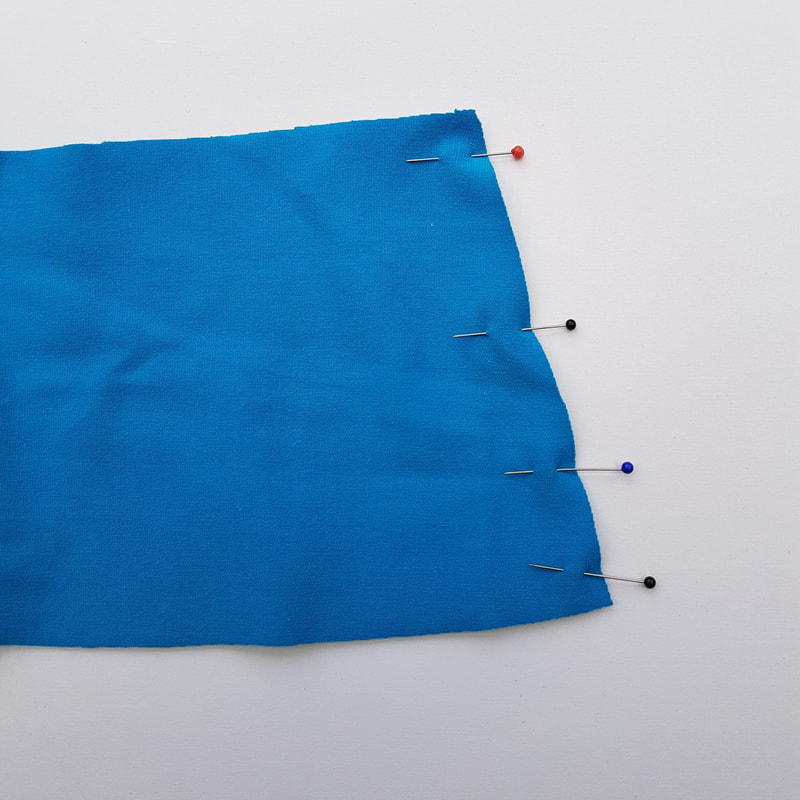
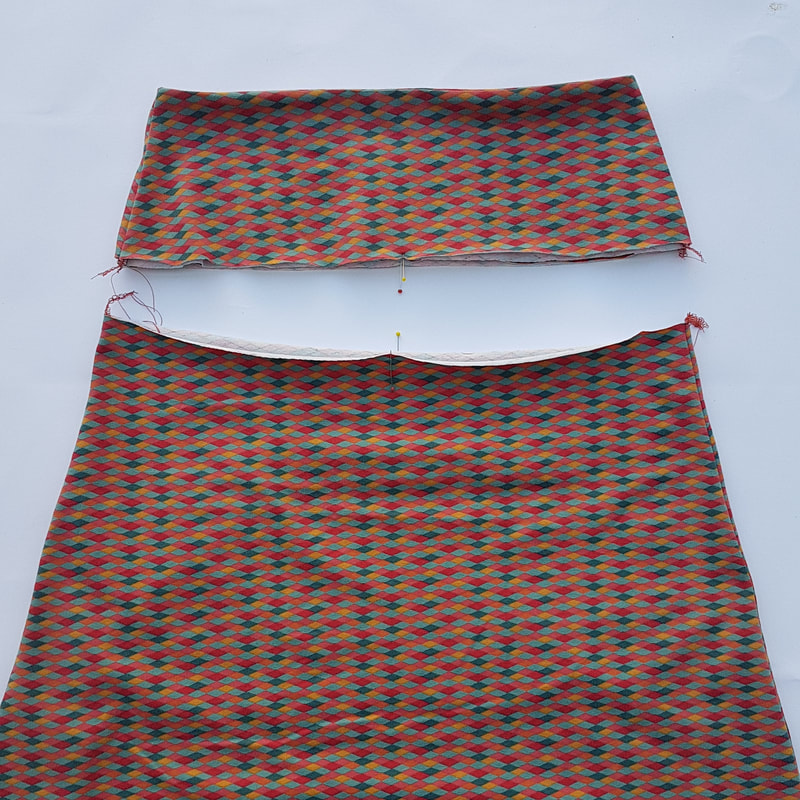
2. Delen op de stof leggen Layout pattern pieces on fabric
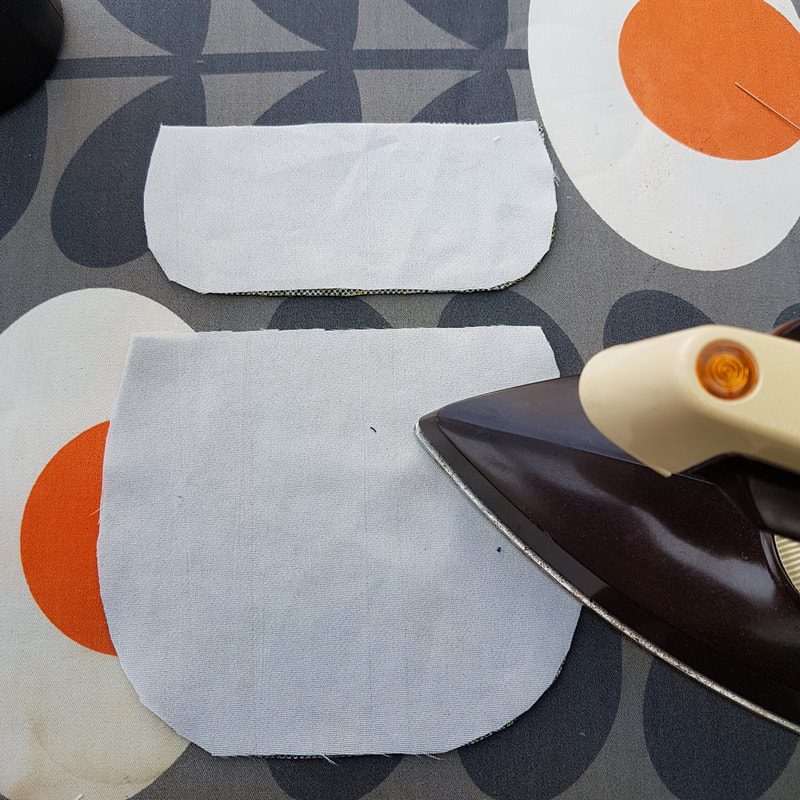
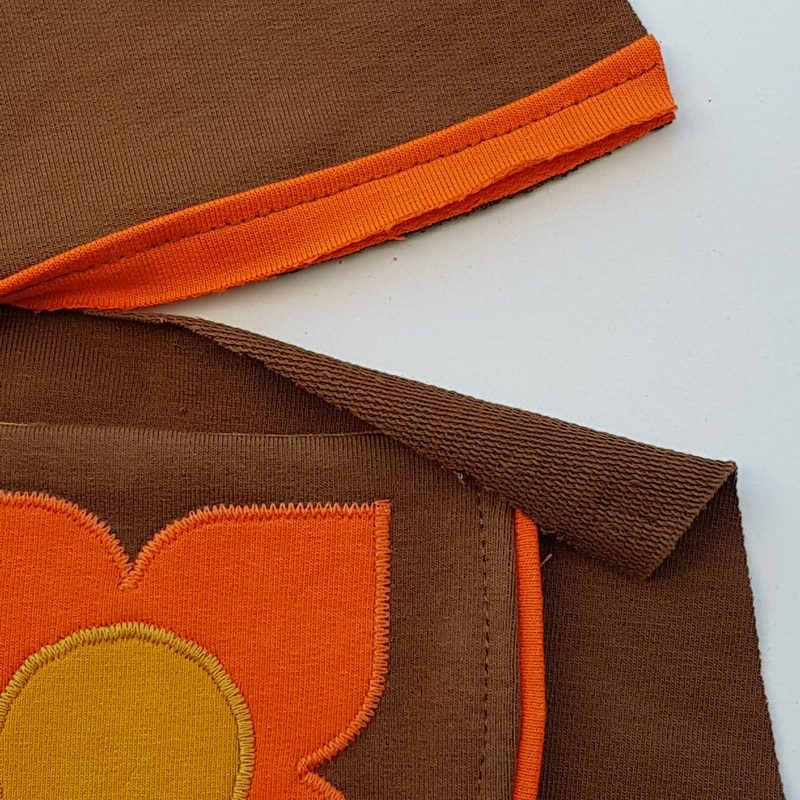
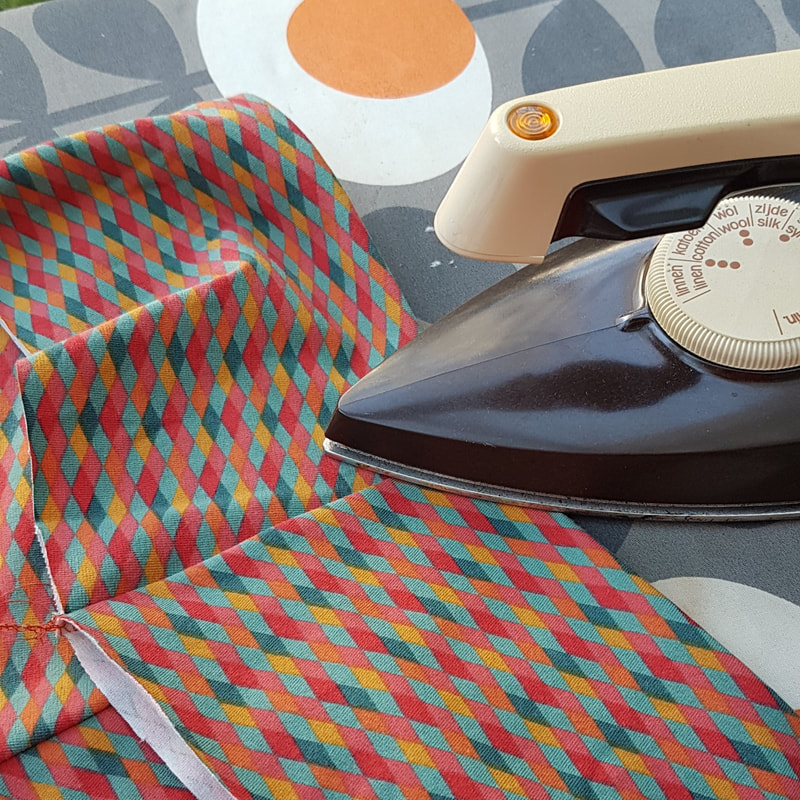
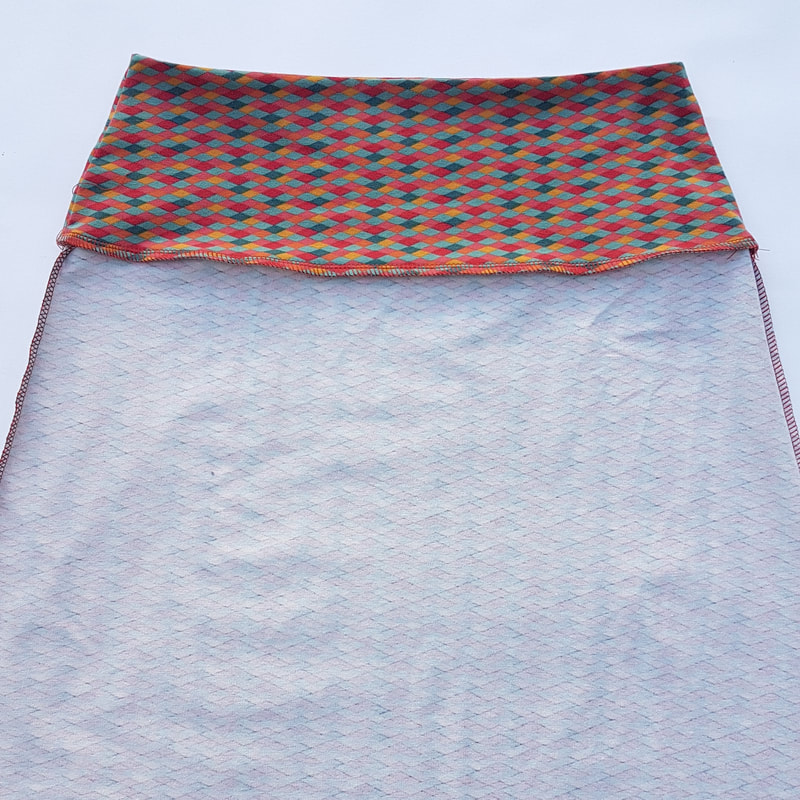
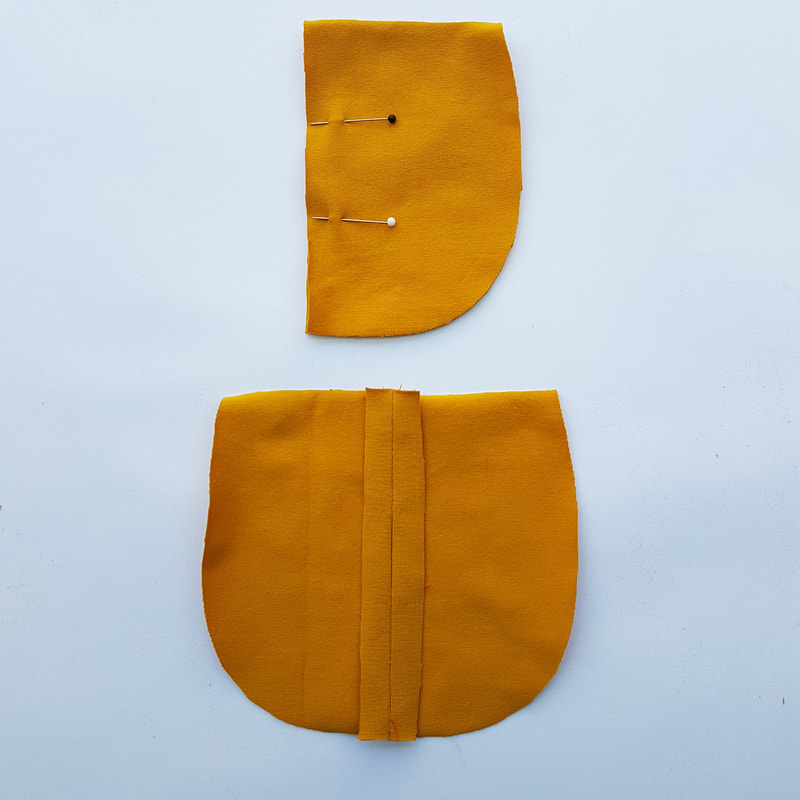
2a. Voor deze rok heb ik het beleg in een contrast stof gemaakt. Dit is niet noodzakelijk, je kunt daar ook gewoon de hoofdstof voor gebruiken. For this particular skirt I made the facing of the waistband in a different fabric. You can also use the main fabric for the inside.

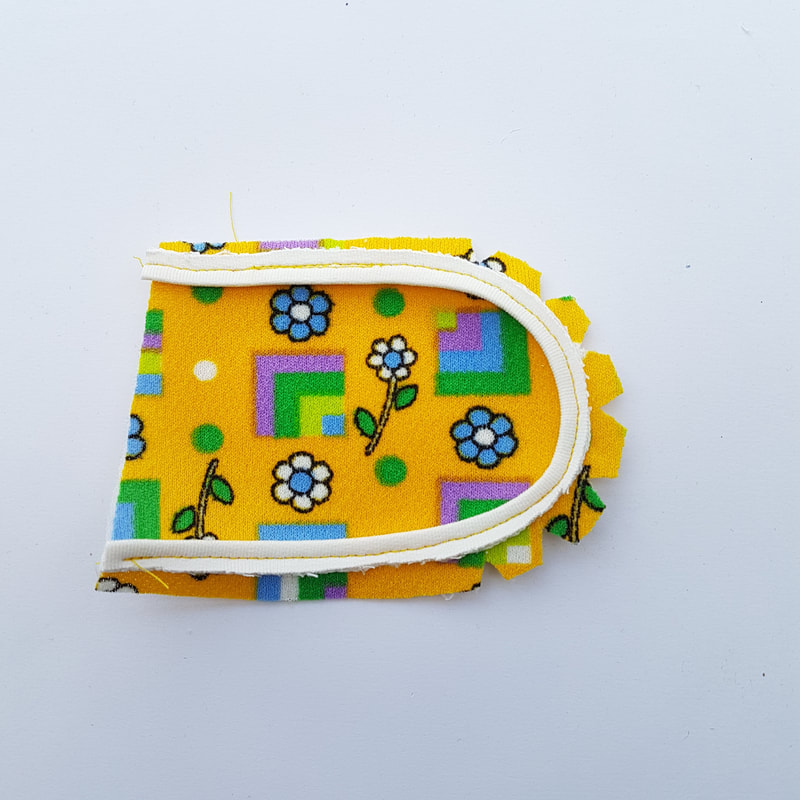
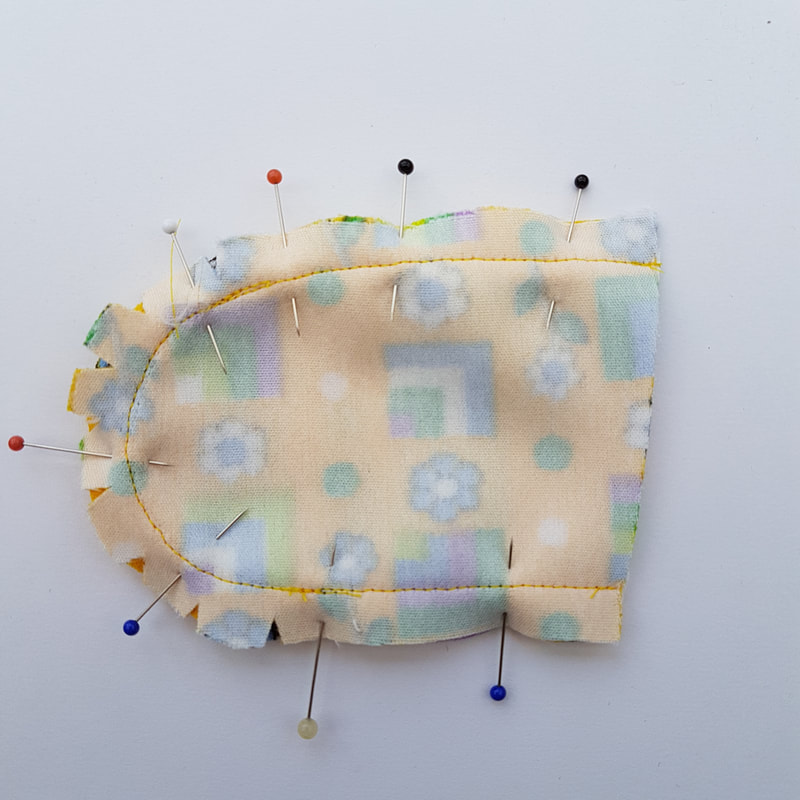
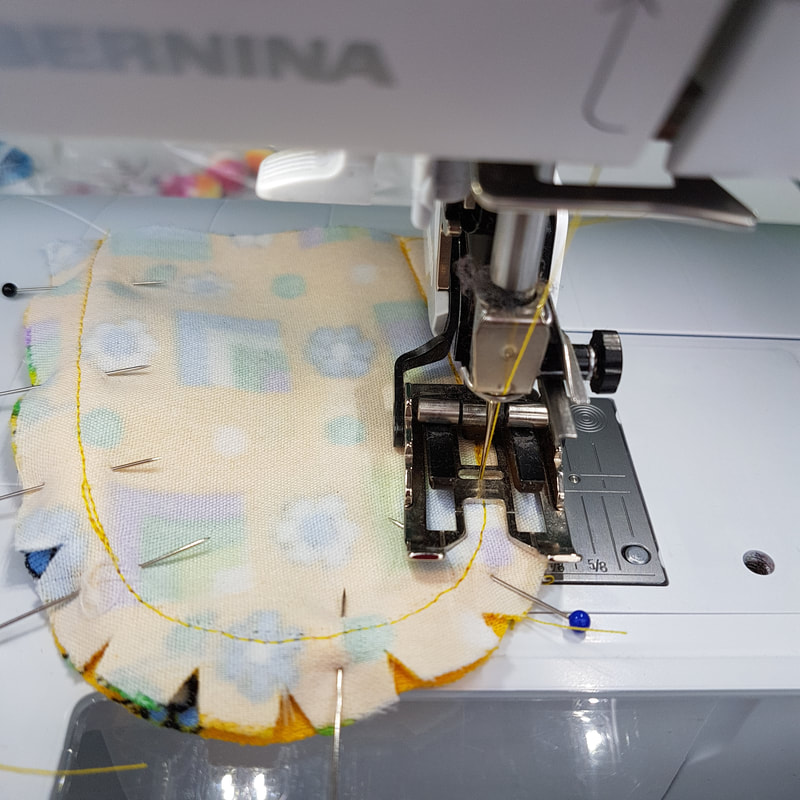
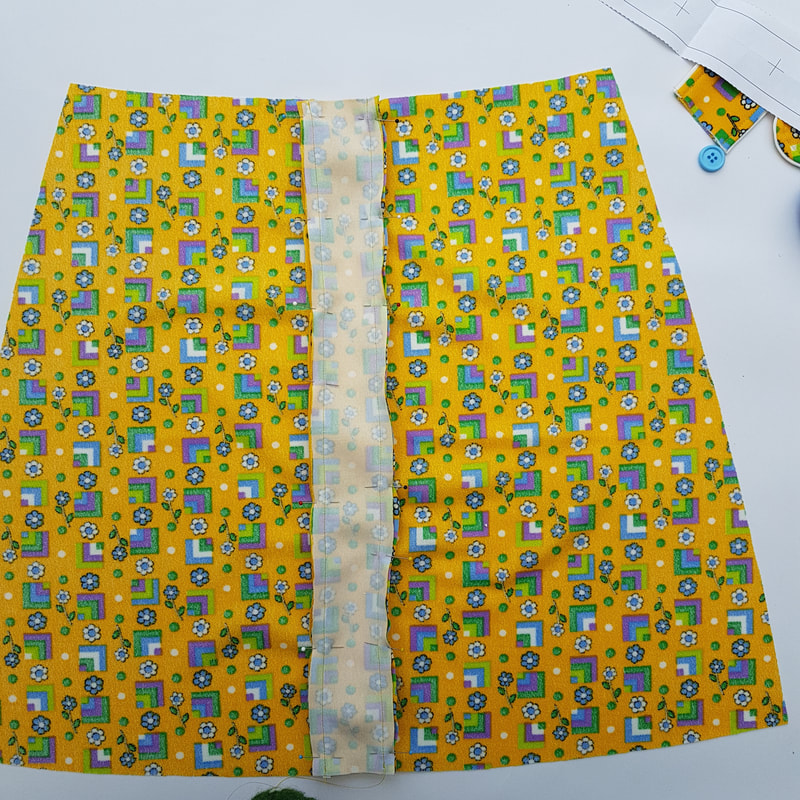
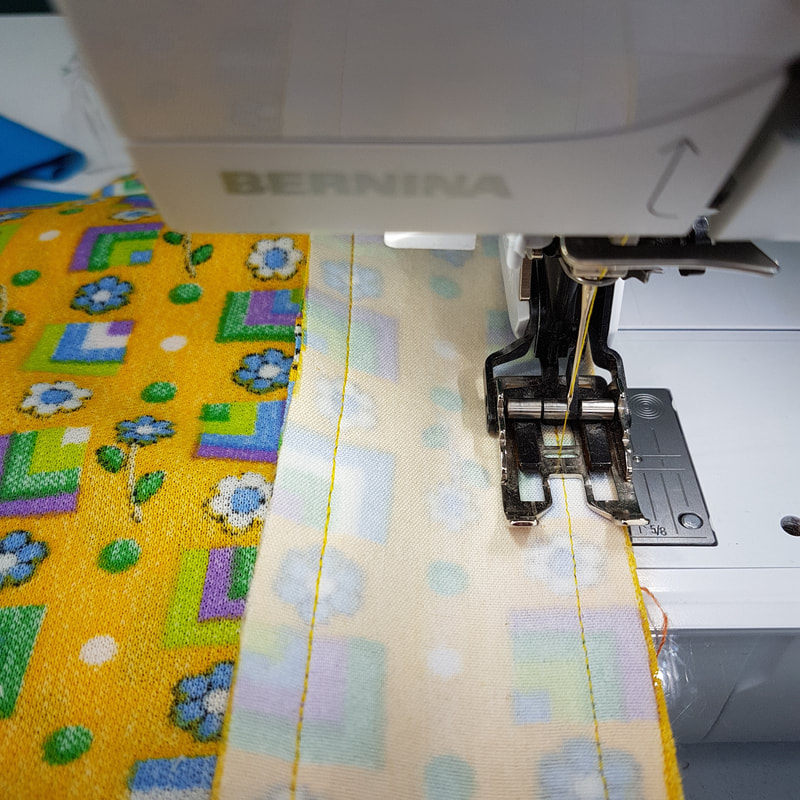
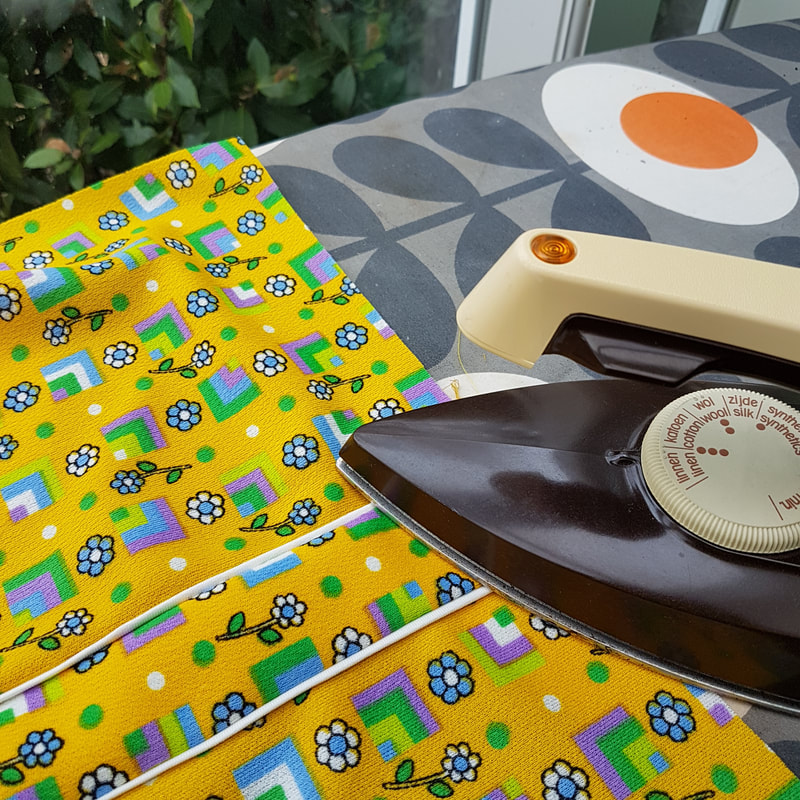
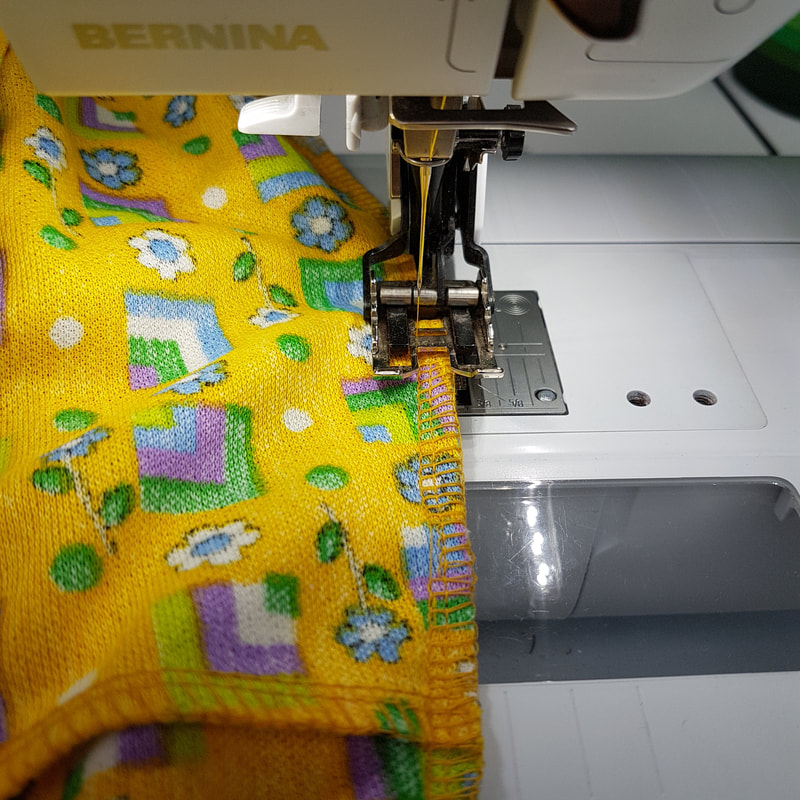
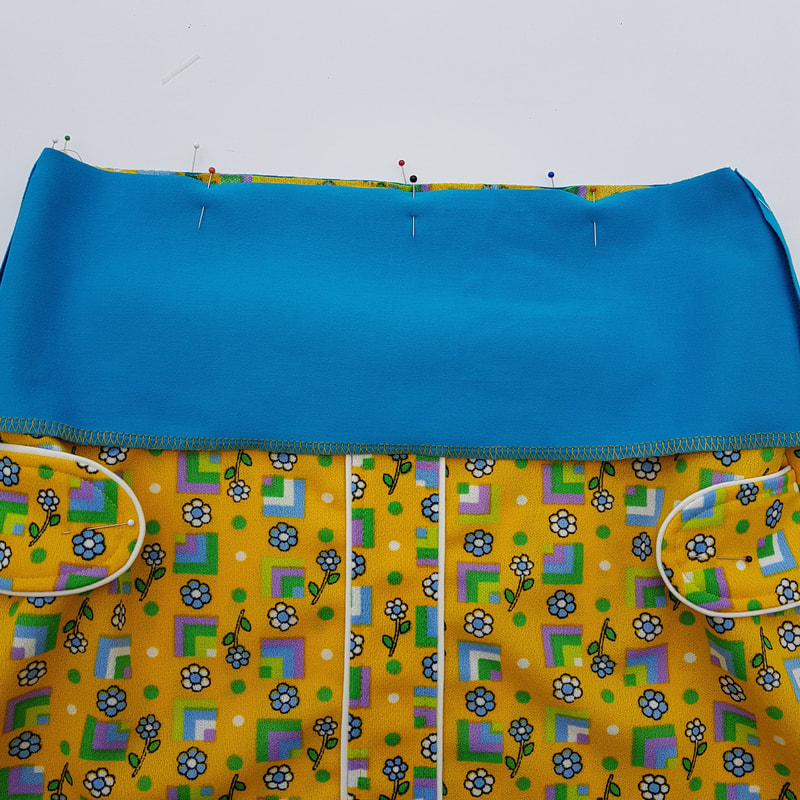
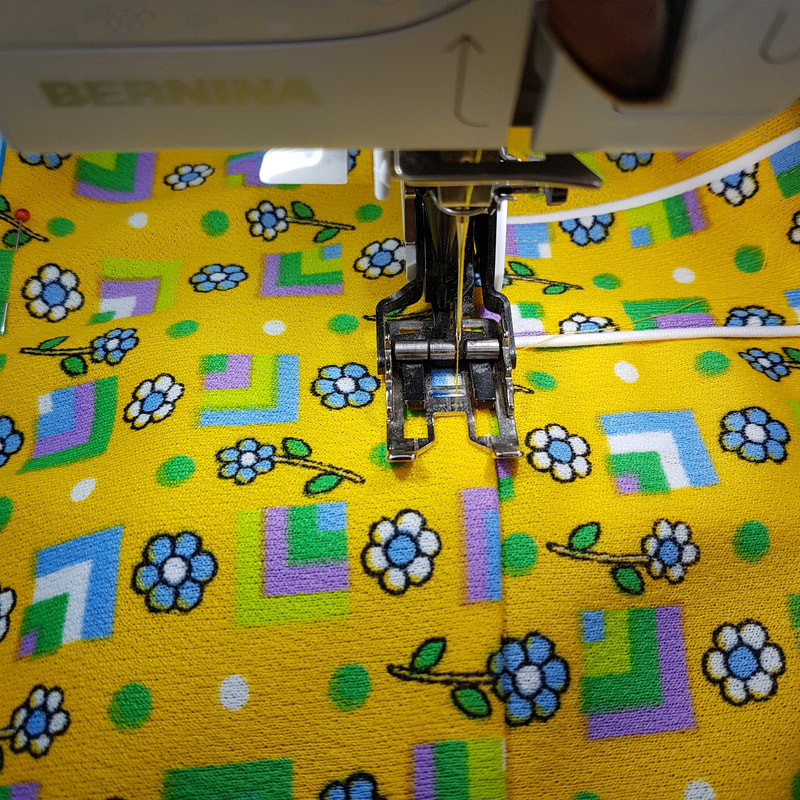
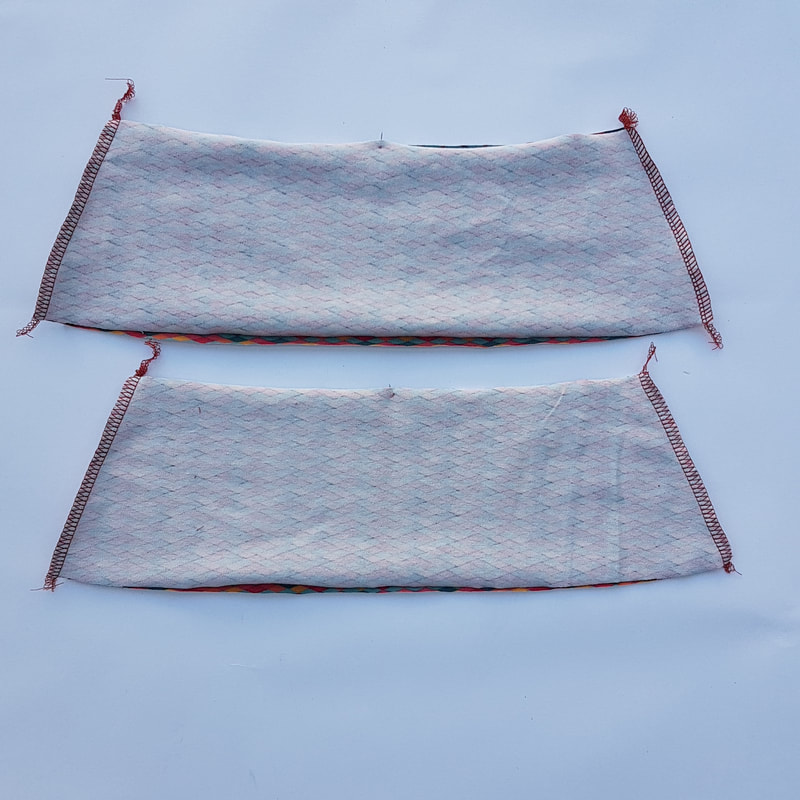
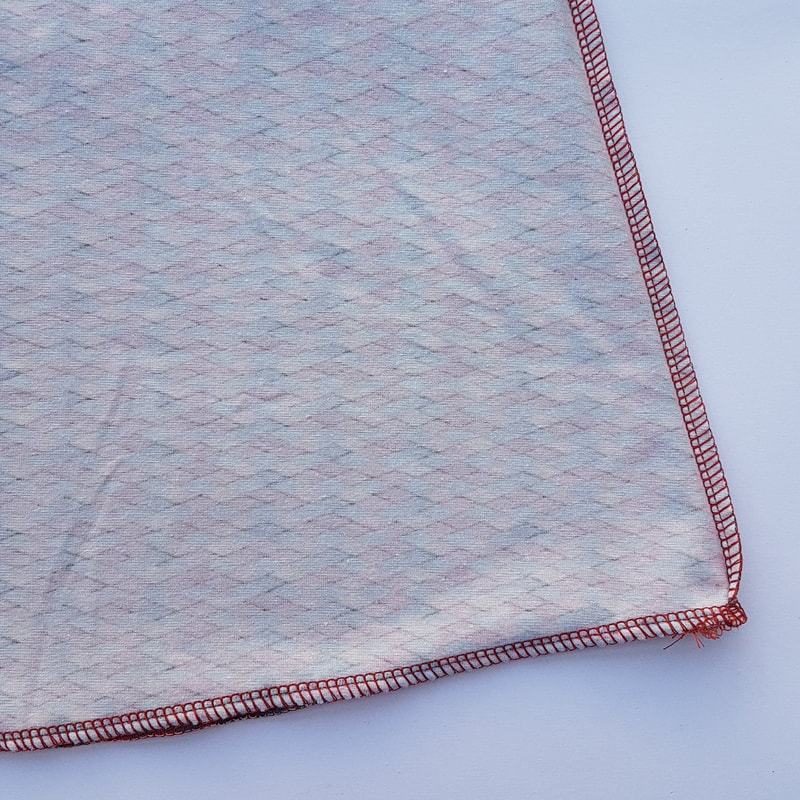
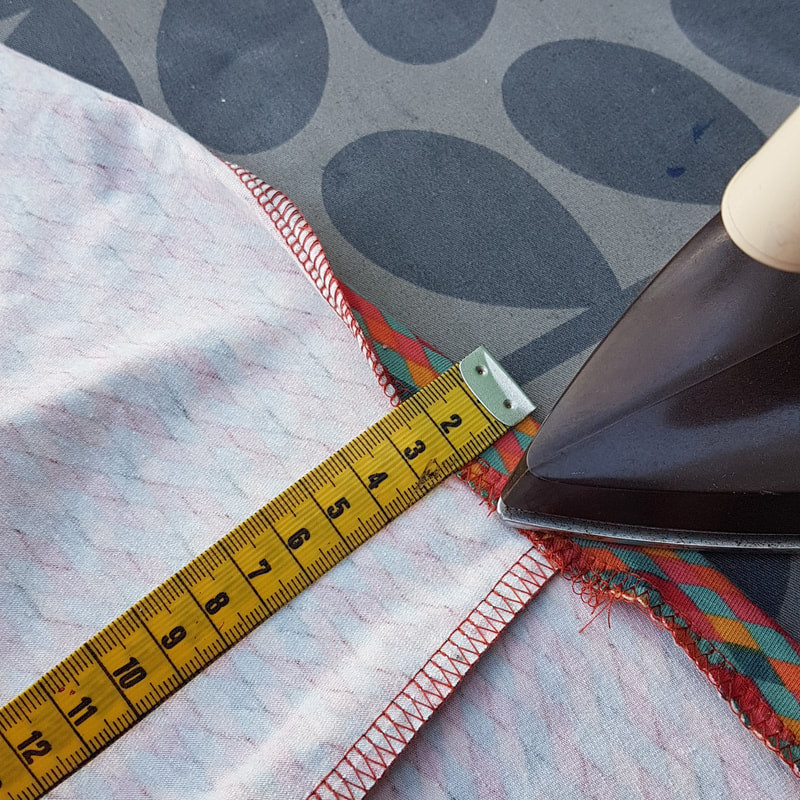
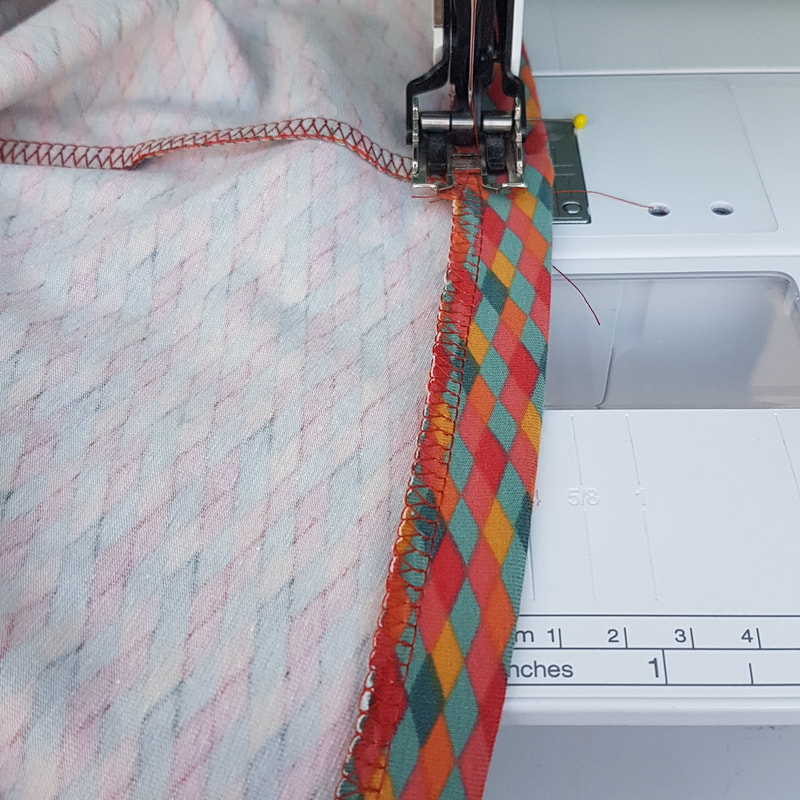
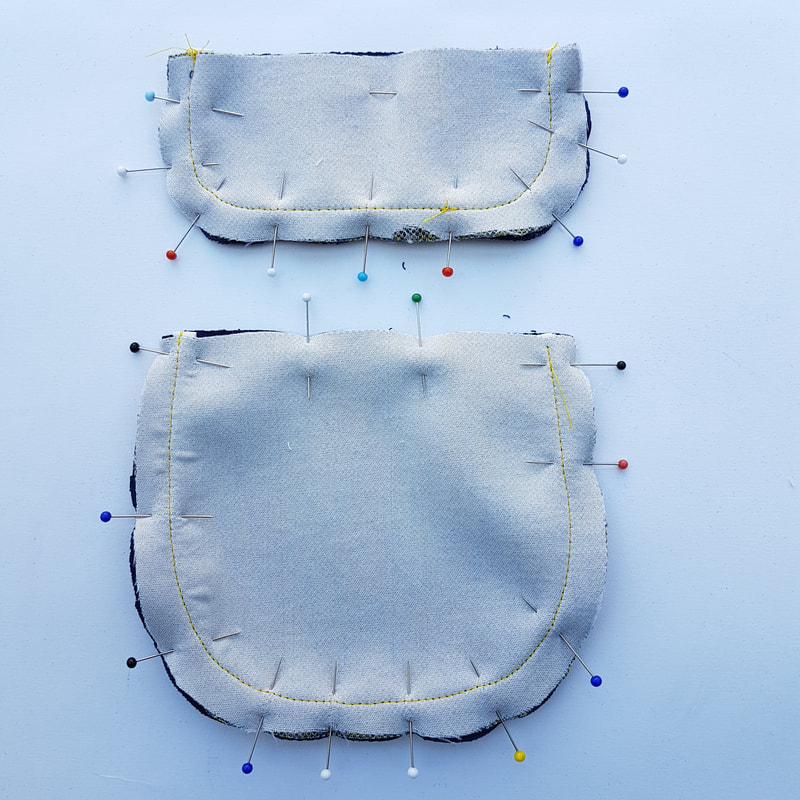
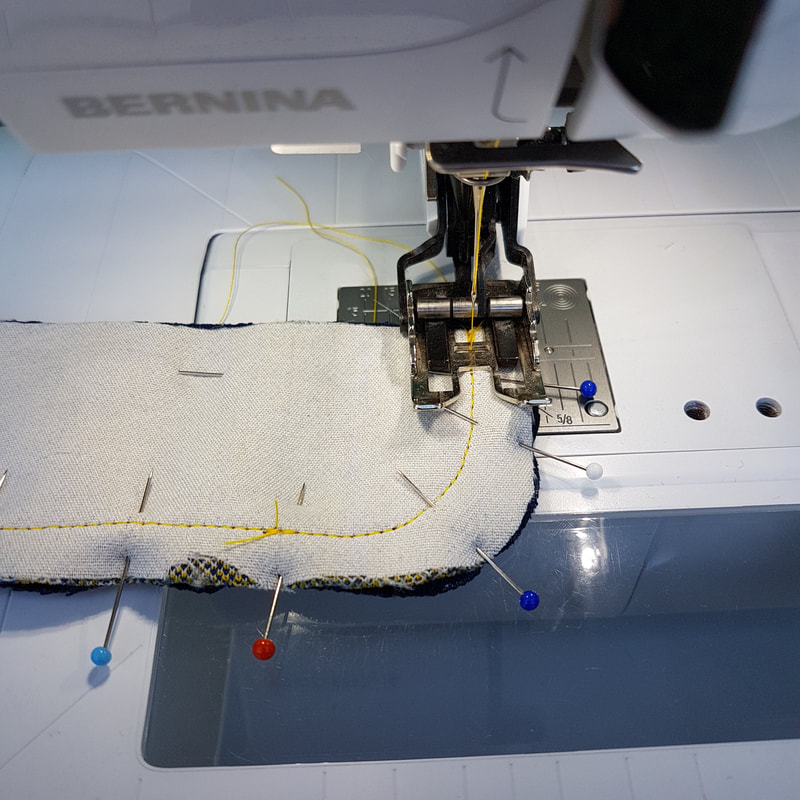
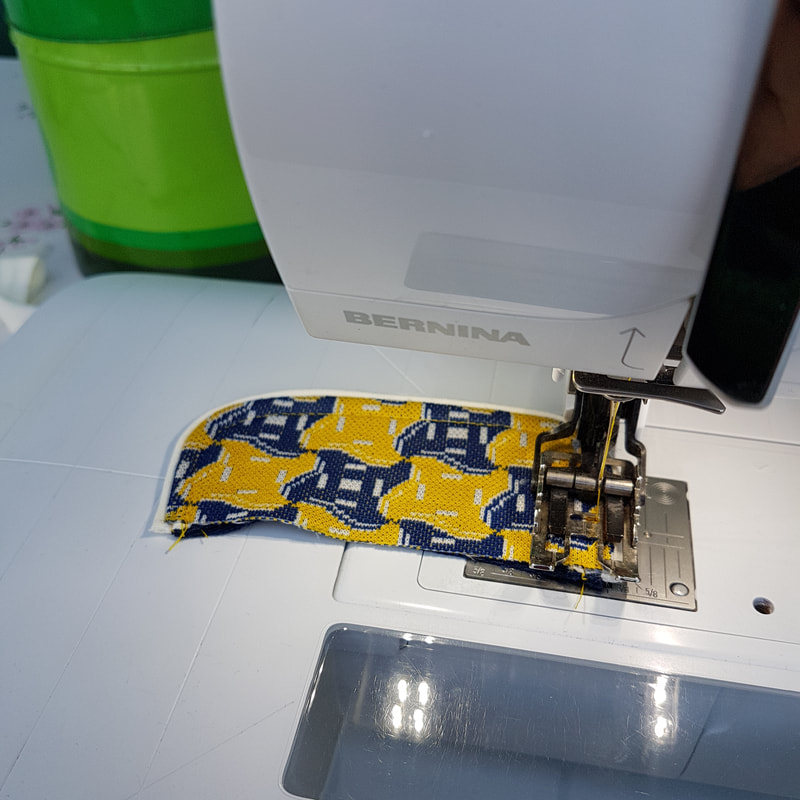
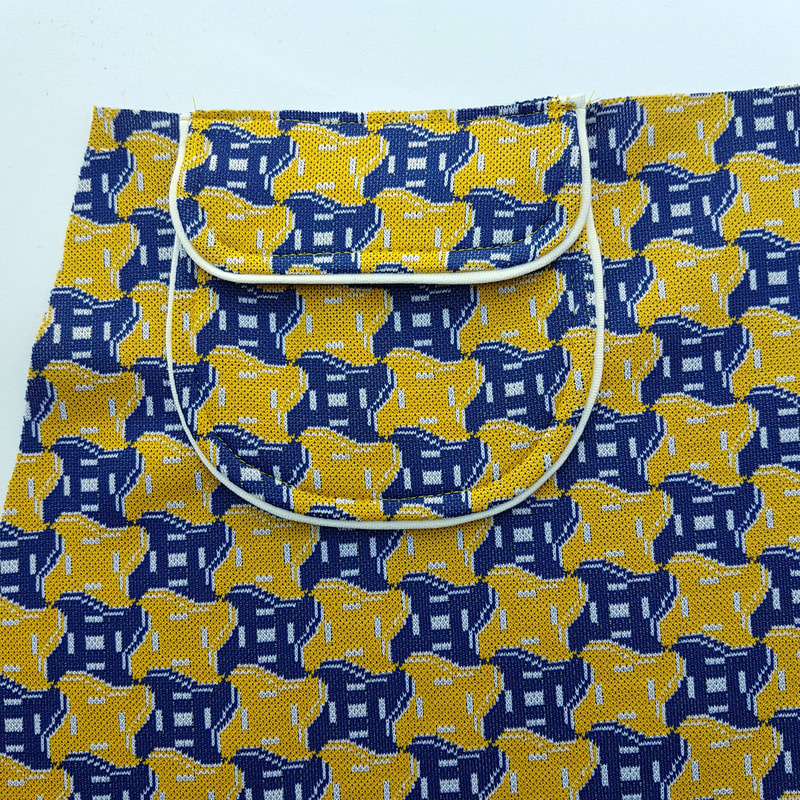
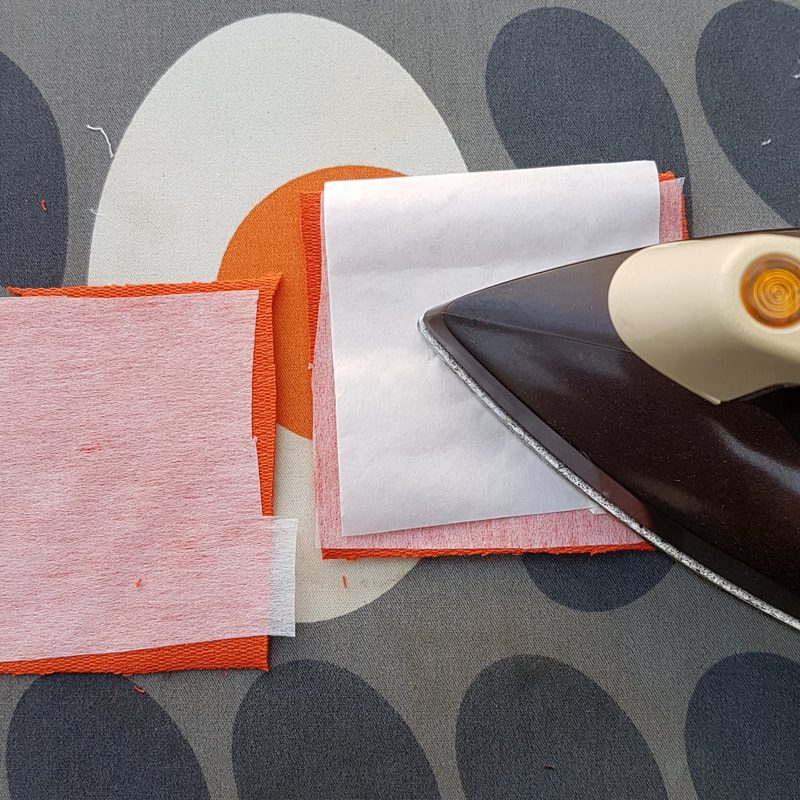
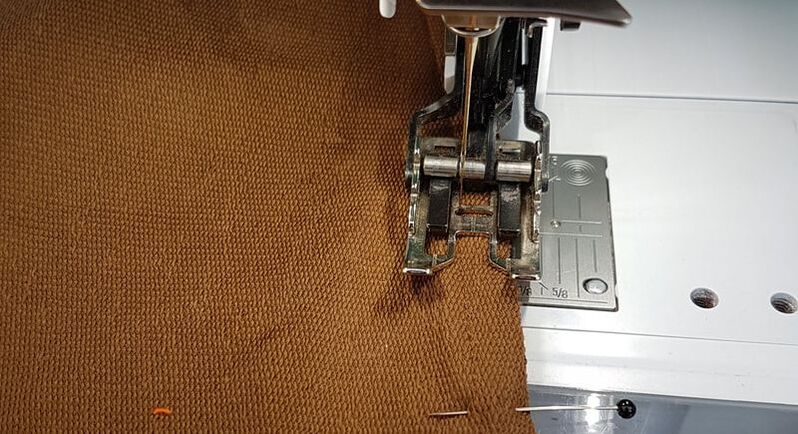
Goed om te weten Ik ga in deze werkbeschrijving uit van het gebruik van een overlock machine. Mocht je daar niet over beschikken dan kun je een zig-zag steek gebruiken op een gewone naaimachine. Ik raad dan wel aan om er altijd een stretch stiksel naast te plaatsen. De naadtoeslag van de patronen is 1cm. Check wat de breedte instelling van je naad is op je lockmachine is. Is het 0,7cm dan kun je tijdens het stikken 3mm wegsnijden. De stretchnaden stik je met een stretchsteek instelling op de gewone naaimachine. Good to know For this tutorial an overlock machine was being used for sewing most of the garment. However, it is possible to use a regular sewing machine and sew with a zigzag stitch. I do recommend sewing an extra stretch stitch next to it to create clean lines. The seam allowance of the patterns is 1cm. Check the seam width setting of your overlock machine. If it is 0.7cm you can cut away 3mm while sewing. The stretch seams can be sewn using the stretch setting on a regular sewing machine. 3.1. A-line met lussen en knopen bies A-line with loops and button band
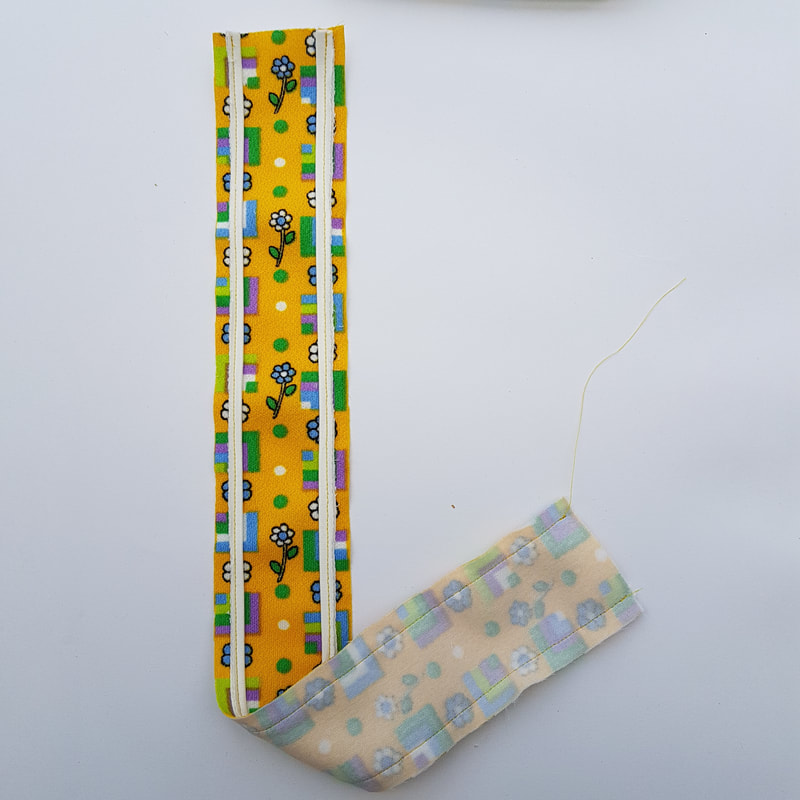
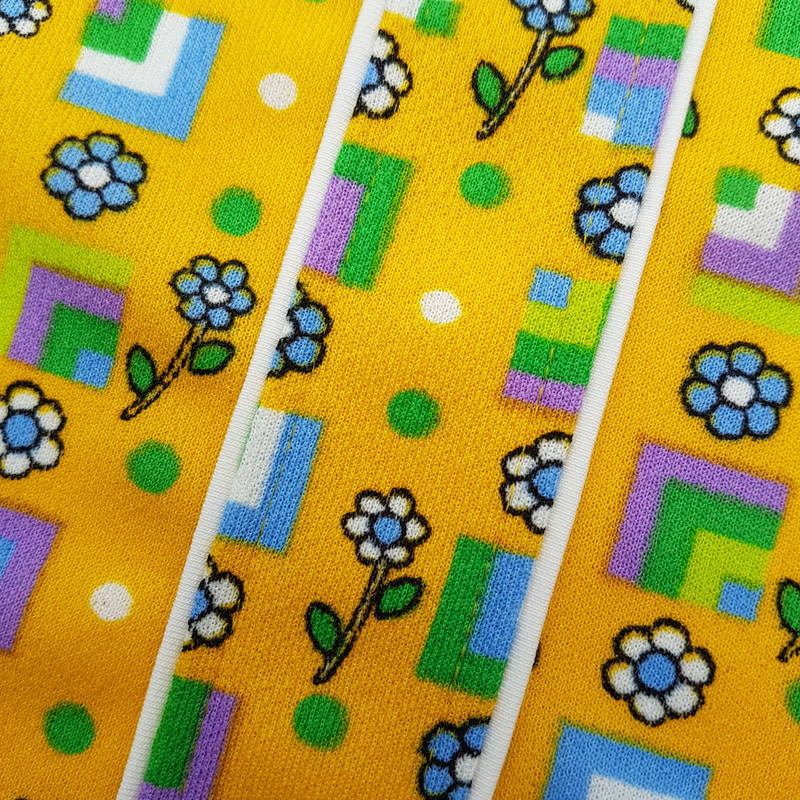
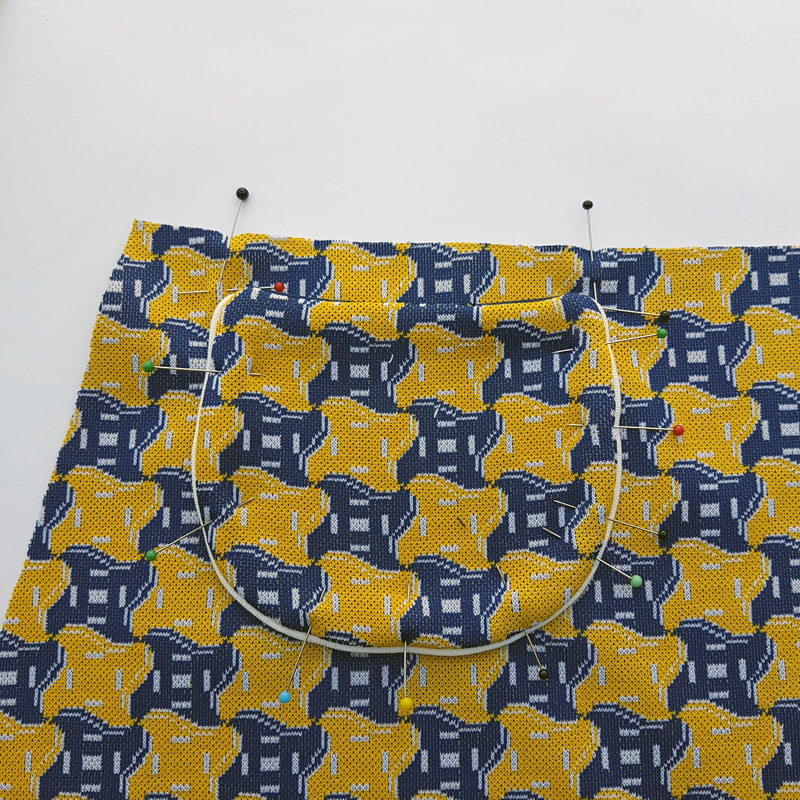
De volgende drie stappen laten zien hoe je een pipingbies stikt tussen de tailleband en de rok. Ik deed dit niet voor de gele rok zoals hier boven beschrijven maar de methode is hetzelfde. Sla dan punt 3.1o over. The following 3 steps show how to add piping between the waistband and skirt. I didnt do this for the yellow skirt described here, the process would be the same - just skip 3.1o.
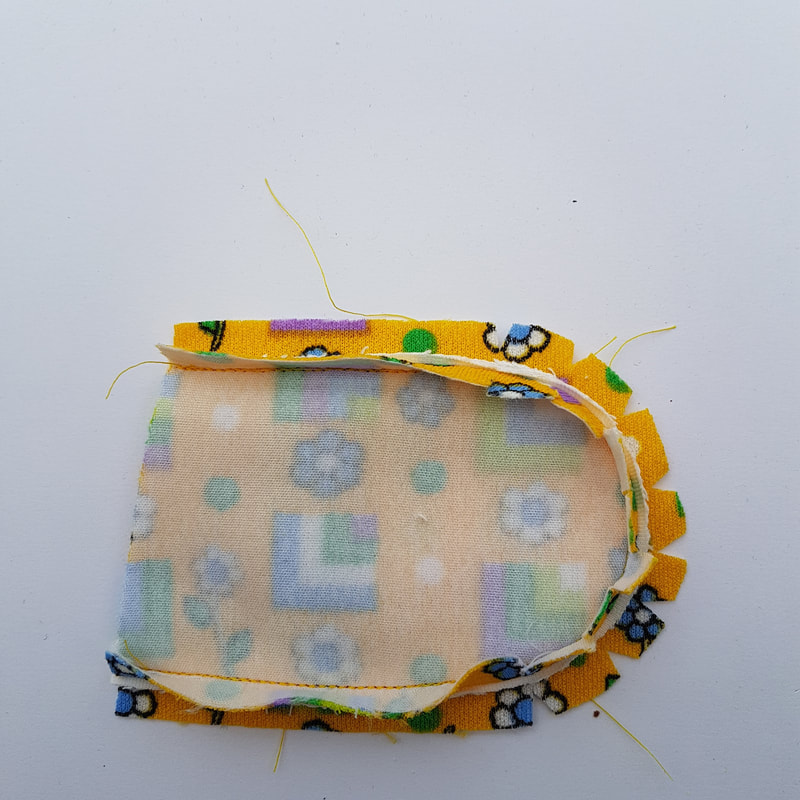
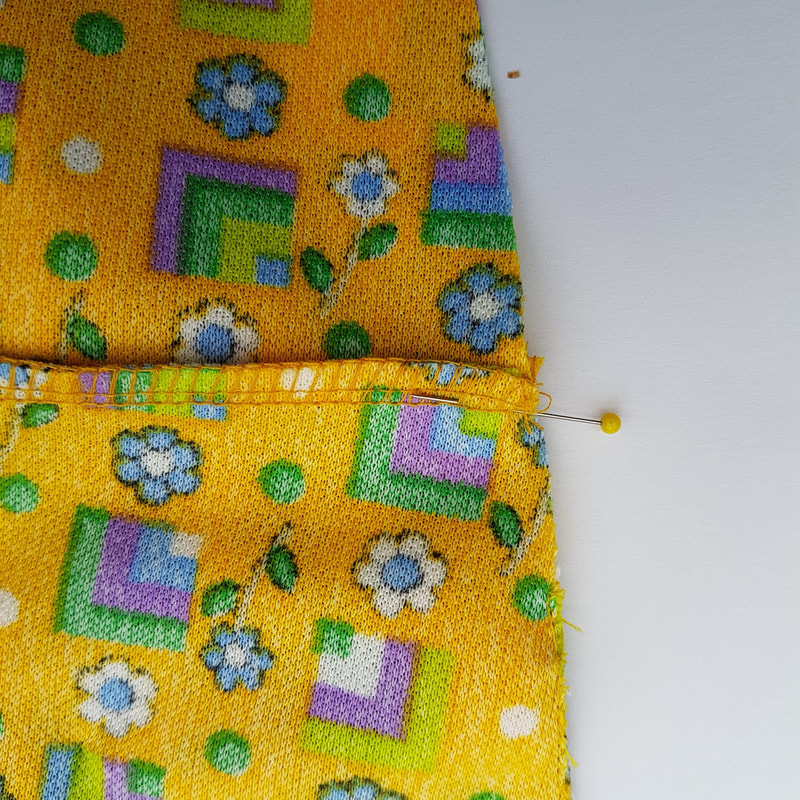
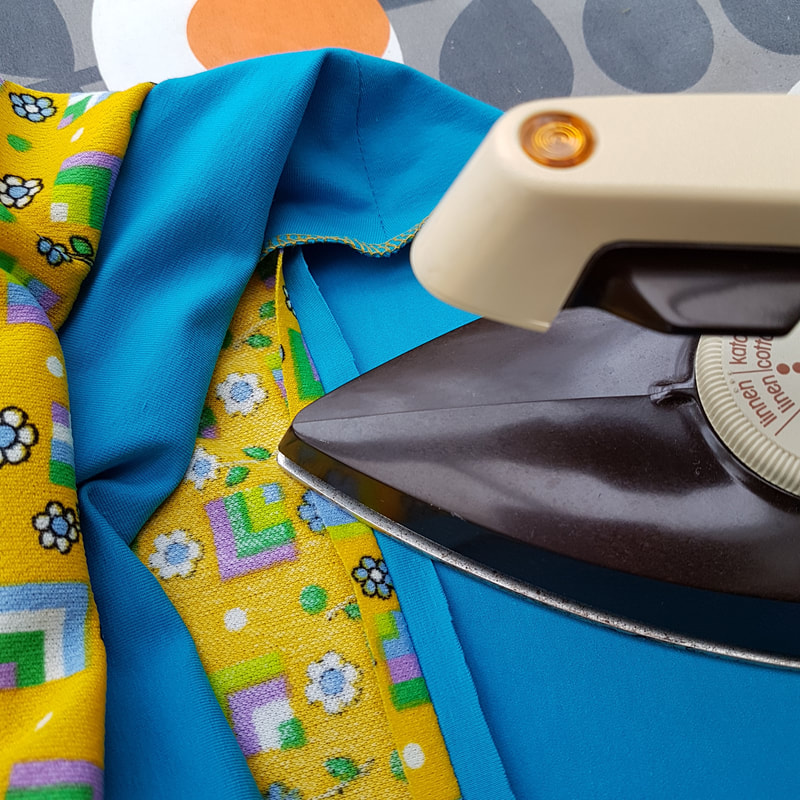
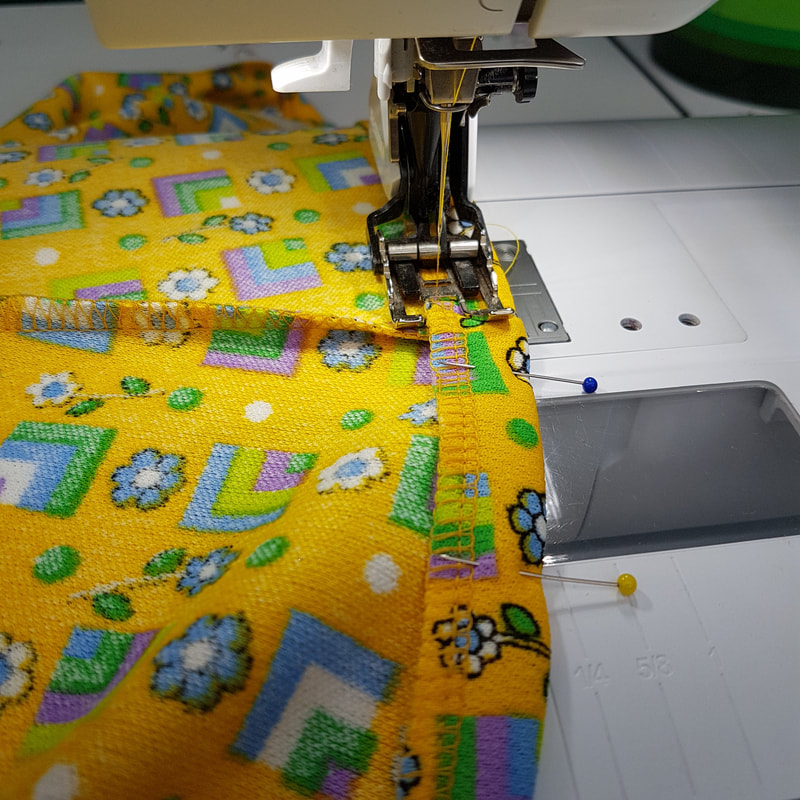
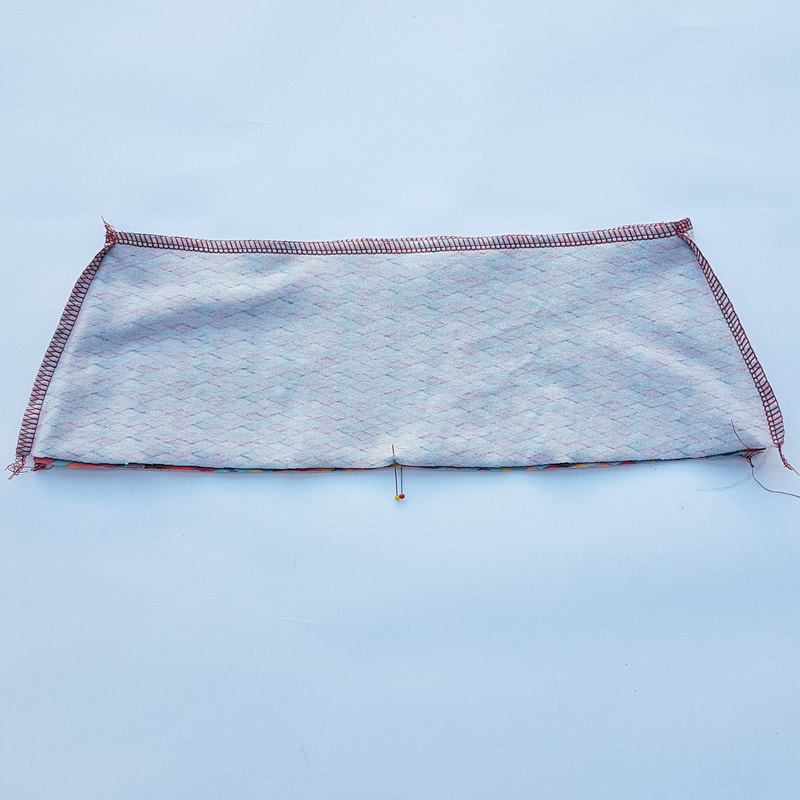
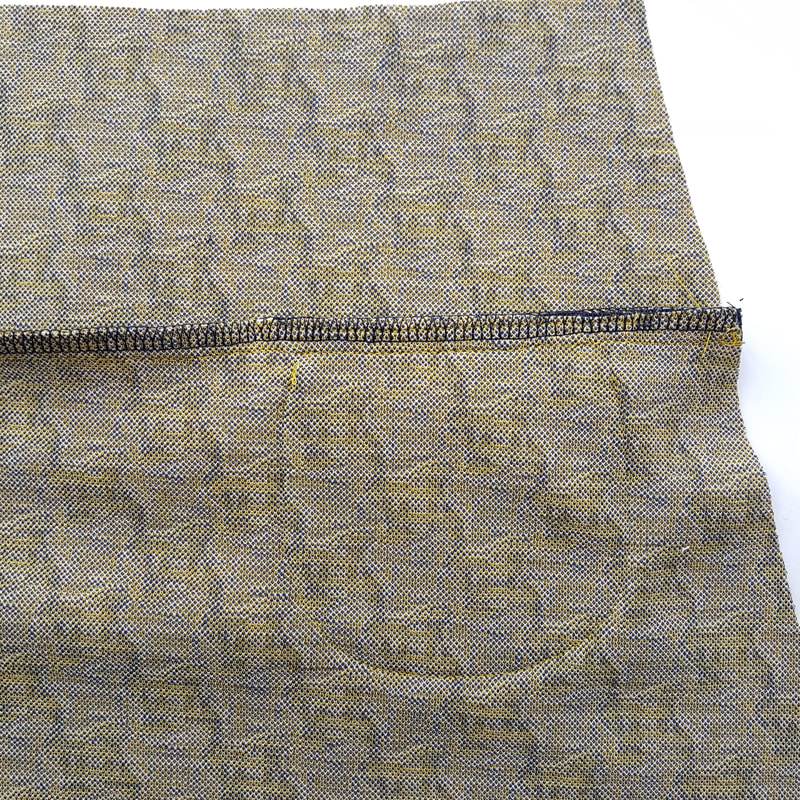
 3.1q. Heb je zakklepjes of piping verwerkt in de taillenaad? Dan eerst stikken met een stretchsteek en daarna de naad aflocken. In het geval van de pipingbies kun je over de zichtbare stiklijn van de piping stikken. Heb je dit niet dan kun je meteen de tailleband aan de rok vastnaaien met de overlockmachine. Have you incorporated pocket flaps or piping in the waist seam? Then first stitch with a stretch stitch and then overlock the seam. When using piping trim you sew over the visible stitchline of the piping trim. If you don't have this, you can immediately sew the waistband to the skirt with the overlock machine. 3.2. Zijnaden, zoom, tailleband beleg Sideseams, hem, waistband facing
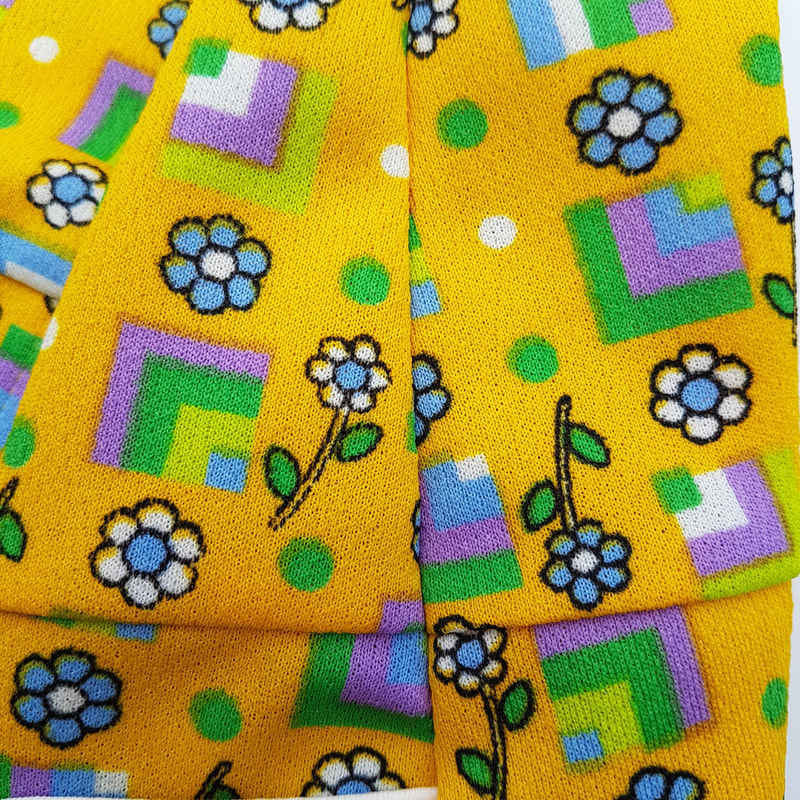
Je A-line met lussen en knopen bies is klaar! Your A-line with loops and button band is finished! 4. De basisrok zonder details The basic skirt without details
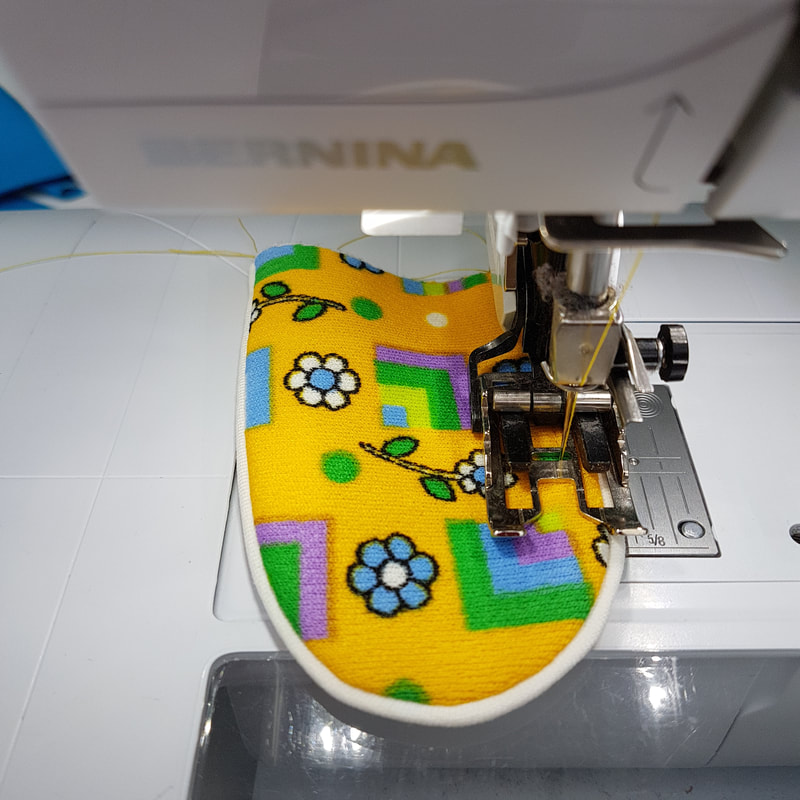
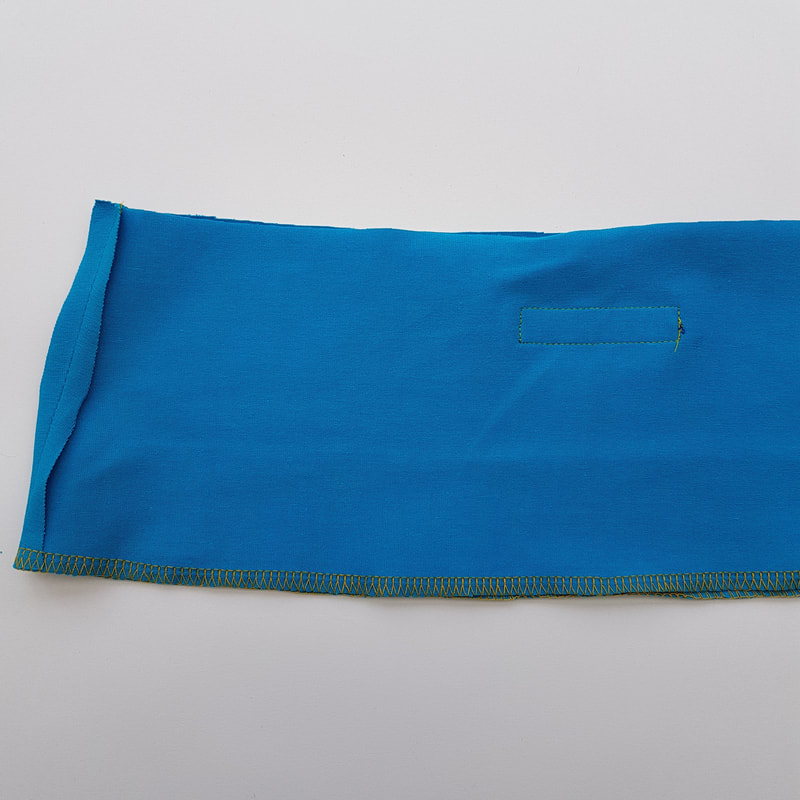
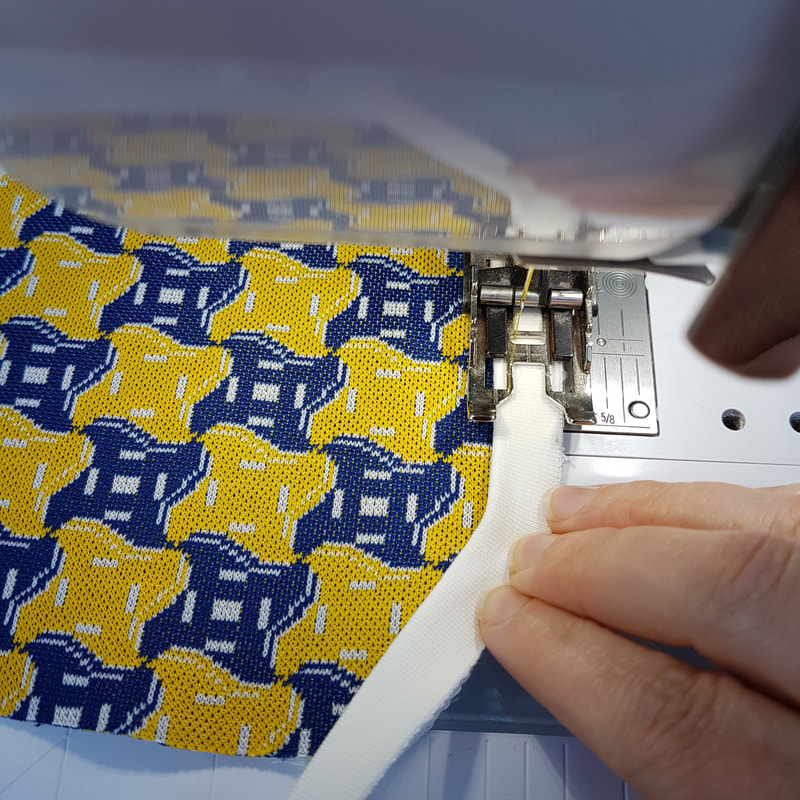
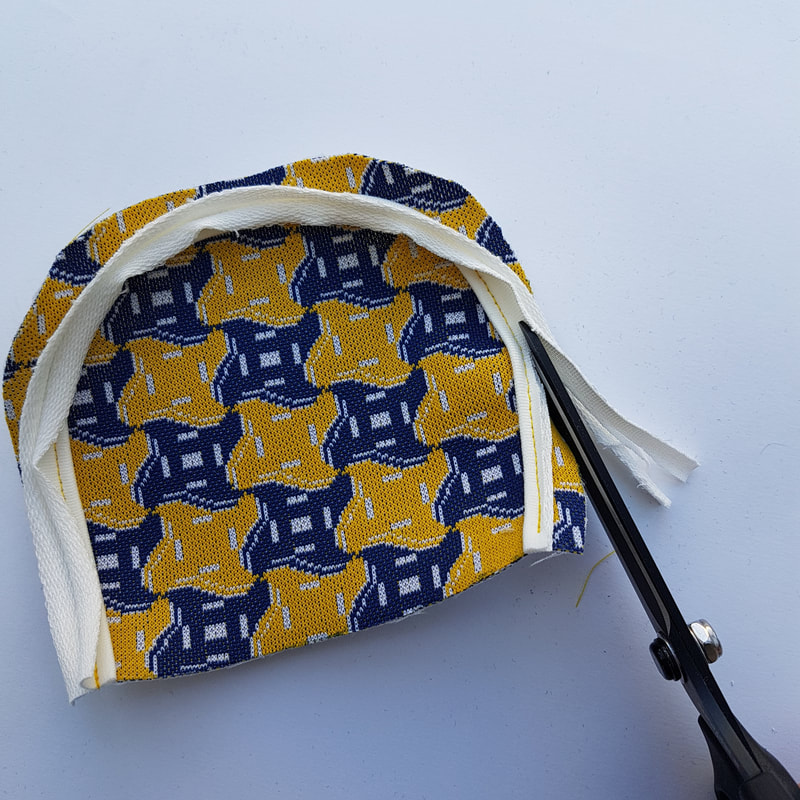
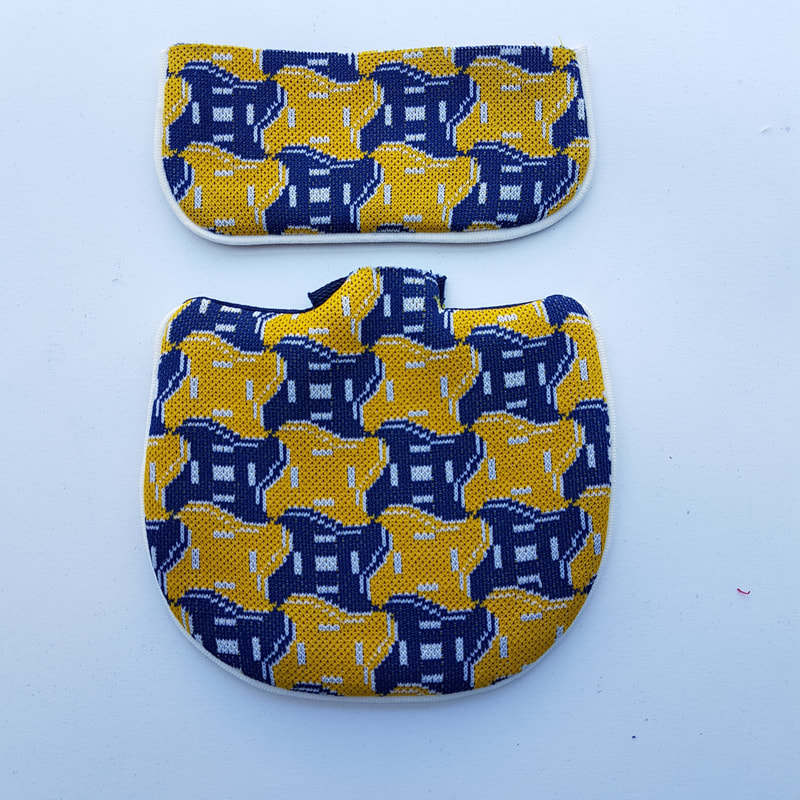
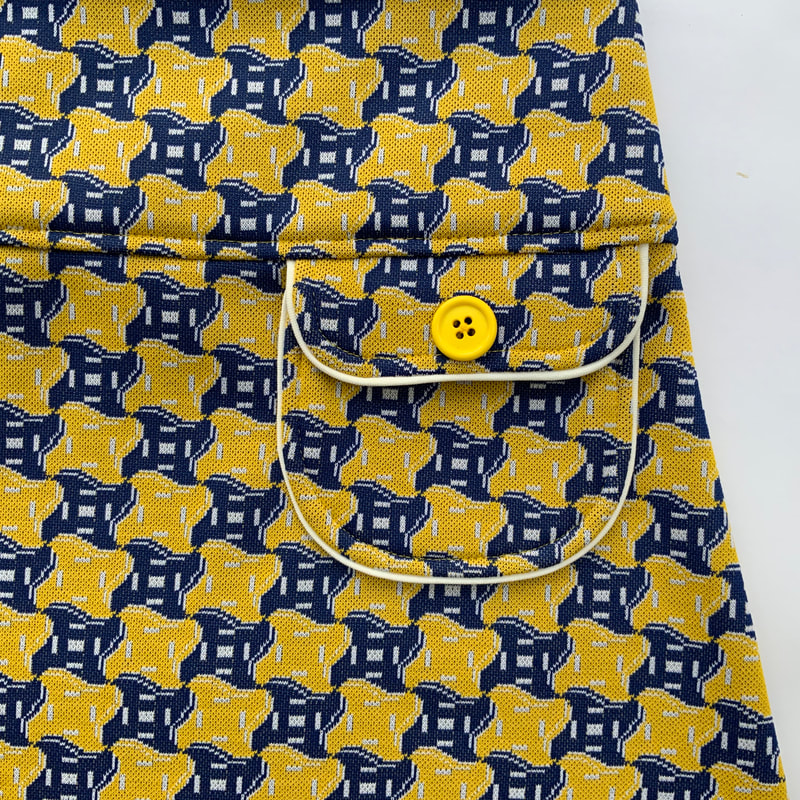
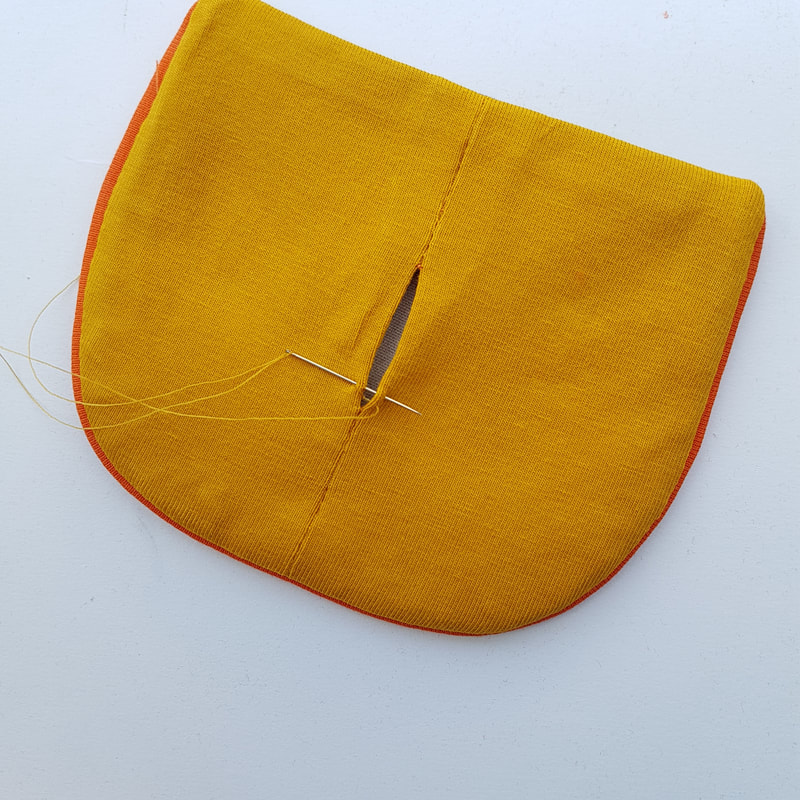
5. Zakken met zakklepjes toevoegen Adding pockets with flaps
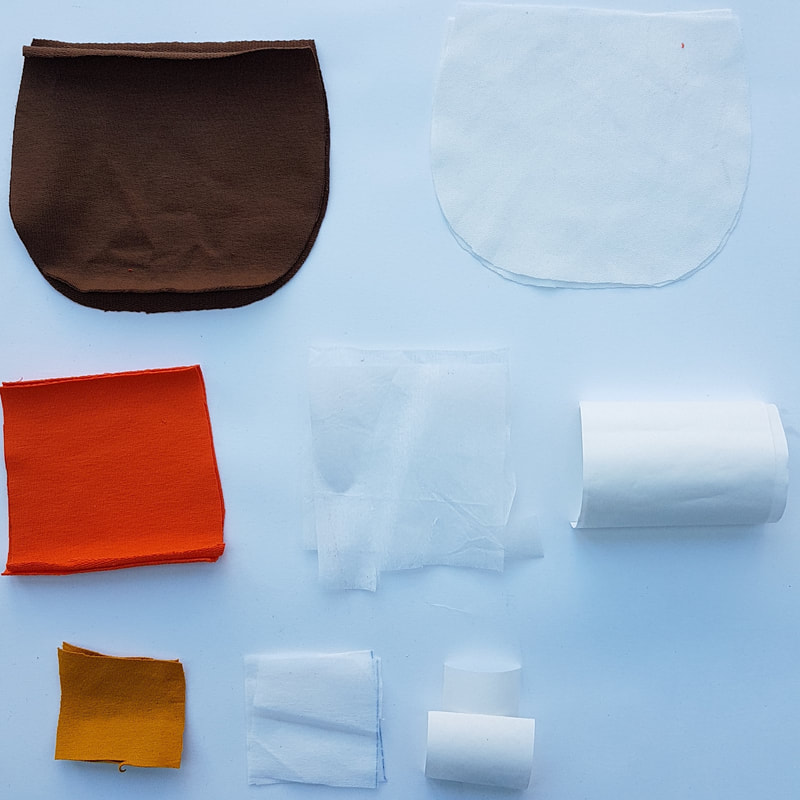
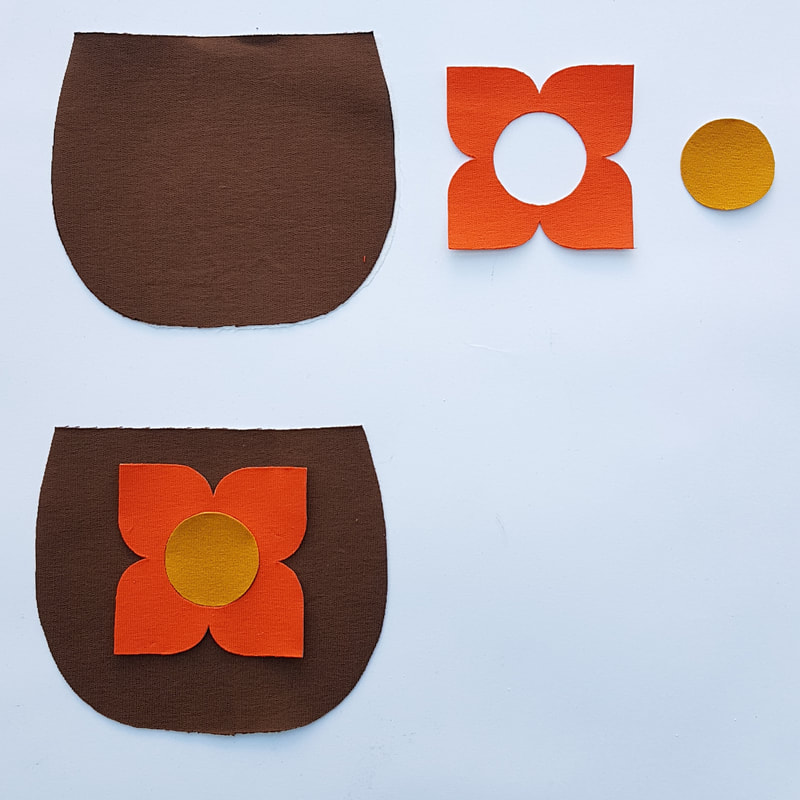
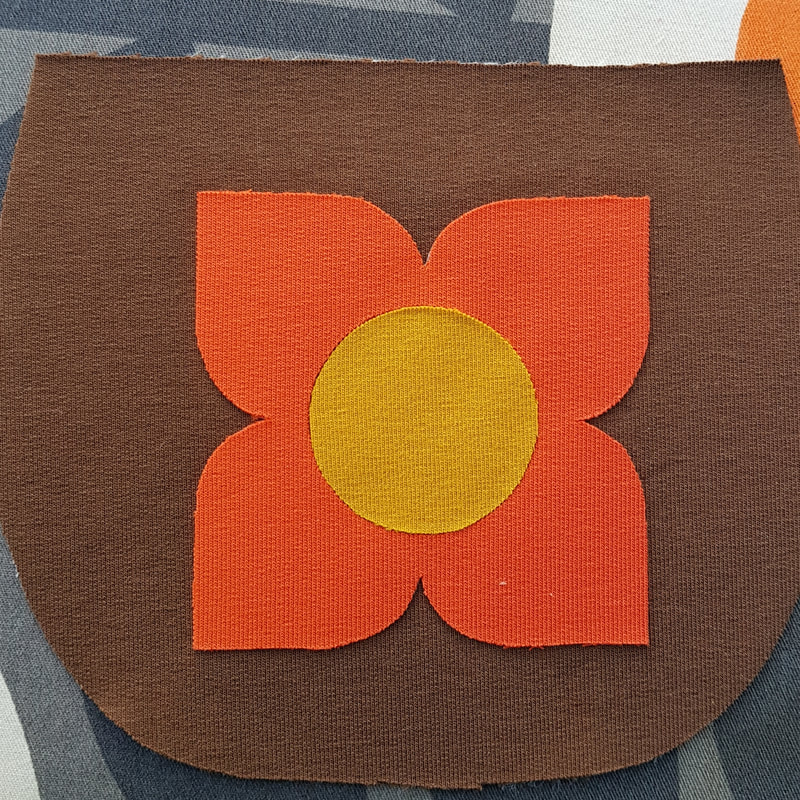
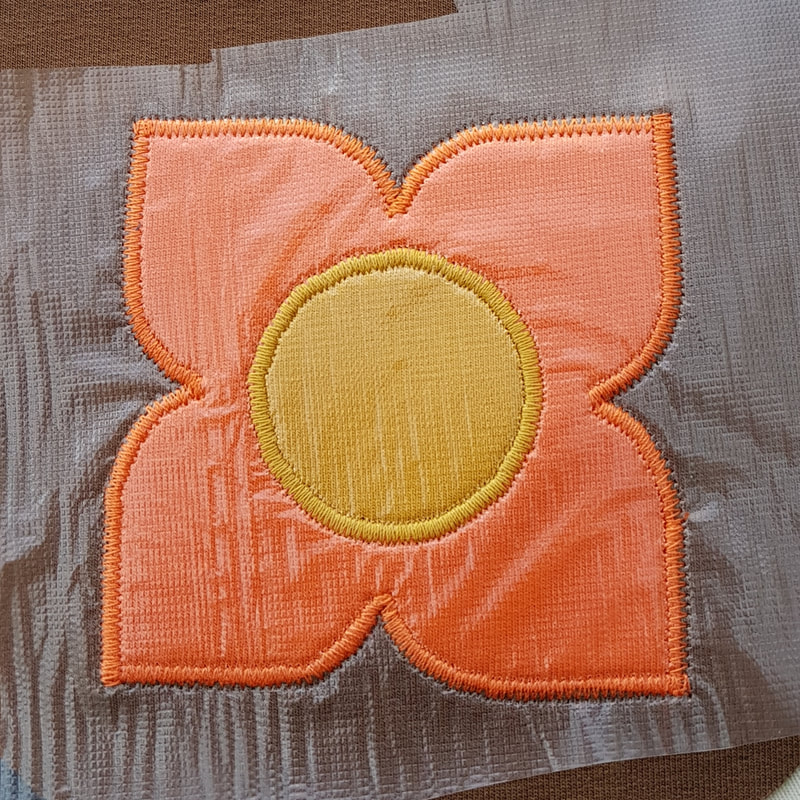
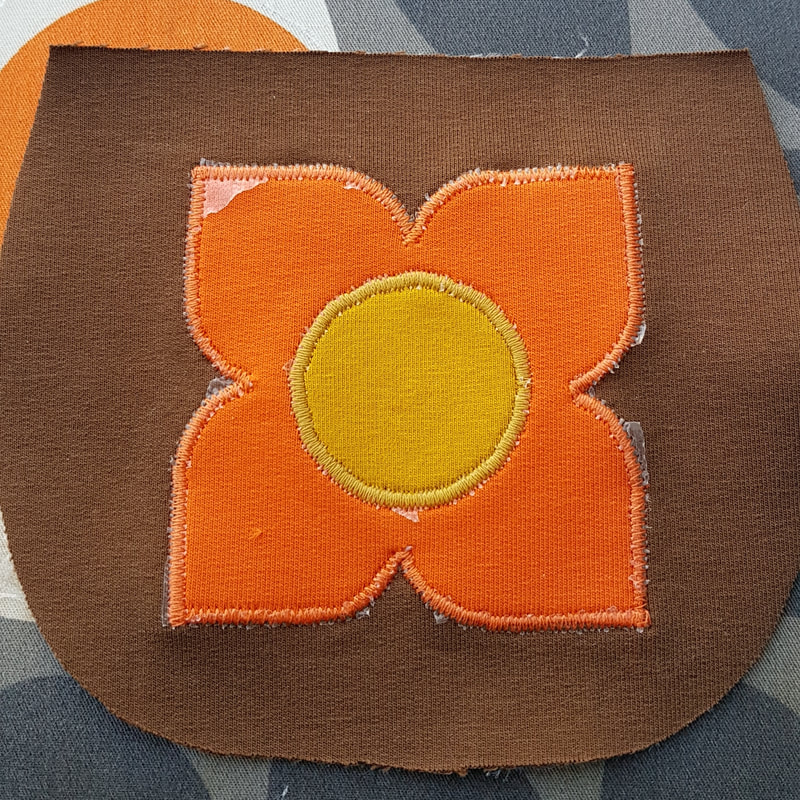
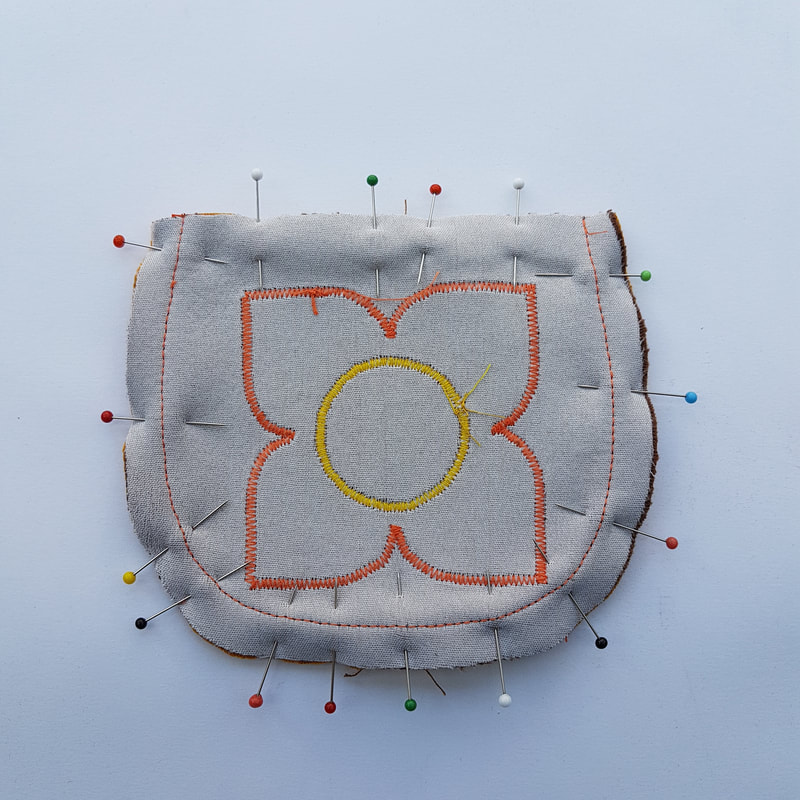
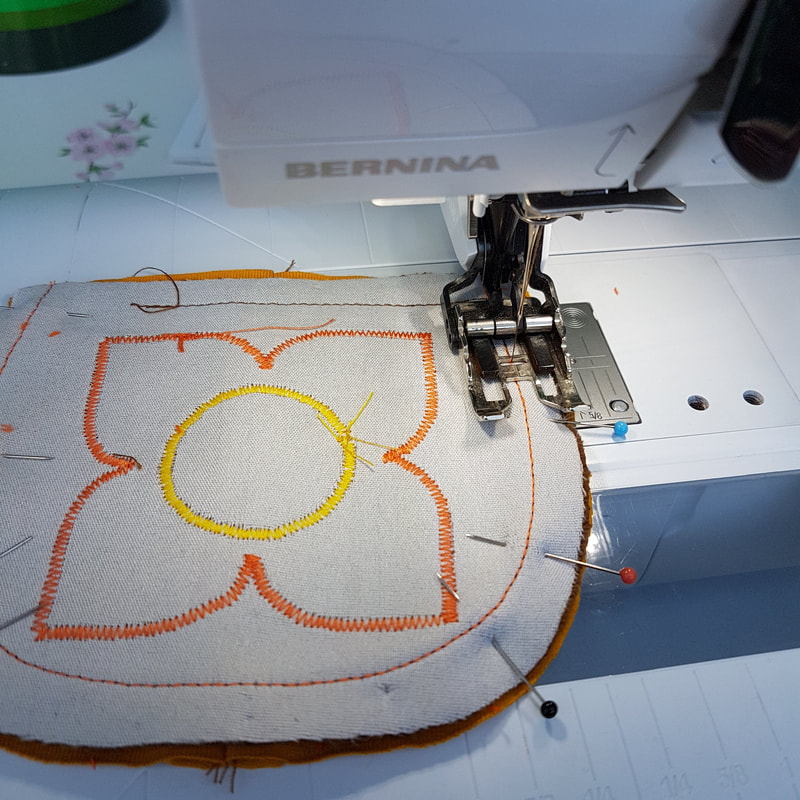
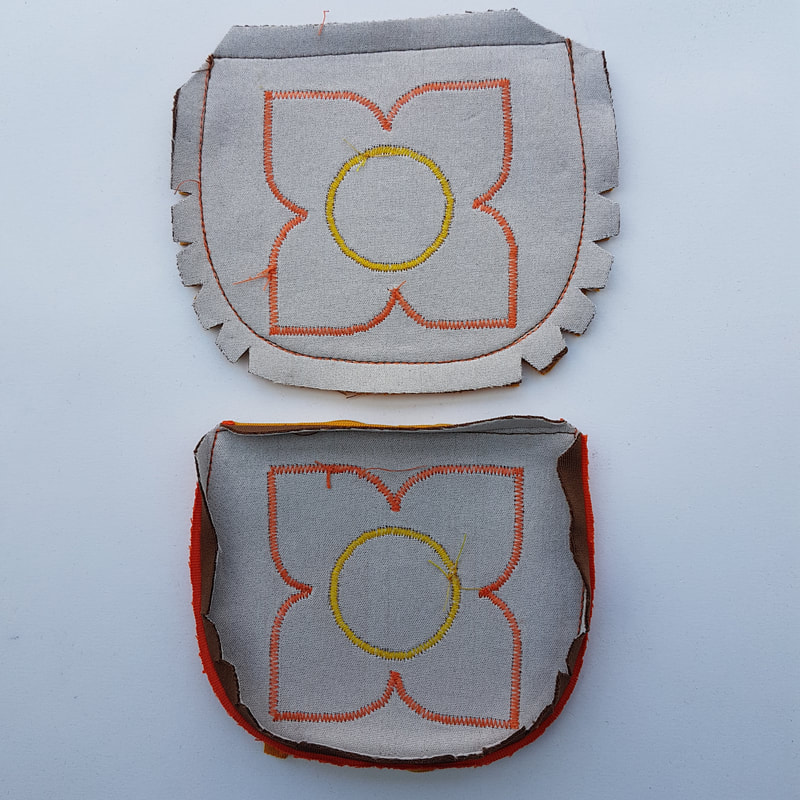
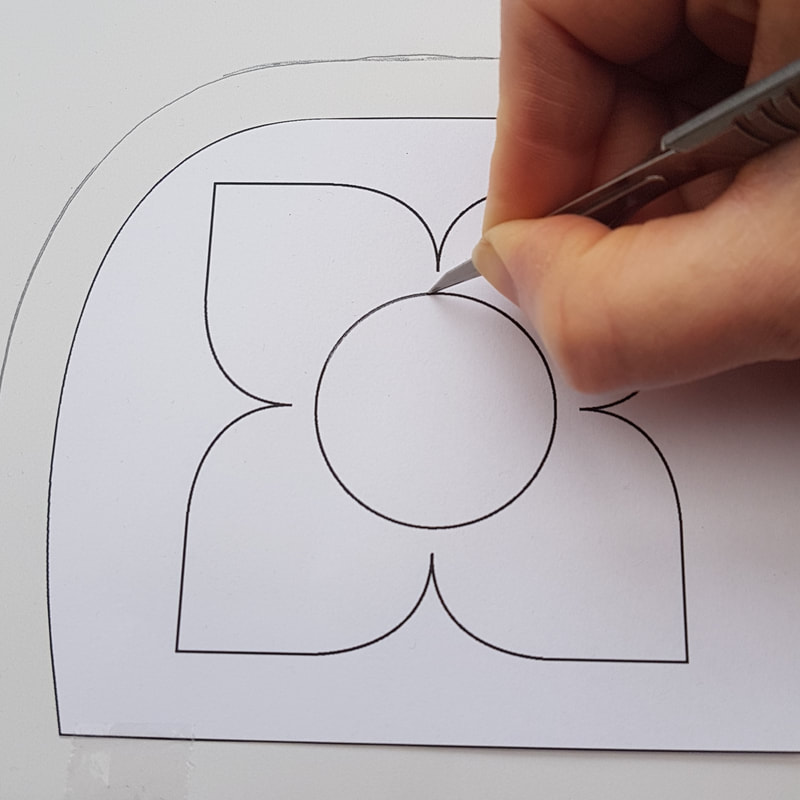
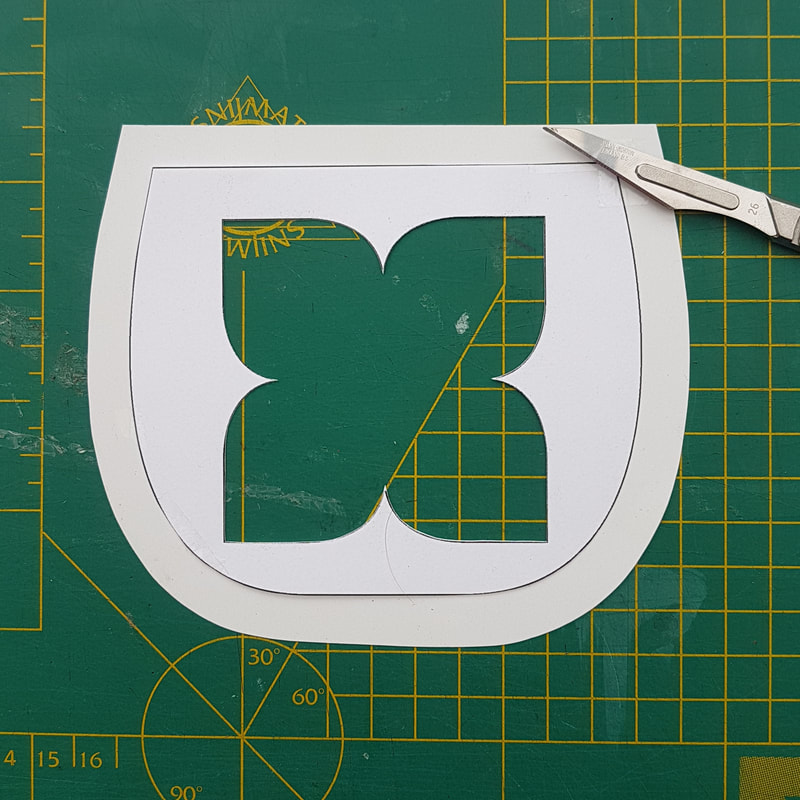
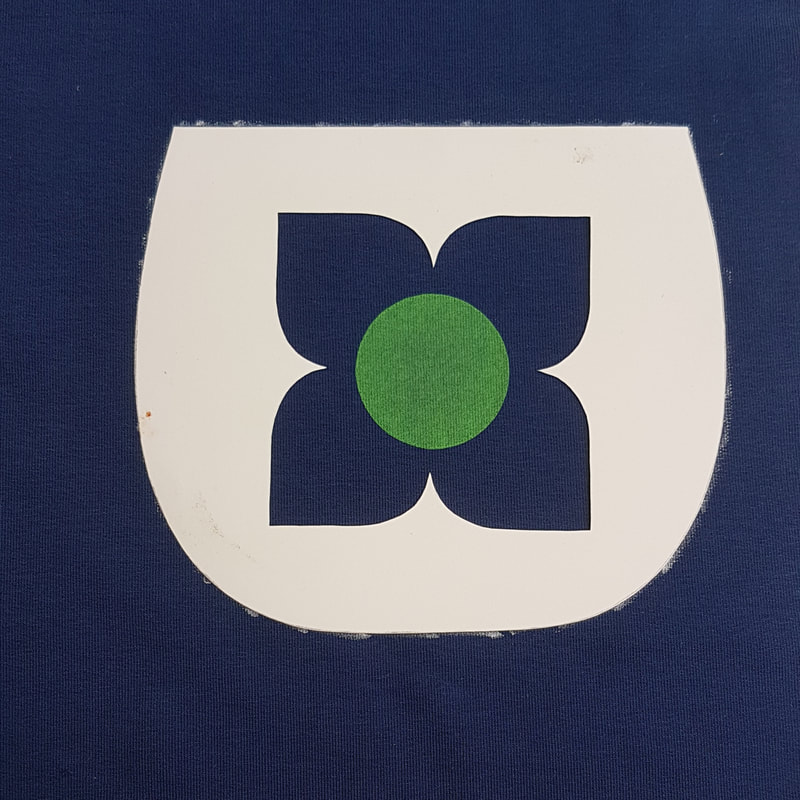
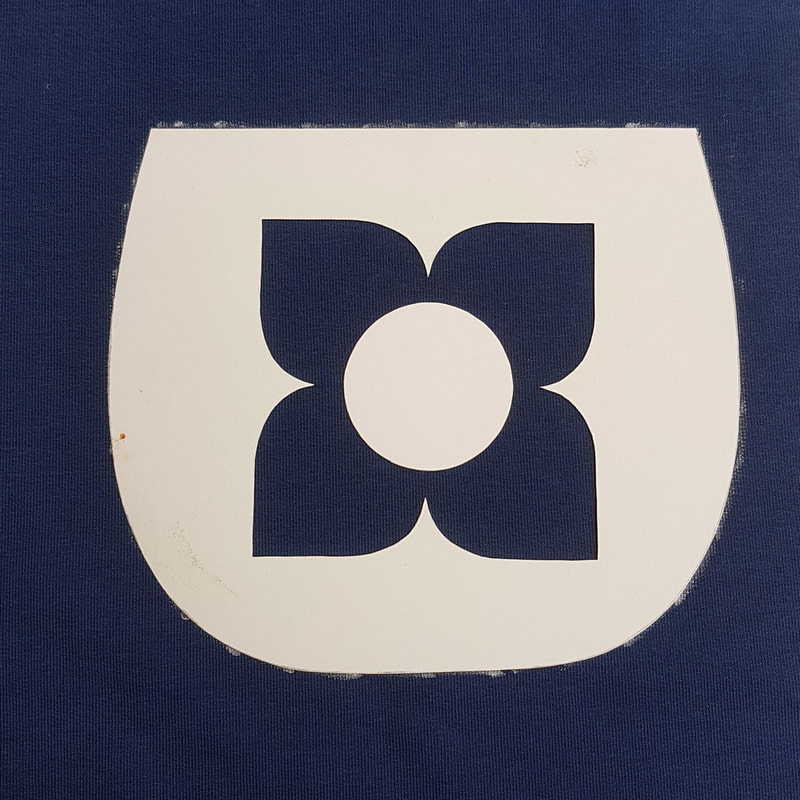
6. Het bloemdessin op de zakken zonder klep appliqueren Appliqueing the flower design on the pockets without flap
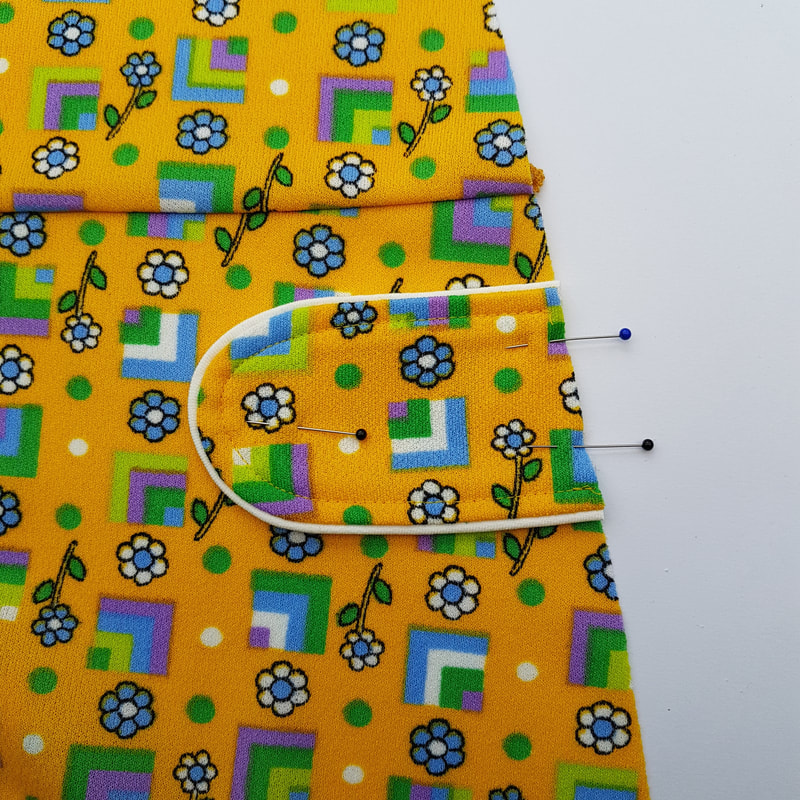
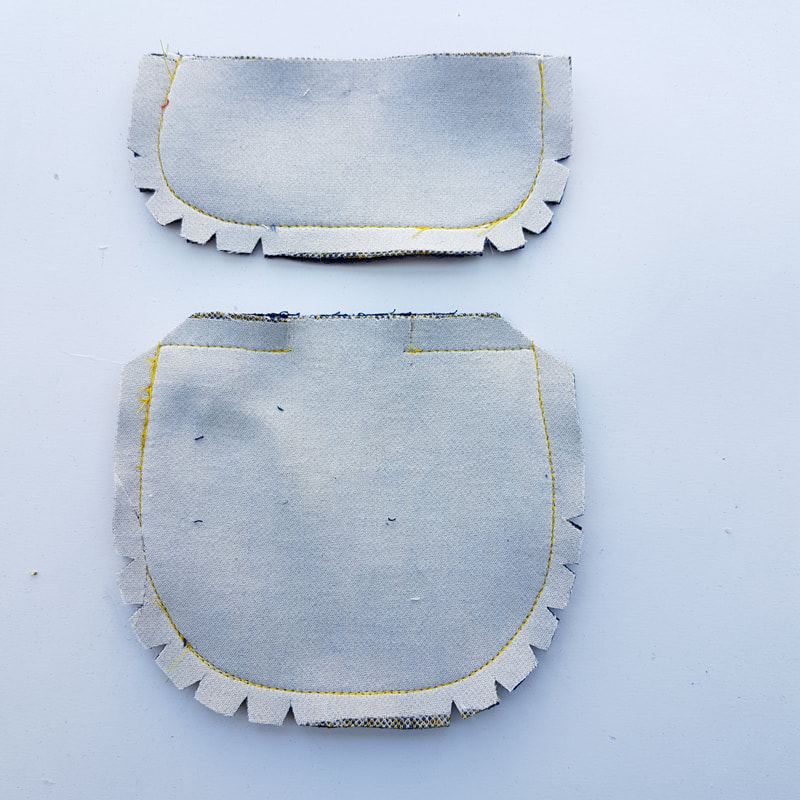
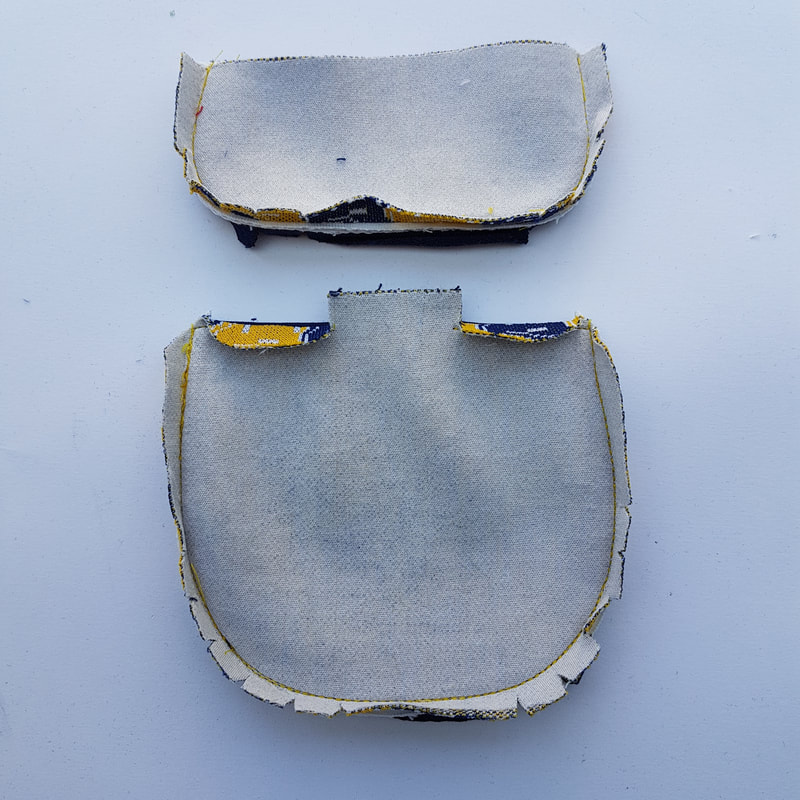
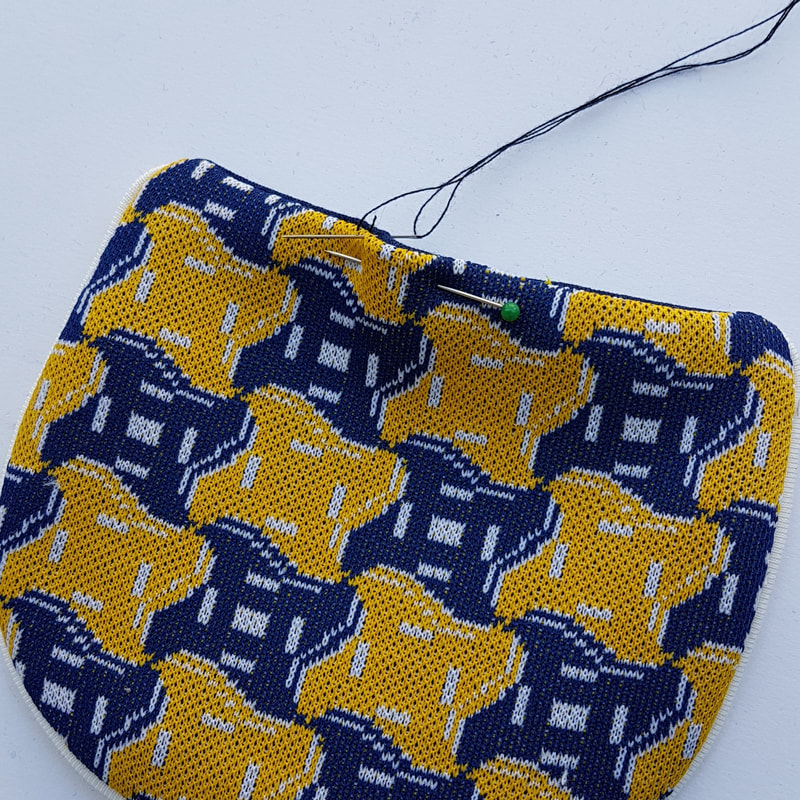
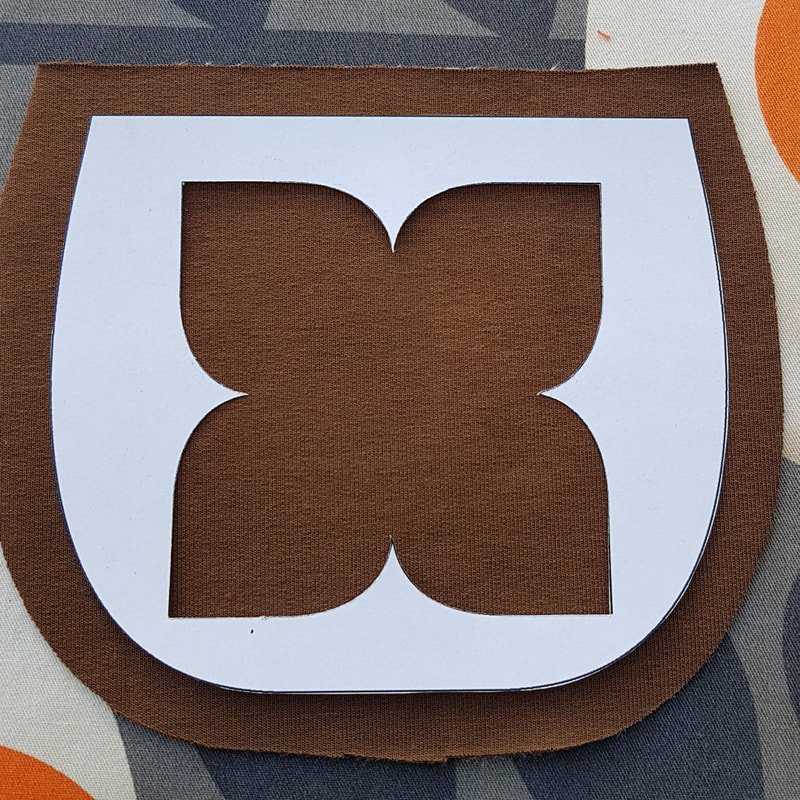
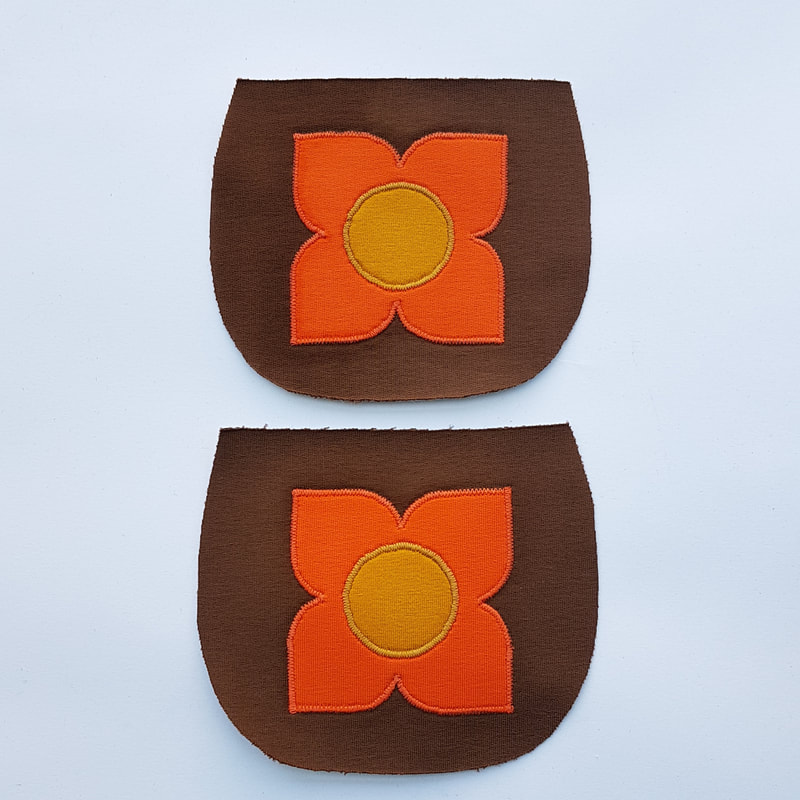
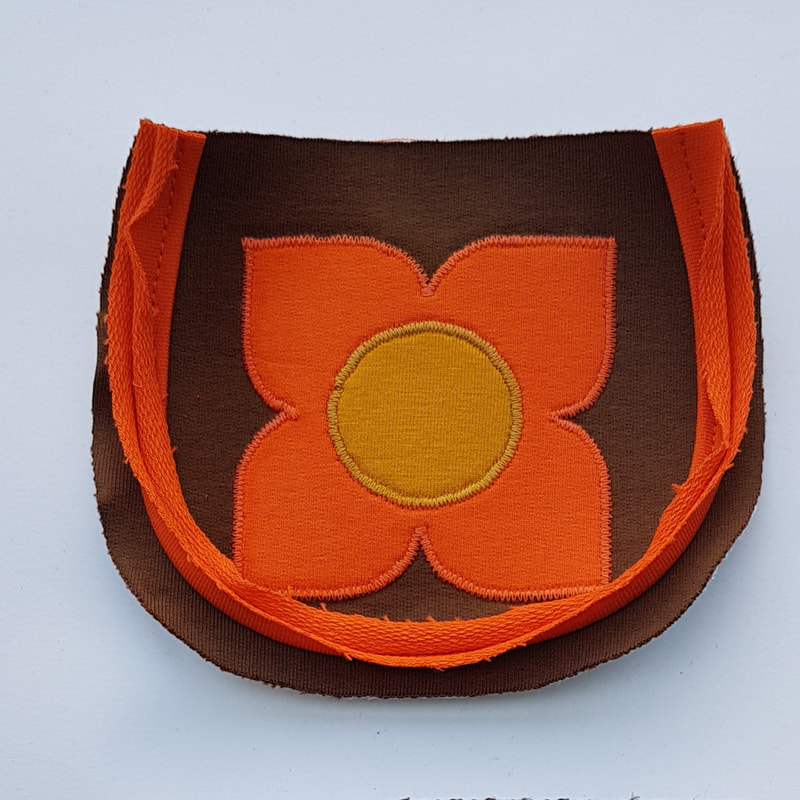
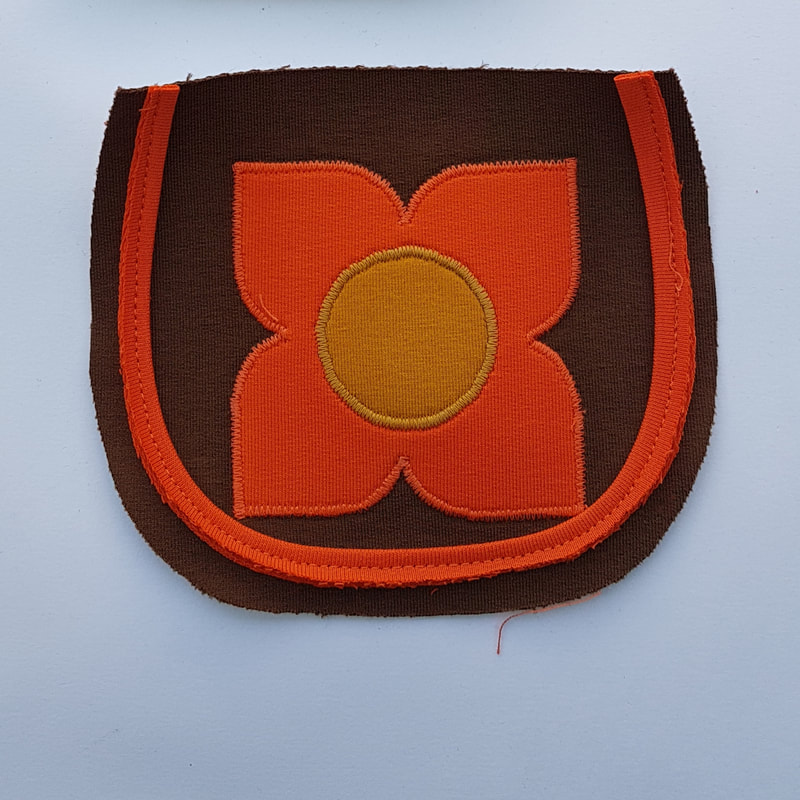
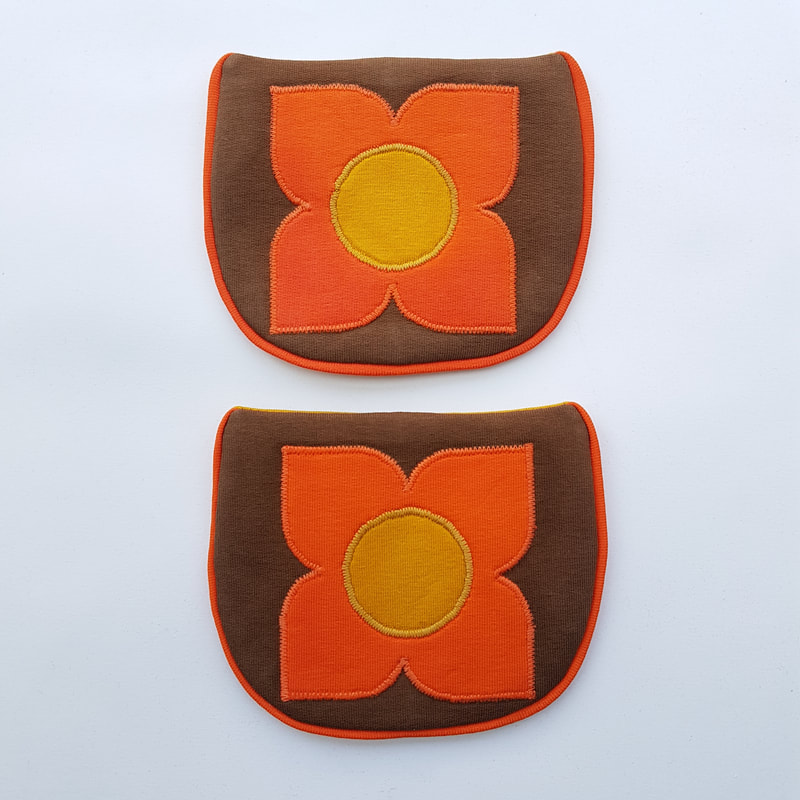
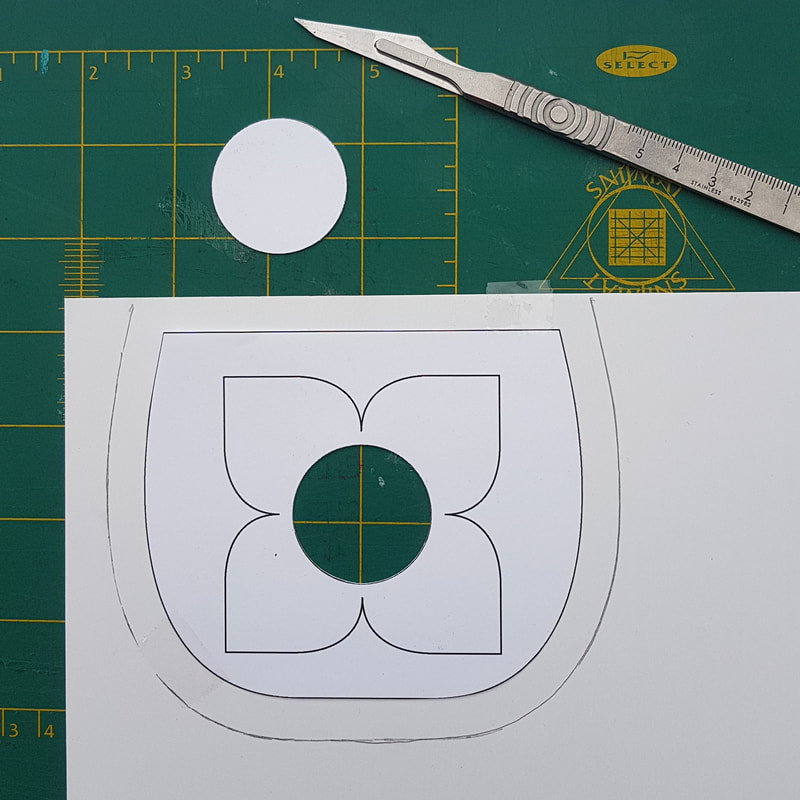
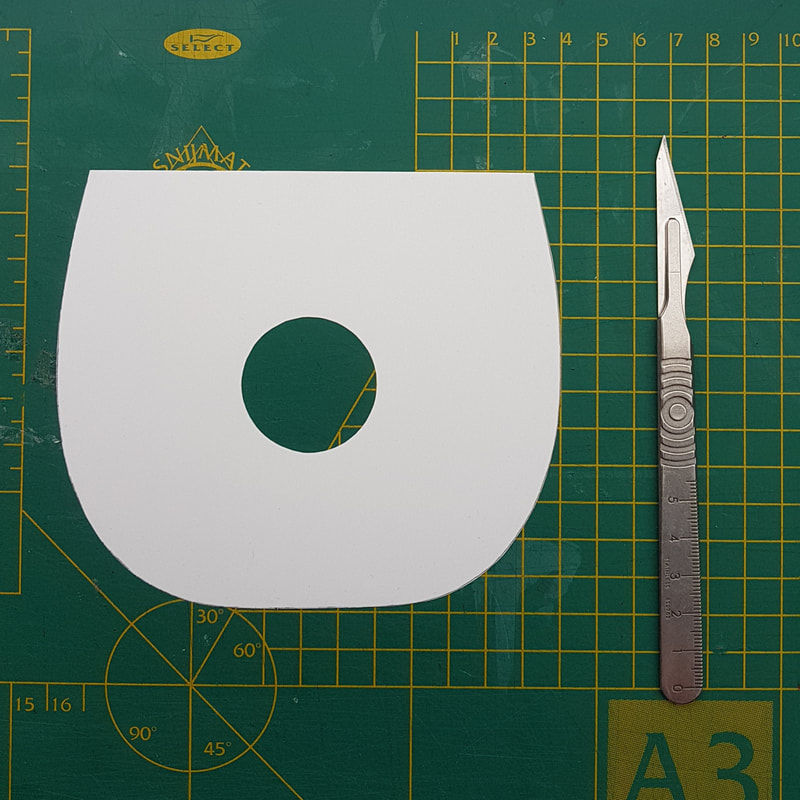
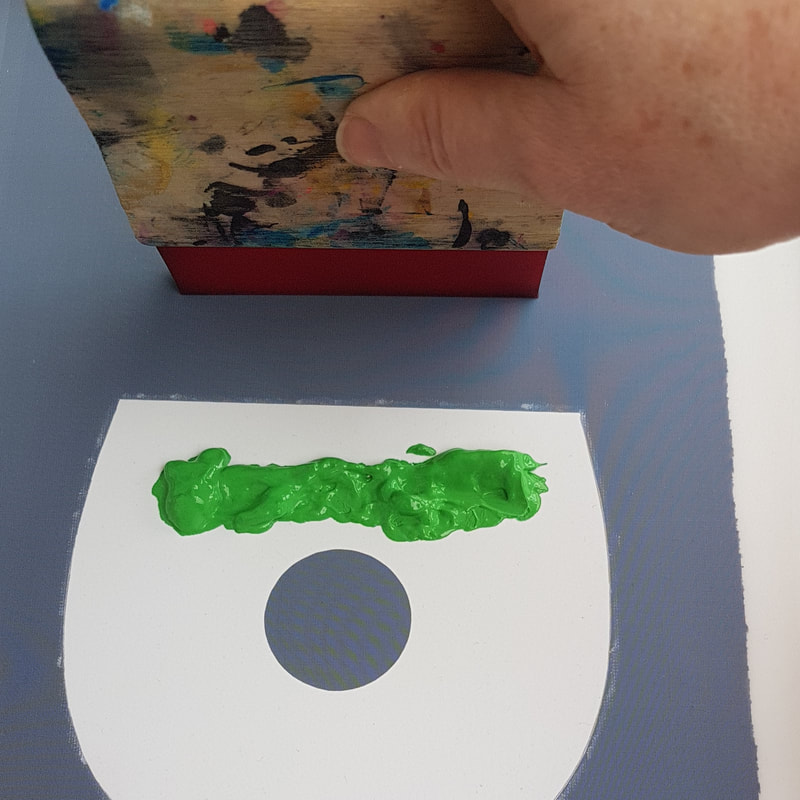
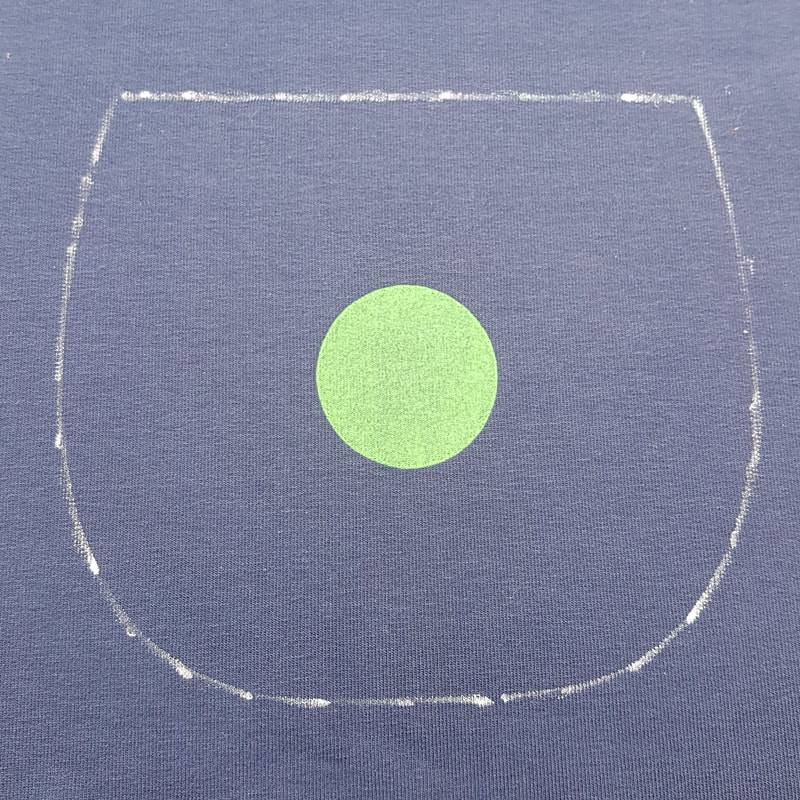
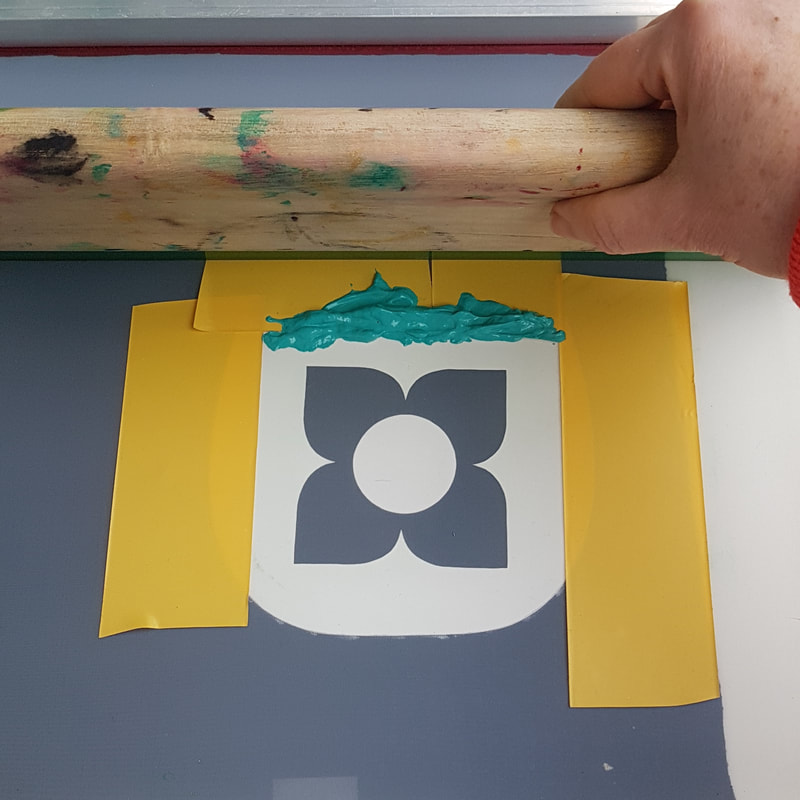
6t. De zakken klaar om opgestikt te worden. The pockets ready to be stitched on the skirt. 7. De bloem op de zak zeefdrukken Silkscreening the flower design on the pocket
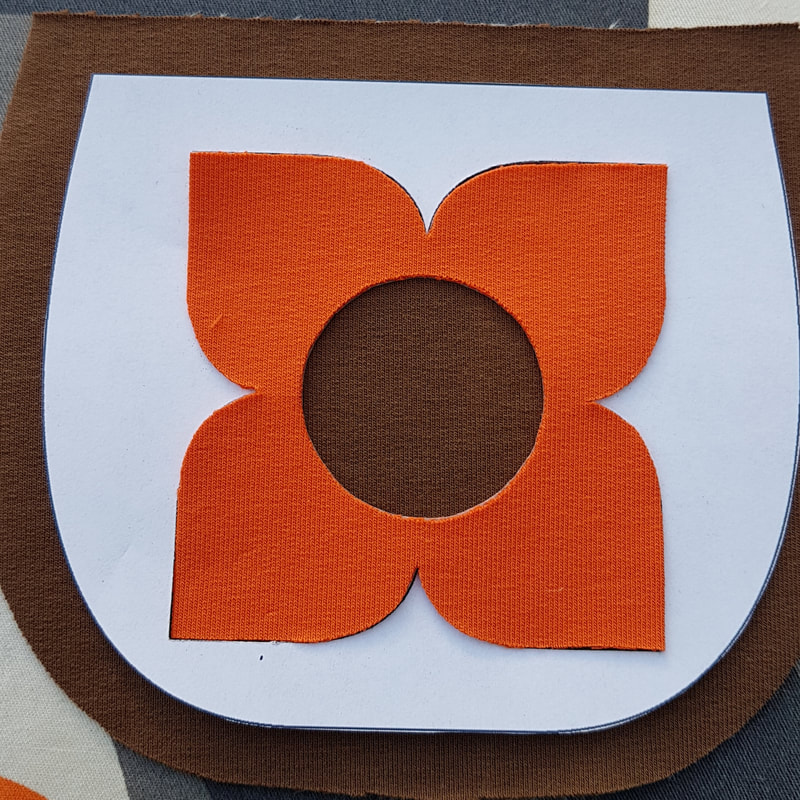
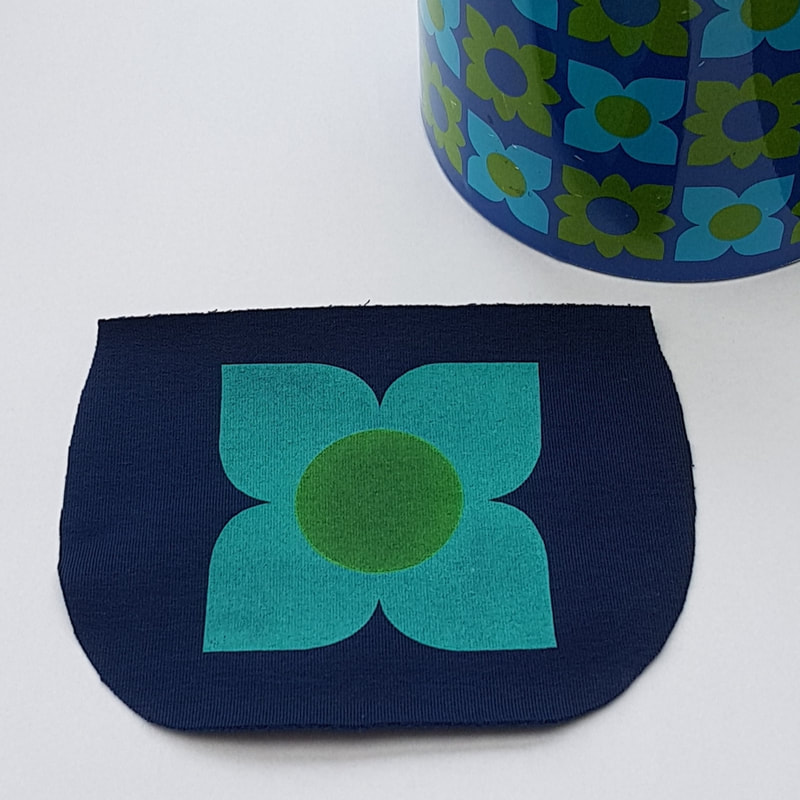 7k. De bloem is geprint. Strijk nogmaals om deze te fixeren. The flower is printed. Iron again to fix it. |

For all the latest patterns to buy visit my Etsy shop today. |