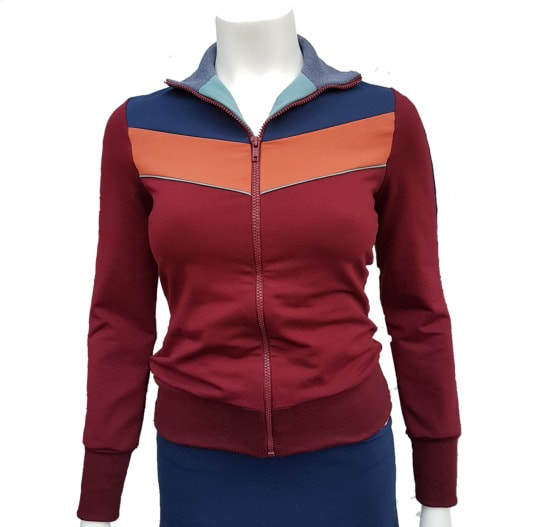
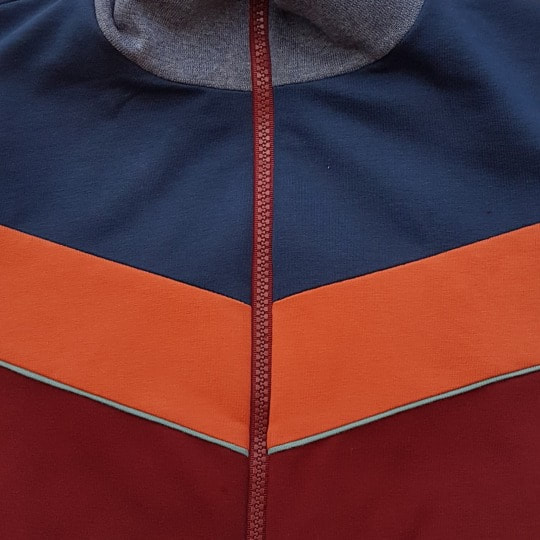
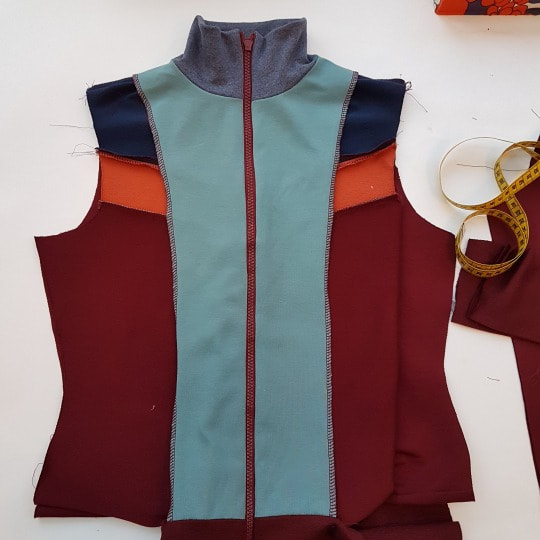
Zipper top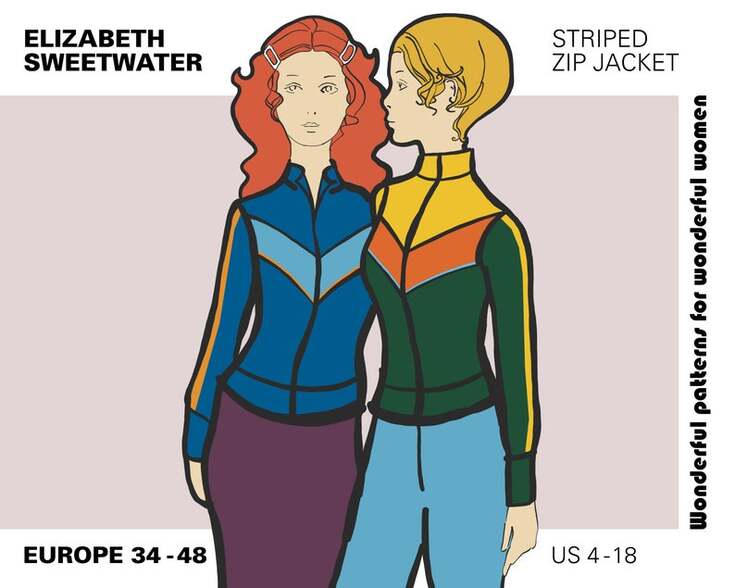 Introductie Heerlijk veelzijdig ritsvestje met een knipoog naar de jaren ‘70 met een aangesloten pasvorm. Draag ’m sportief met jeans en sneakers of met een broek met soulpijpen en hakken. Maak ‘m zo kleurrijk als je wil door gekleurde banen. Of kies voor een basic in uni met alleen een pipingbandje. Het materiaal gebruikt voor deze jurk is French terry maar ze is ook leuk in Nickyvelours. Introduction Super versatile fitted zipper sweat top with a nod to the seventies. Pair with jeans and sneakers for a sporty look or with heels and flares for a fun, feminine outfit. You can create a top as colourful as you like by adding stripes and colour block. Or keep it basic in just one colour with a piping accent. I have used French terry for the purpose of this tutorial. Nickyvelours also works well.
1. De voorbereiding Getting prepared
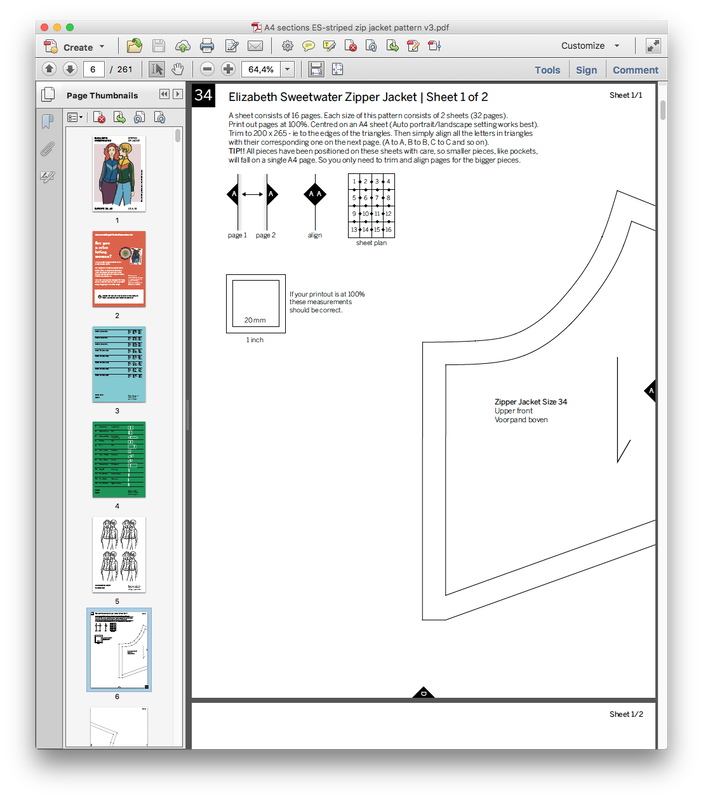
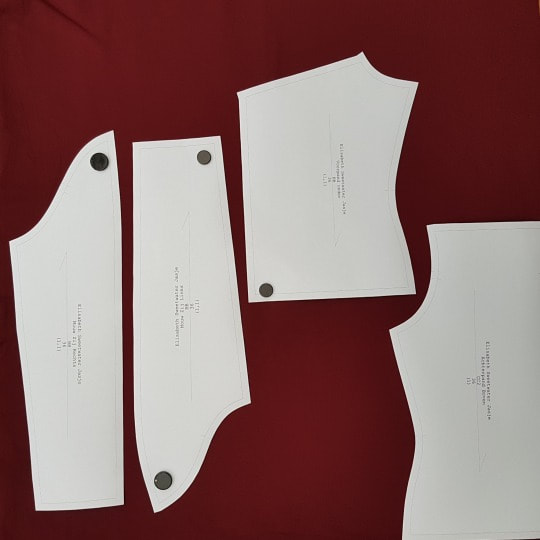
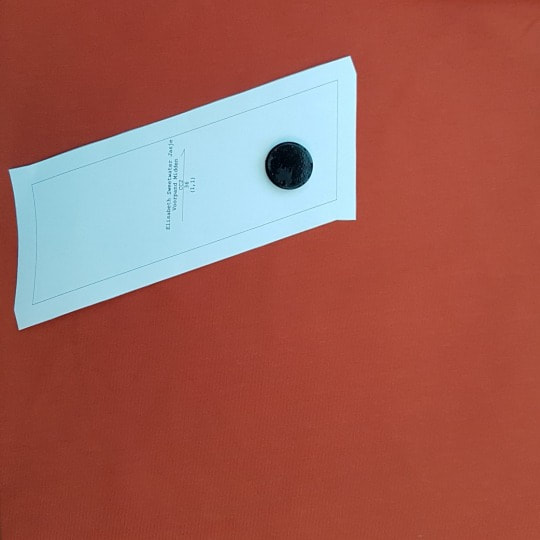
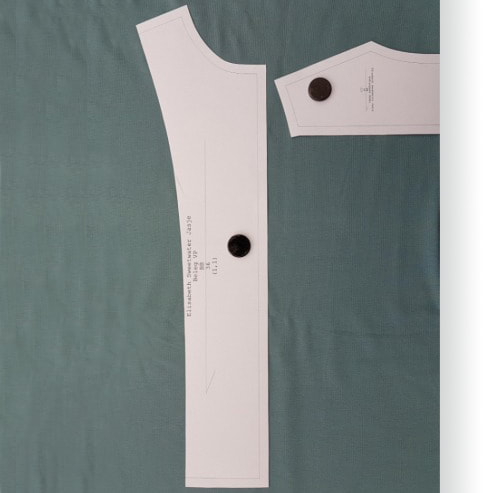
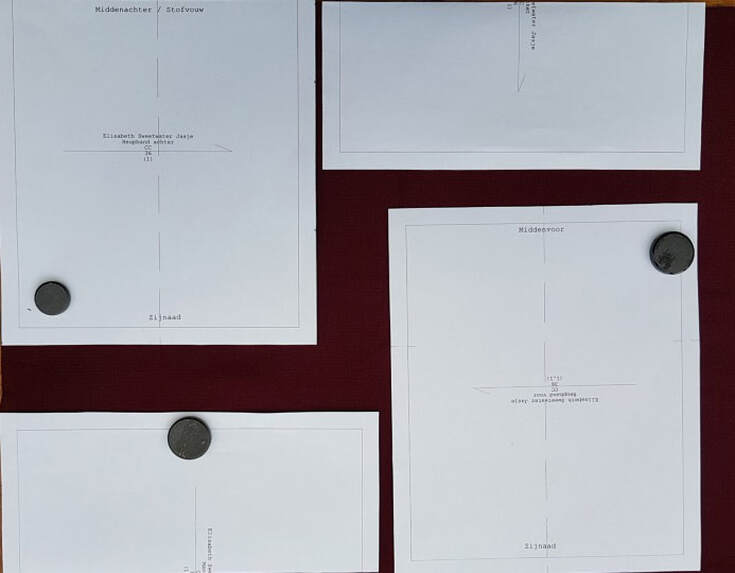
1a. Check de maattabel in de PDF voor de juiste maat. Ga naar het patroon in jouw maat via de bookmarks in de PDF. Volg de instructies en print je eigen maat uit. Plak alle paginas aan elkaar met behulp van de driehoekjes die aan elkaar gelegd moeten worden (A aan A, B aan B, enz.). Trek alle patroondelen over op patroonpapier, neem ook de kniptekens over, of knip direct de patroondelen uit. Naadtoeslag is inbegrepen. Check the size chart in the PDF for your size. Use the bookmarks in the PDF to navigate to your size. Follow the instructions and print out your size. Stick together the pages with tape aligning all the letters in black triangles with the corresponding one on the following sheet (A to A, B to B, etc.). Choose Trace all pattern pieces on pattern paper, also copy all the markings, or cut the pieces out. Seam allowance is included. Patroondelen - Voorpand knip 2x - Streep voorpand knip 2x - Schouderpand knip 2x - Achterpand knip 1x aan stofvouw - Achterpas knip 1x aan stofvouw en 1x voor beleg aan stofvouw - Mouwdelen knip 2x - Streep mouw knip 2x aan stofvouw - Heupband knip 1x aan stofvouw - Manchetten knip 2x aan stofvouw (het patroondeel is 1 hele manchet. Als je de manchetten aan de stofvouw knipt dan moet je het patroon even vertikaal doorknippen/vouwen. Zo leg je het voordeliger in.) - Kraag knip 1x aan stofvouw - Beleg knip 2x Patternpieces - Front piece cut 2x - Stripe front piece cut 2x - Shoulder piece cut 2x - Back piece cut 1x on fold - Back yoke cut 1x on fold en 1x for facing on fold - Sleeve parts cut 2x - Stripe sleeve cut 2x on fold - Hip band cut 1x on fold - Cuffs cut 2x on fold (the pattern part is for a whole cuff, if you cut the cuff on fold than you need to fold/cut your paper pattern piece in half lengthways. This way you waste less fabric.) - Collar cut 1x on fold - Facing cut 2x 2. Delen op de stof liggen Layout pattern pieces on fabric 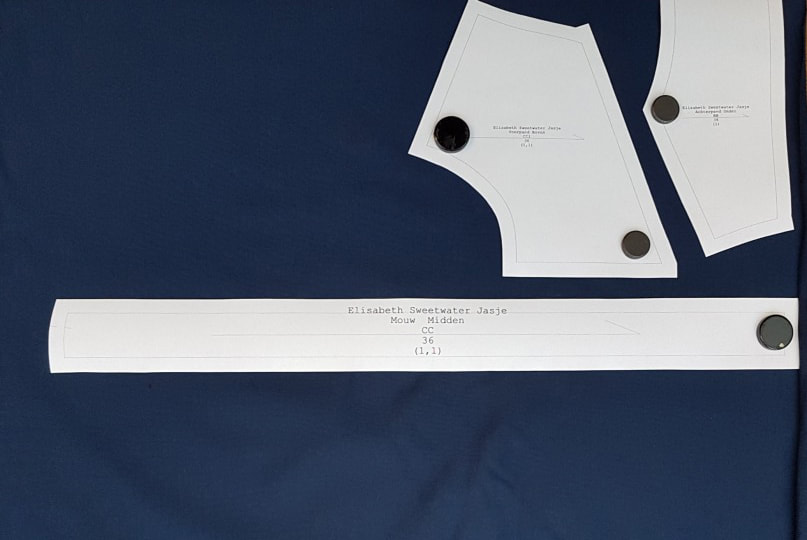 2a. Mouw streep, voorpas en achterpas. Sleeve stripe, front yoke and back yoke.
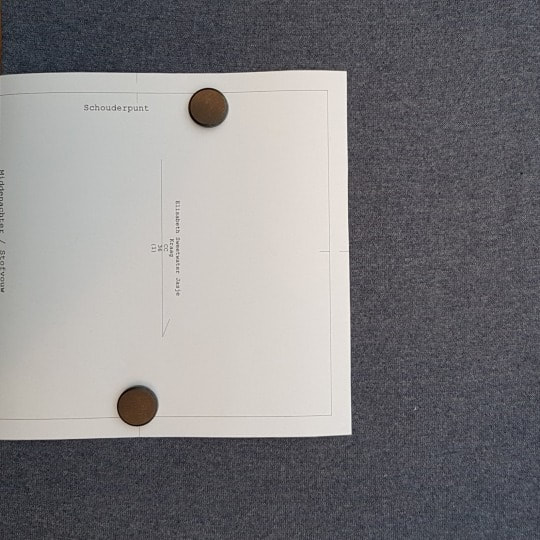
 2f. Manchetten (hier 2 halve patroondelen aan de vouw gelegd), heupboord voor en achter aan vouw. Cuffs (in this case 2 halves of the pattern on fold), hip band front and back on fold. 3. Checklijst Checklist 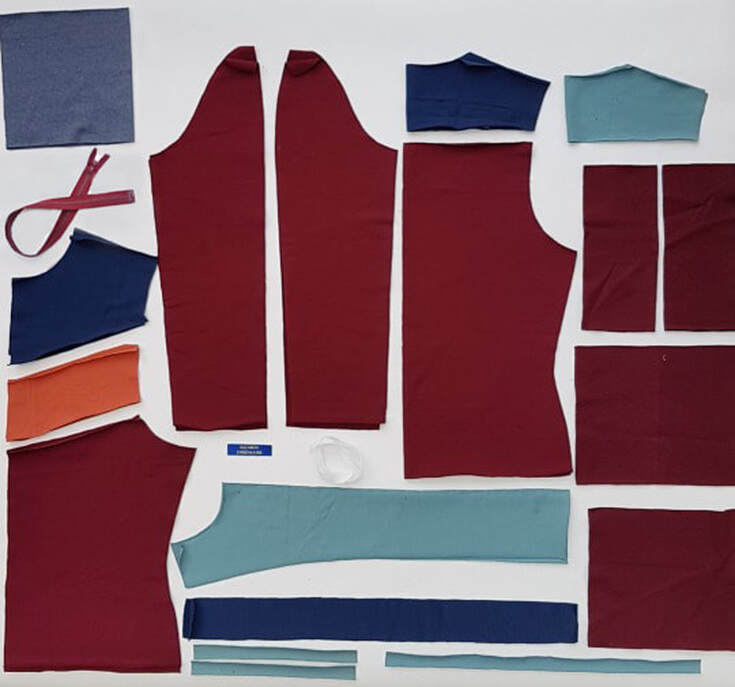
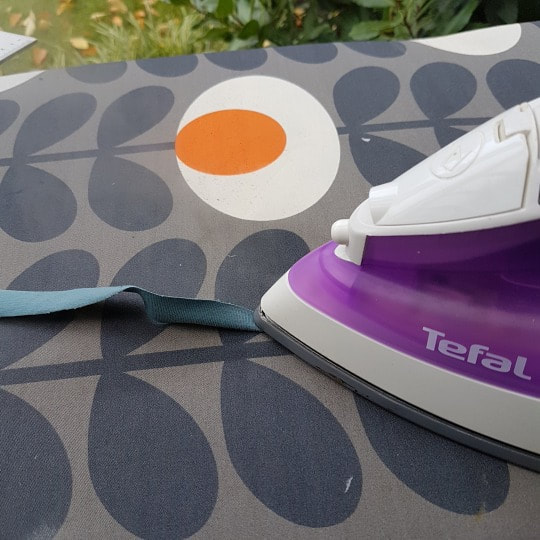
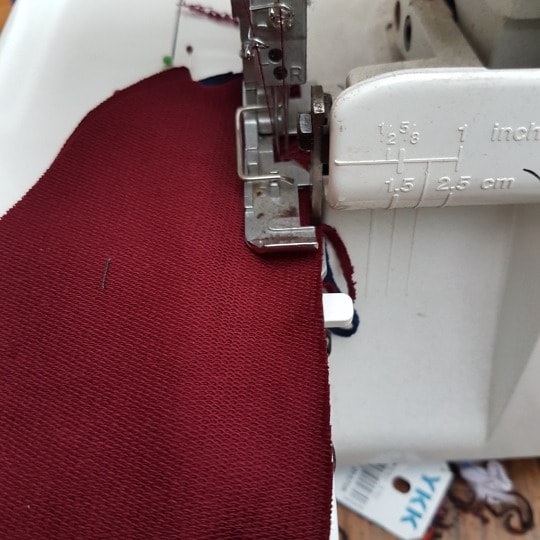
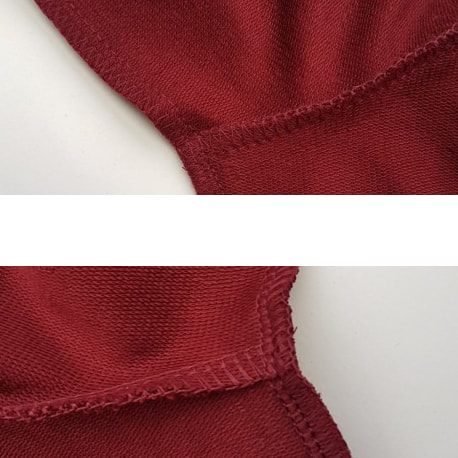
Goed om te weten Ik ga in deze werkbeschrijving uit van het gebruik van een overlock machine. Mocht je daar niet over beschikken dan kun je een zig-zag steek gebruiken op een gewone naaimachine. Ik raad dan wel aan om er altijd een stretch stiksel naast te plaatsen. De naadtoeslag van de patronen is 1cm. Check wat de breedte instelling van je naad is op je lockmachine is. Is het 0,7cm dan kun je tijdens het stikken 3mm wegsnijden. De stretchnaden stik je met een stretchsteek instelling op de gewone naaimachine. Good to know For this tutorial an overlock machine was being used for sewing most of the garment. However, it is possible to use a regular sewing machine and sew with a zigzag stitch. I do recommend sewing an extra stretch stitch next to it to create clean lines. The seam allowance of the patterns is 1/3”. Check the seam width setting of your overlock machine. Is it less than 1/3"? Then you can cut away a little while sewing. The stretch seams can be sewn using the stretch setting on a regular sewing machine. 4. Markering, opstrijken van band en afwerken van randen Marking pieces, ironing on facing tape and finishing edges 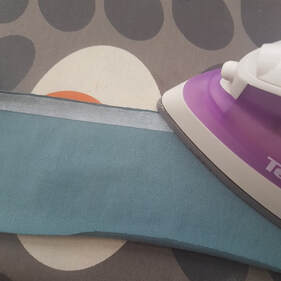
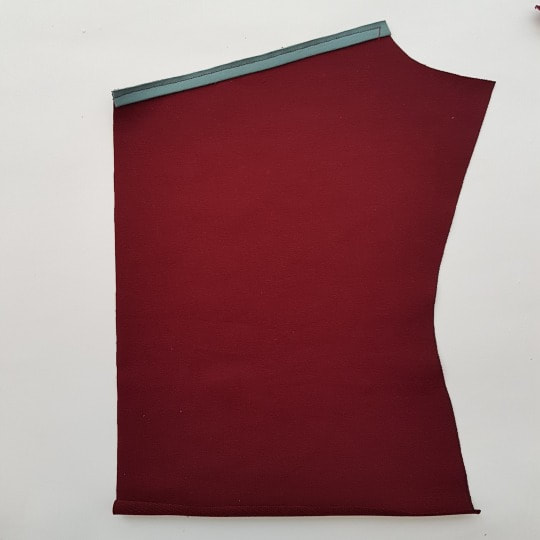
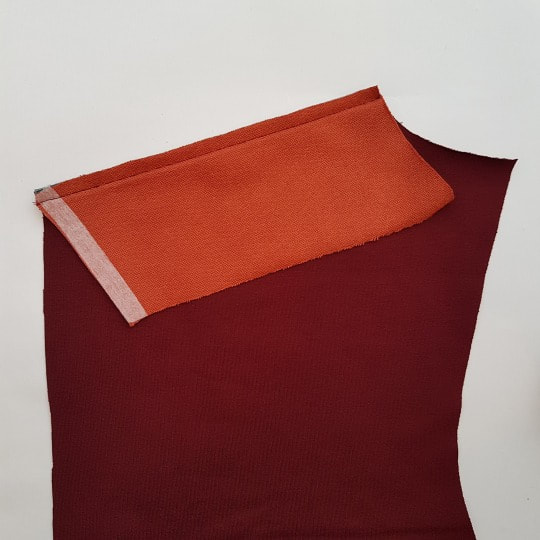
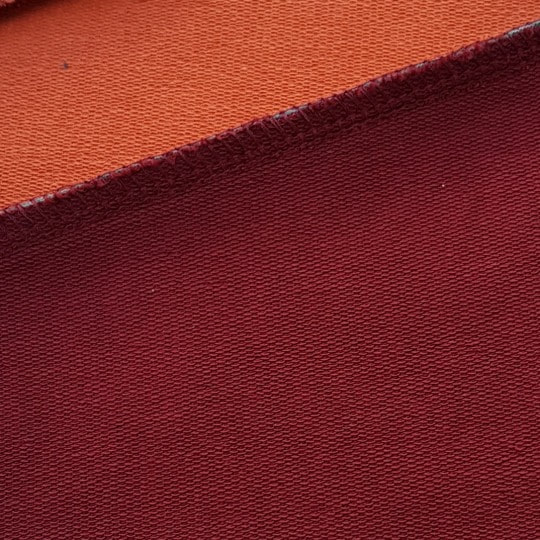
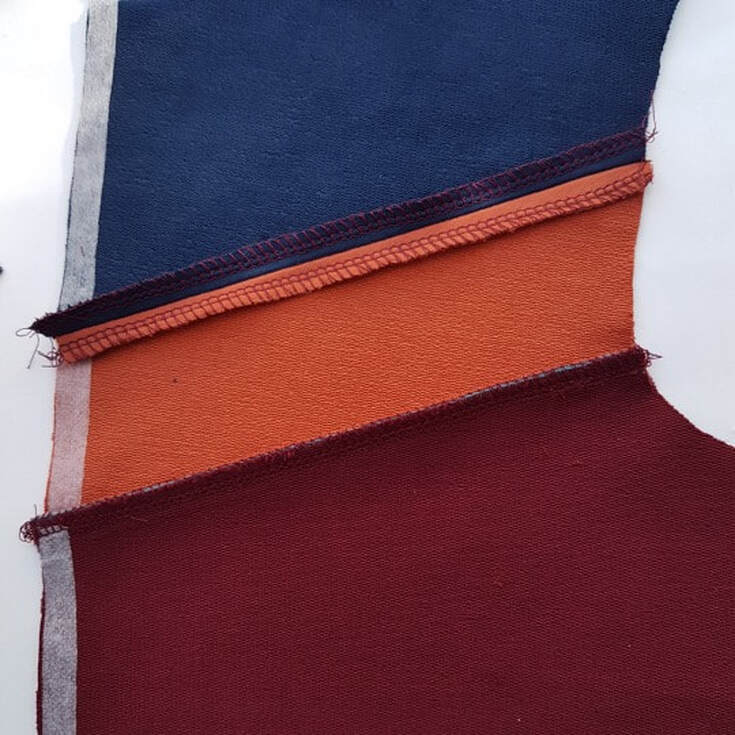
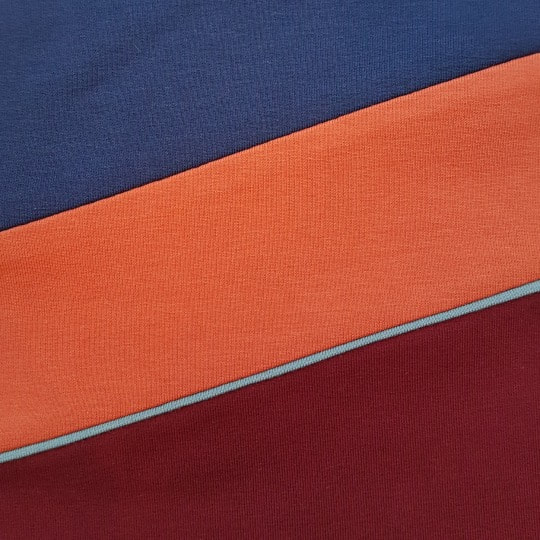
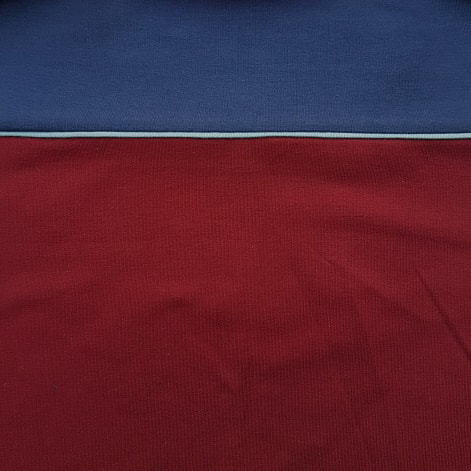
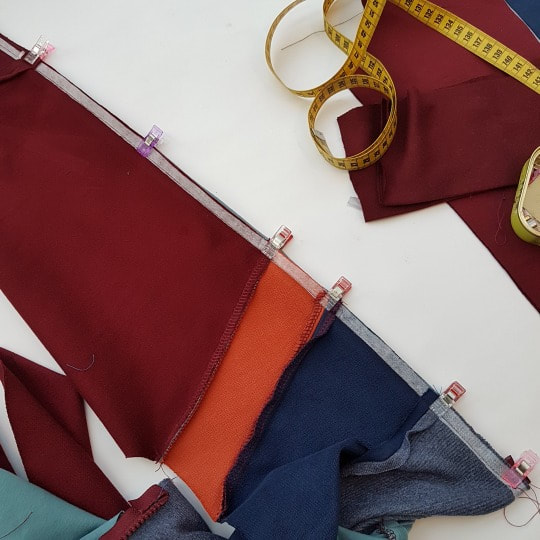
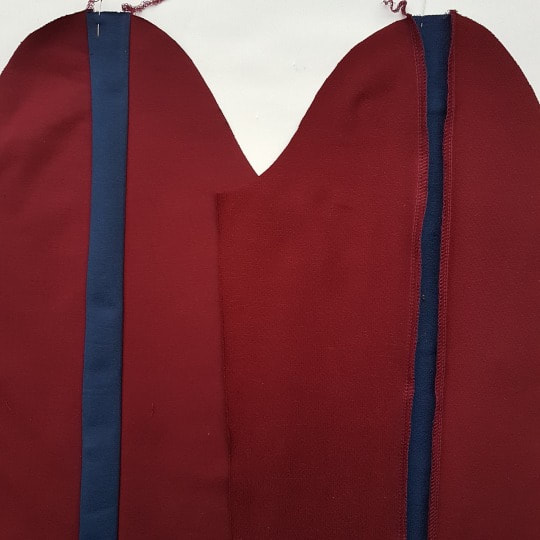
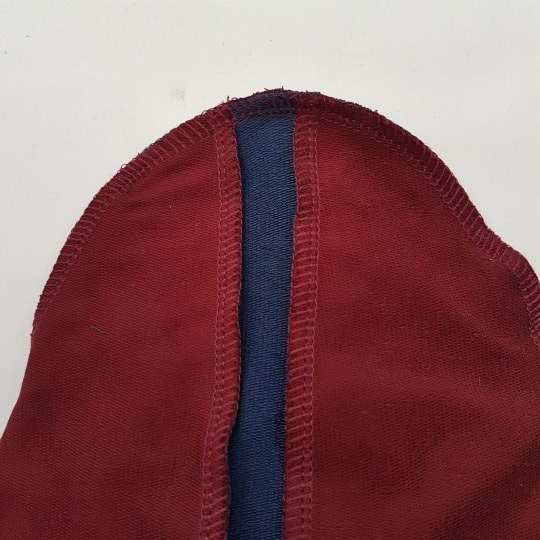
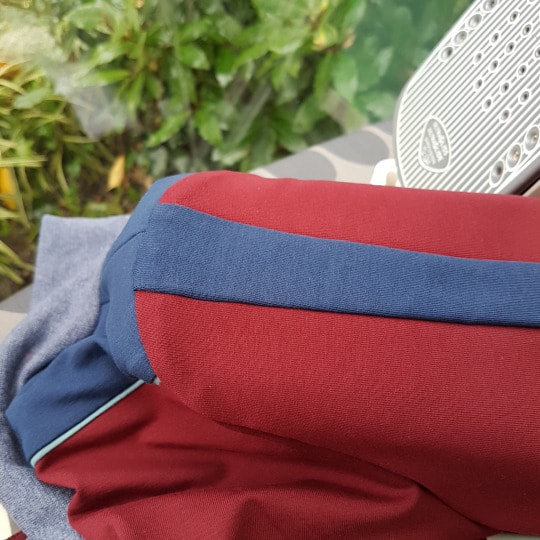
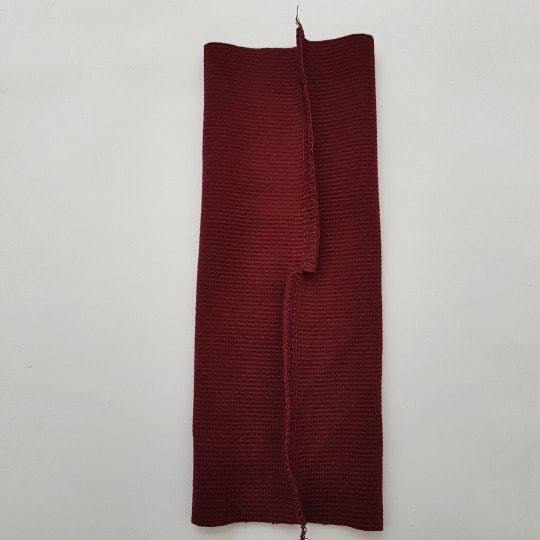
5. Streep, piping en achterpas Piping, stripe and backyoke
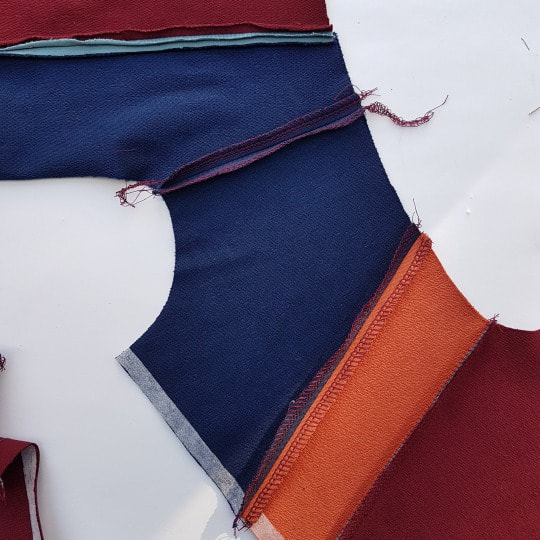
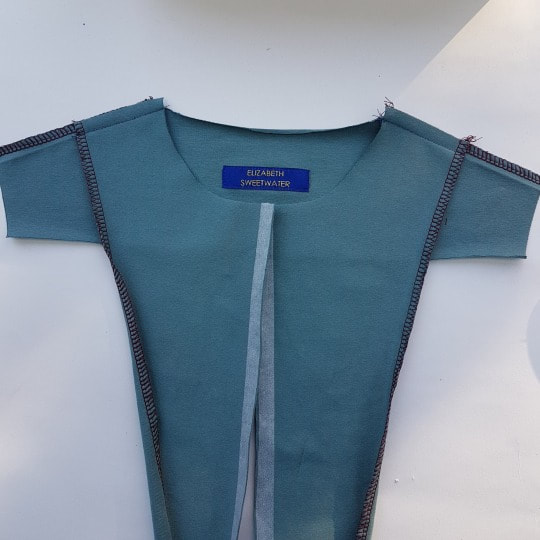
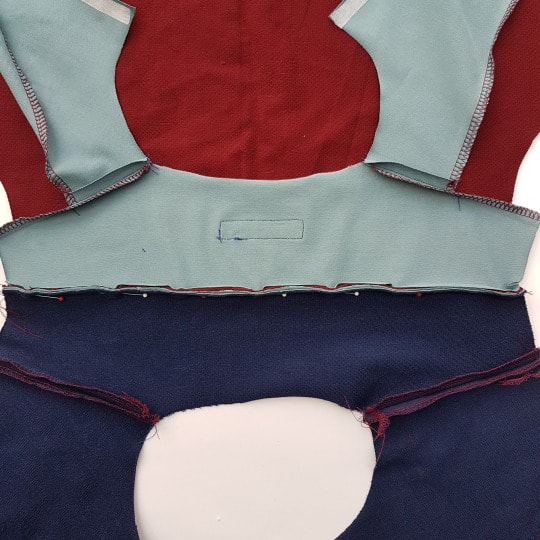
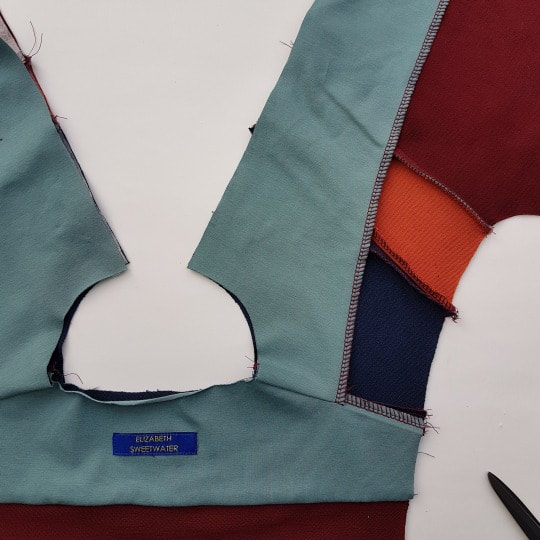
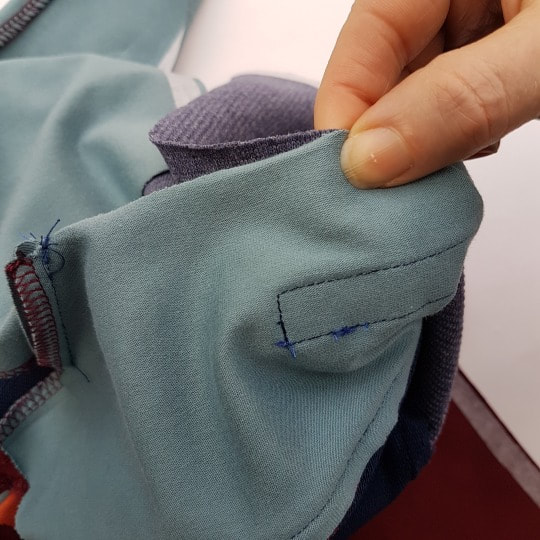
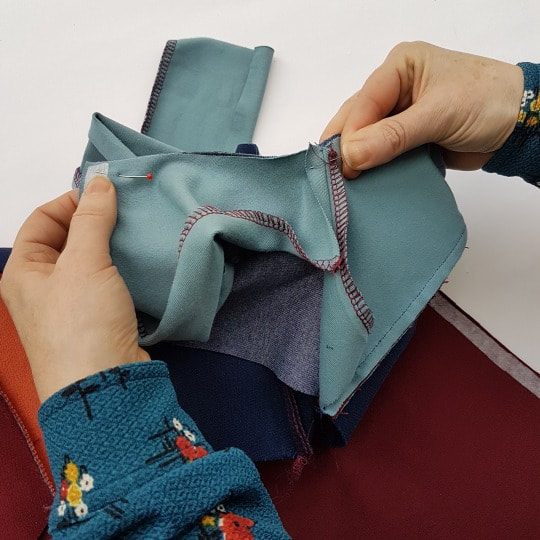
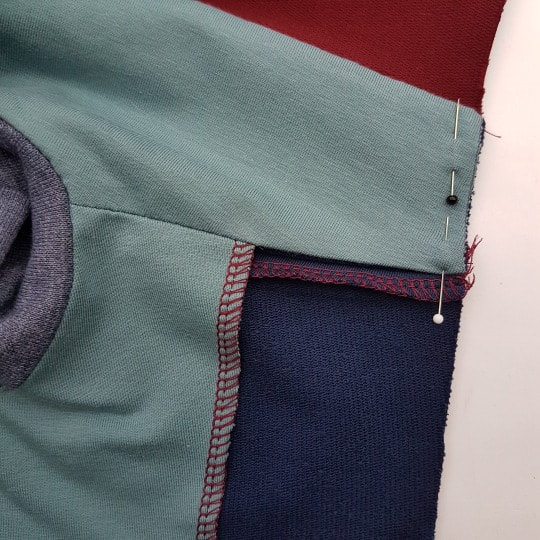
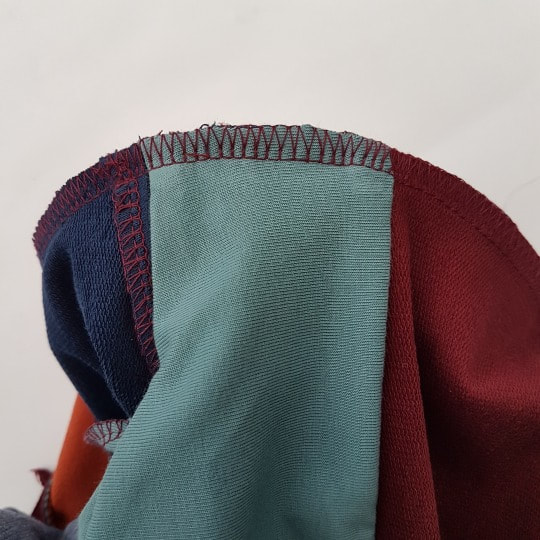
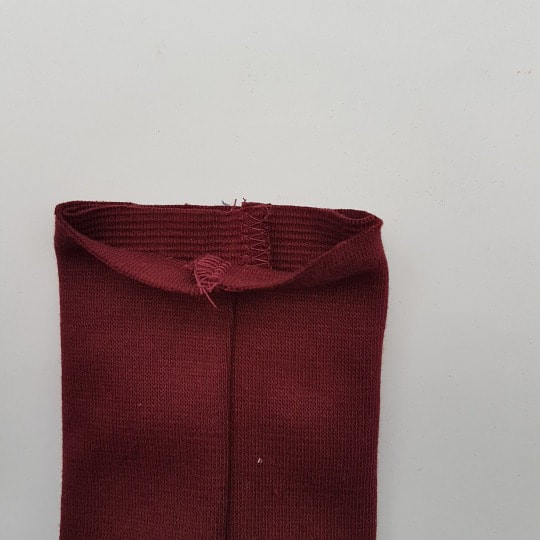
6. Afwerken van de pandjes met beleg en kraag aanzetten Finishing the top with facing and attaching the collar
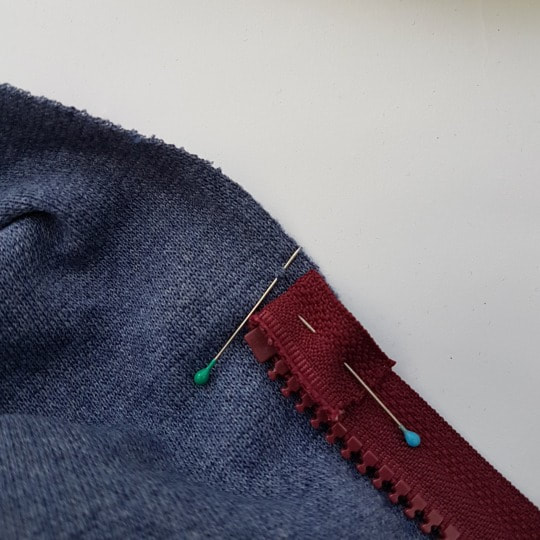
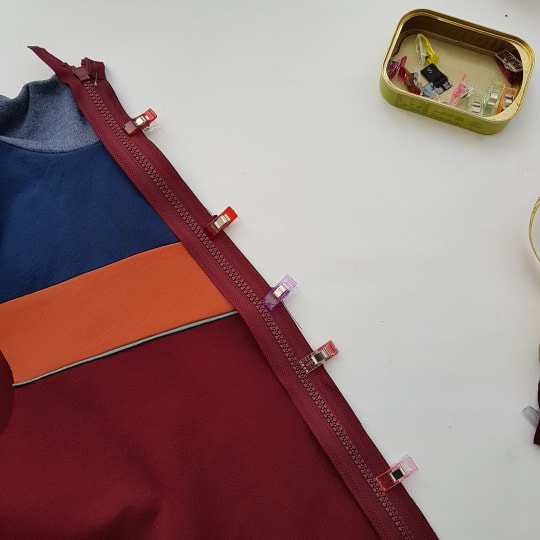
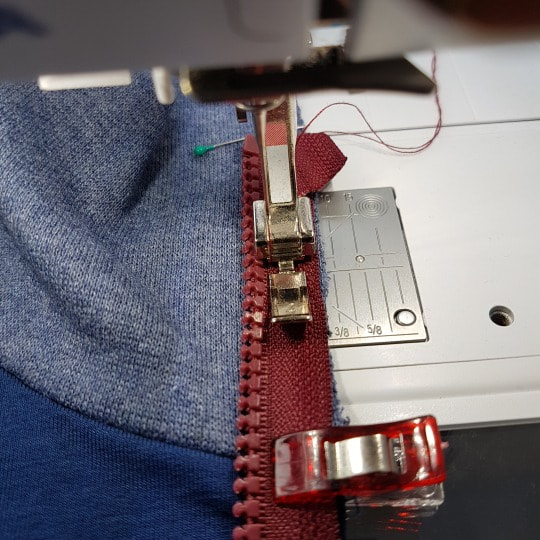
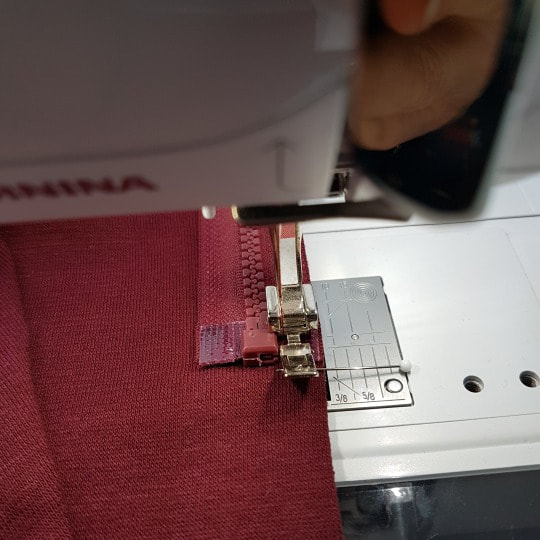
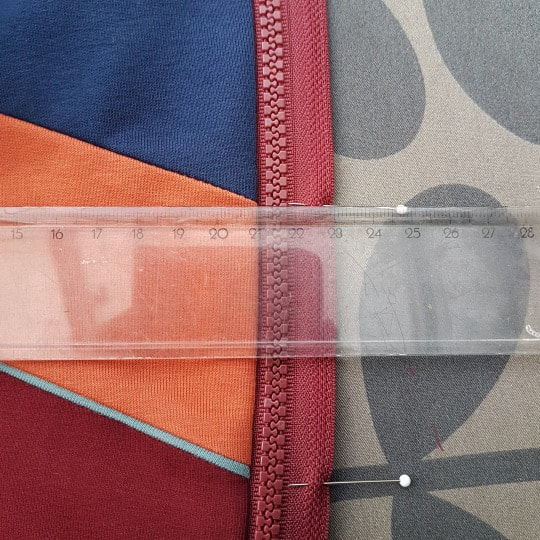
7. Het inzetten van de rits Attaching the zipper 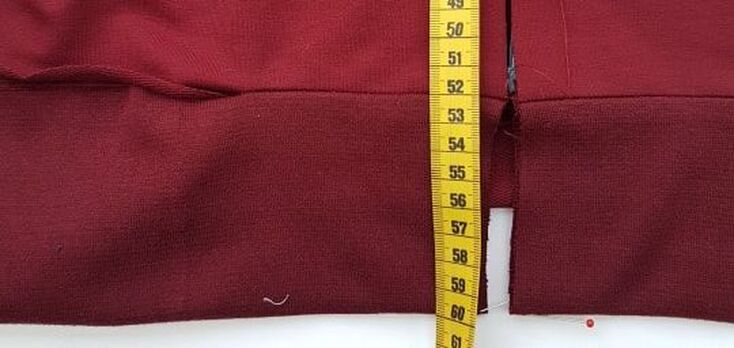 7a. Meet voor alle zekerheid of de lengte van top van kraag tot onderkant 60 cm is. (de lengte van de rits.) Corrigeer indien nodig. Check if the measurement from top of collar to bottom is 24 inches (the length of the zipper).
8. De mouwen The sleeves
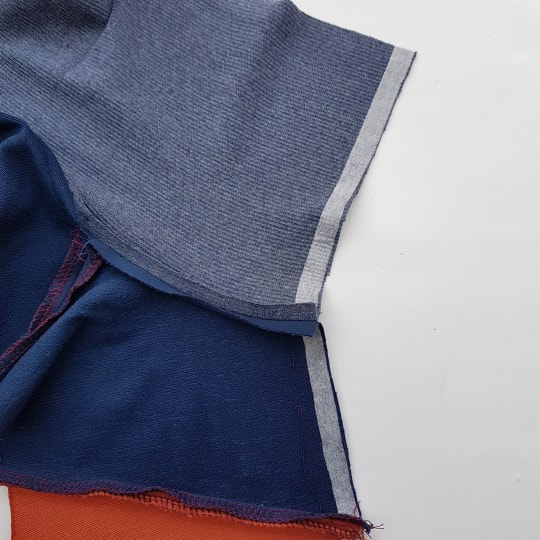
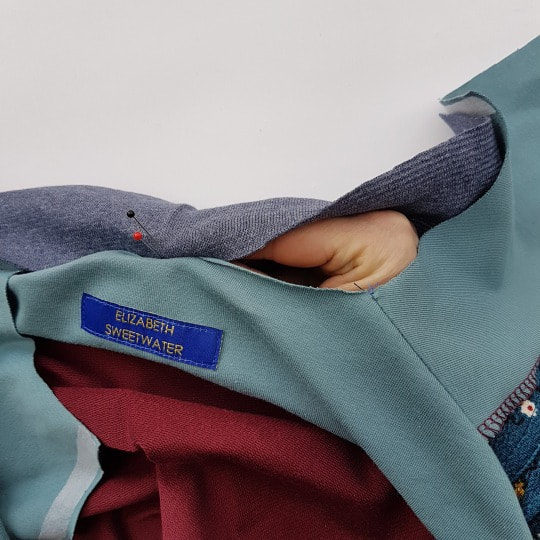
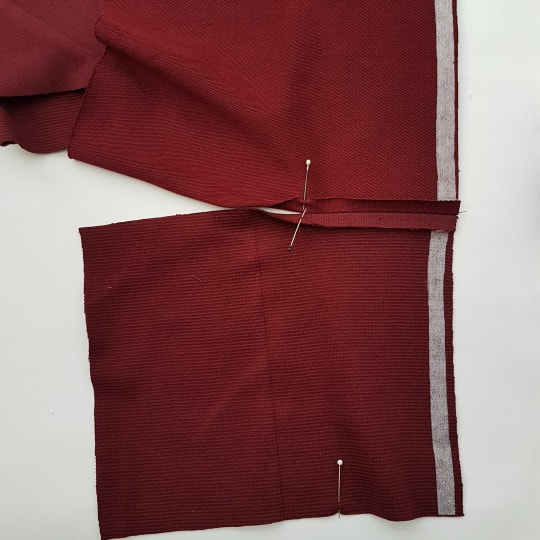
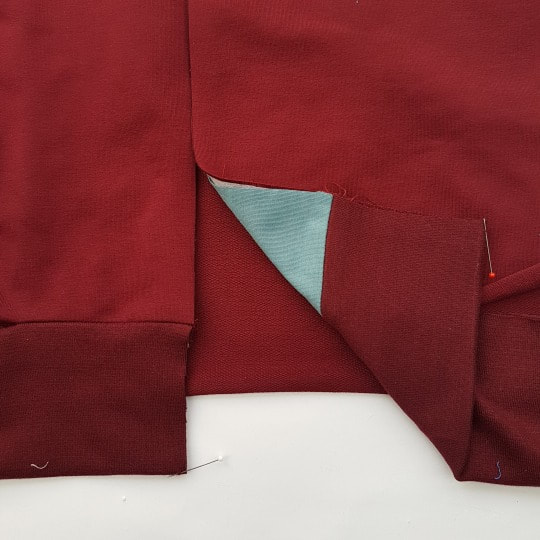
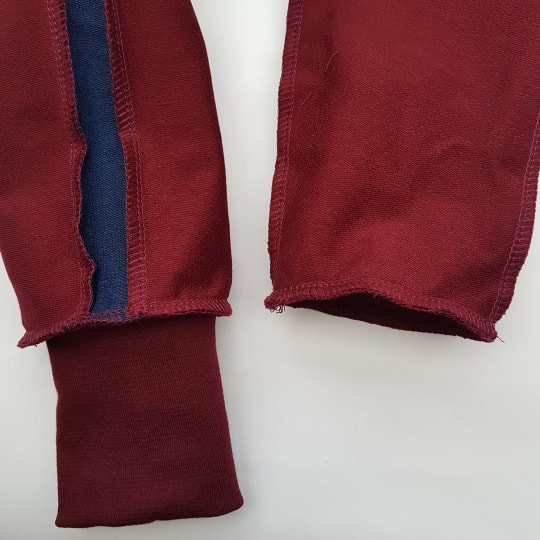
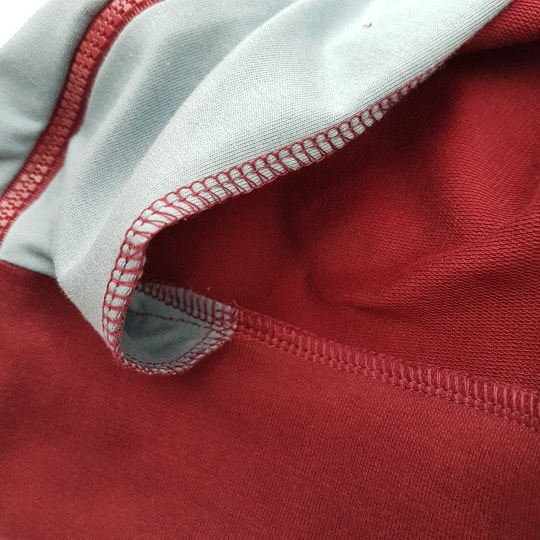
9. De zijnaden, heupband en manchetten Side seams, hip band and cuffs
Je vest is klaar! Hopelijk had je plezier in het maken. You are done! Hope you enjoyed it. 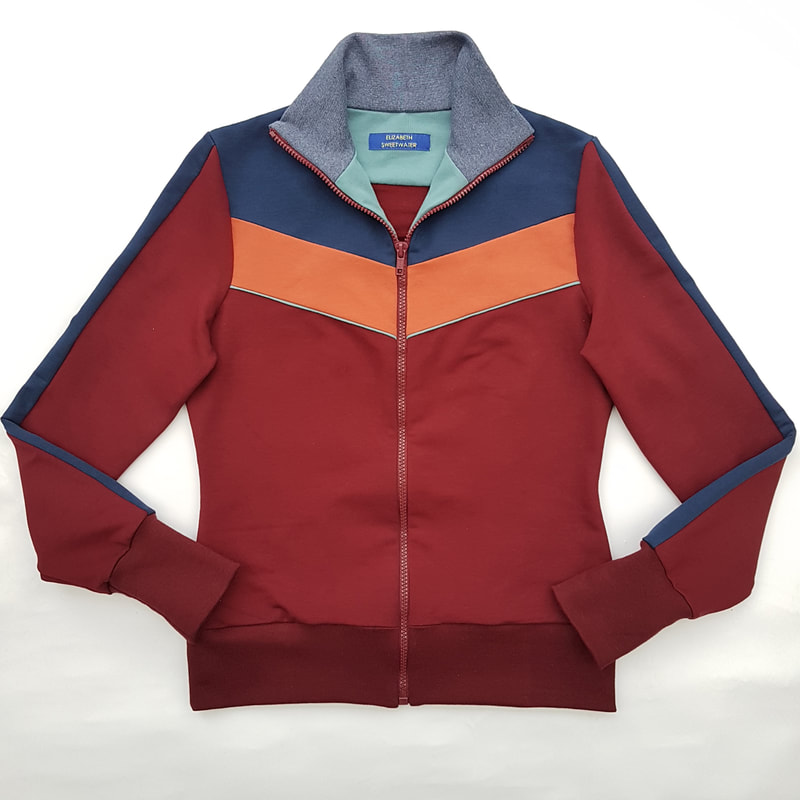 Comments are closed.
|

For all the latest patterns to buy visit my Etsy shop today.
|