|
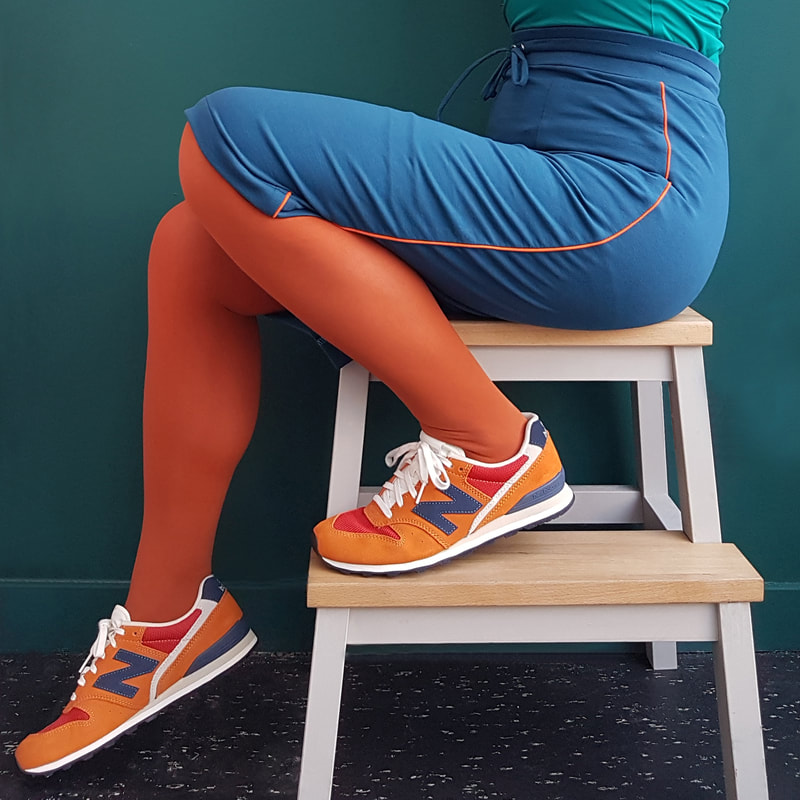
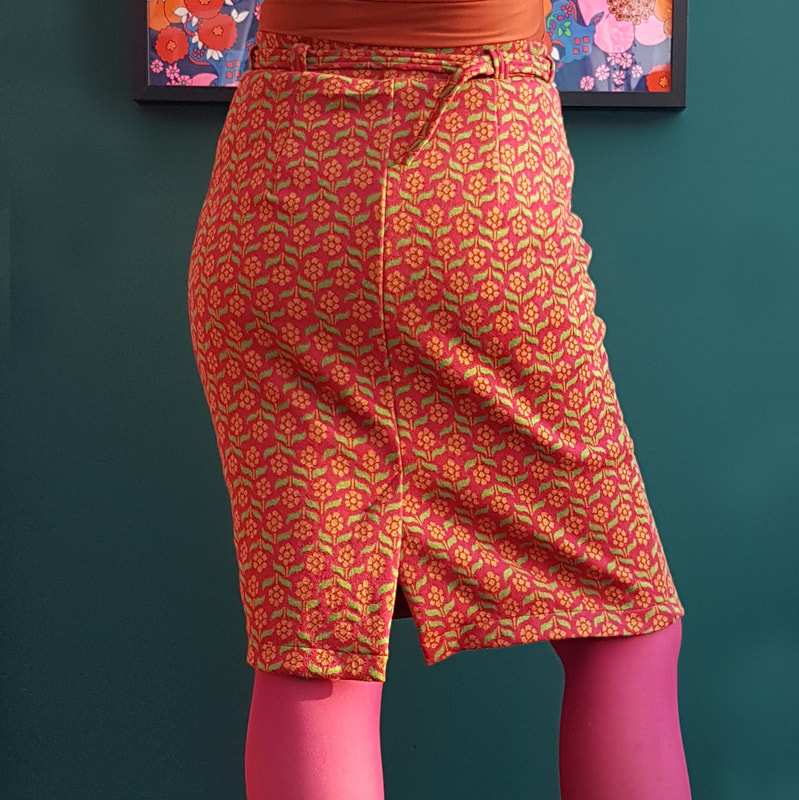
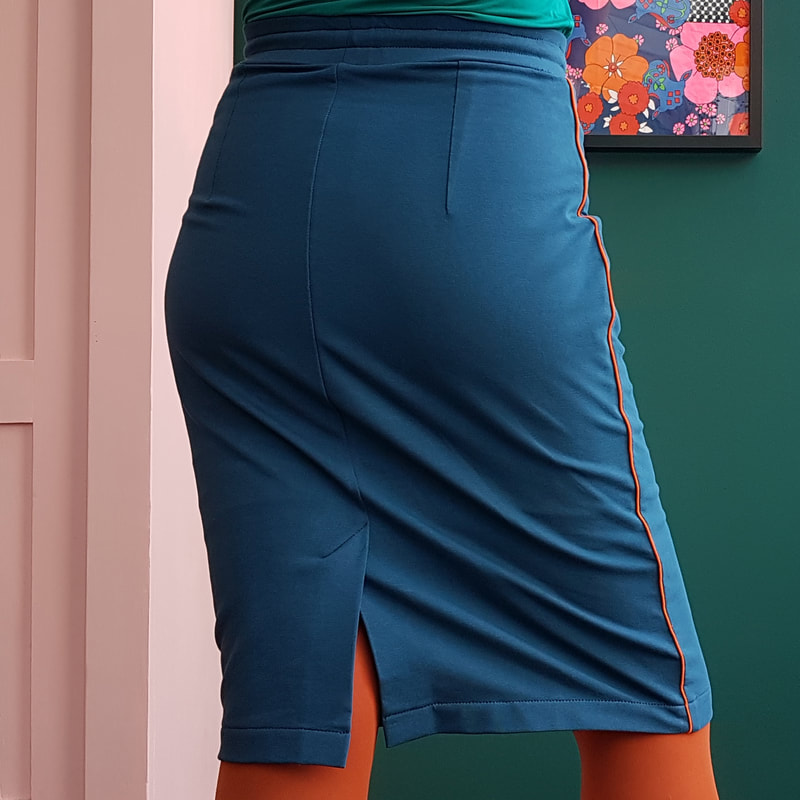
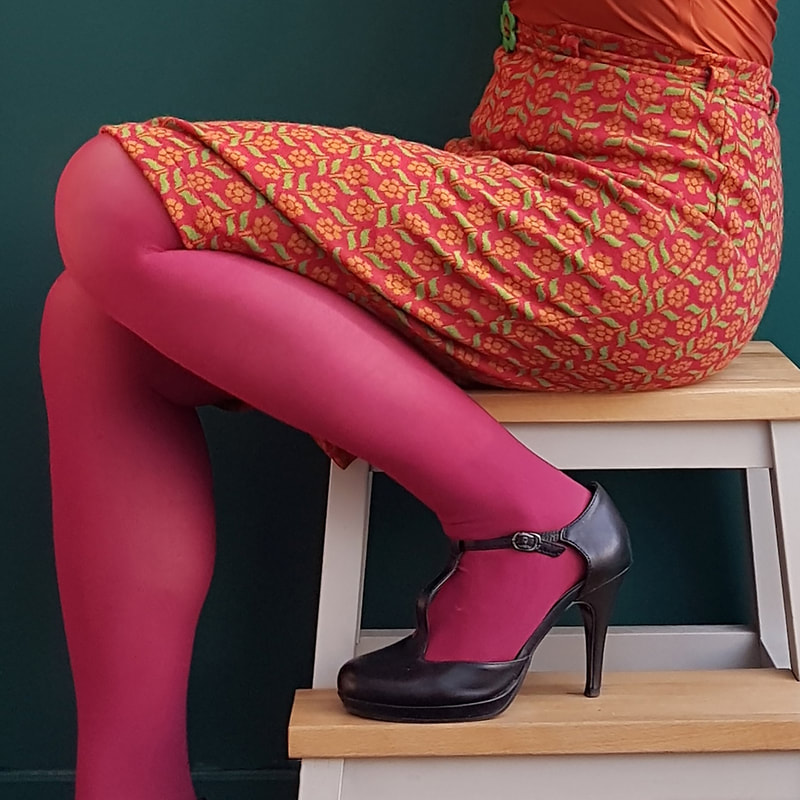
Pencil Rok 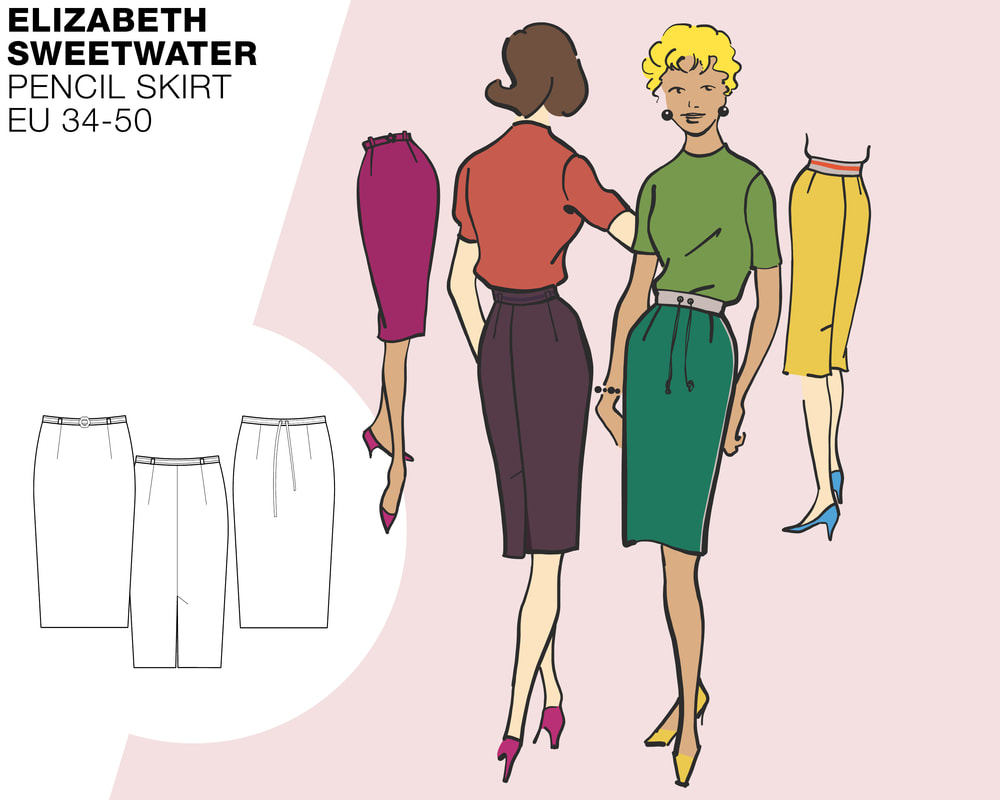 Introductie Helemaal hip, deze pencilskirt. Je kunt ‘m sportief dragen met een paar sneakers en een tshirt of vrouwelijk met pumps en een mooie blouse. Het patroon is geschikt voor stevige tricots als french terry en punta. Je kunt kiezen uit twee elastische tailleband opties. Het rokje is nauwsluitend maar heeft achter een split. Je moet er natuurlijk wel mee kunnen fietsen. Introduction Totally hip, this pencilskirt. You can wear it sporty with a pair of sneakers and a tshirt or feminine with pumps and a beautiful blouse. The pattern is suitable for sturdy jerseys such as French terry and punta. There is a choice of two elasticated waistband options.The skirt is tight-fitting but has a split at the back. You must of course be able to cycle in it.
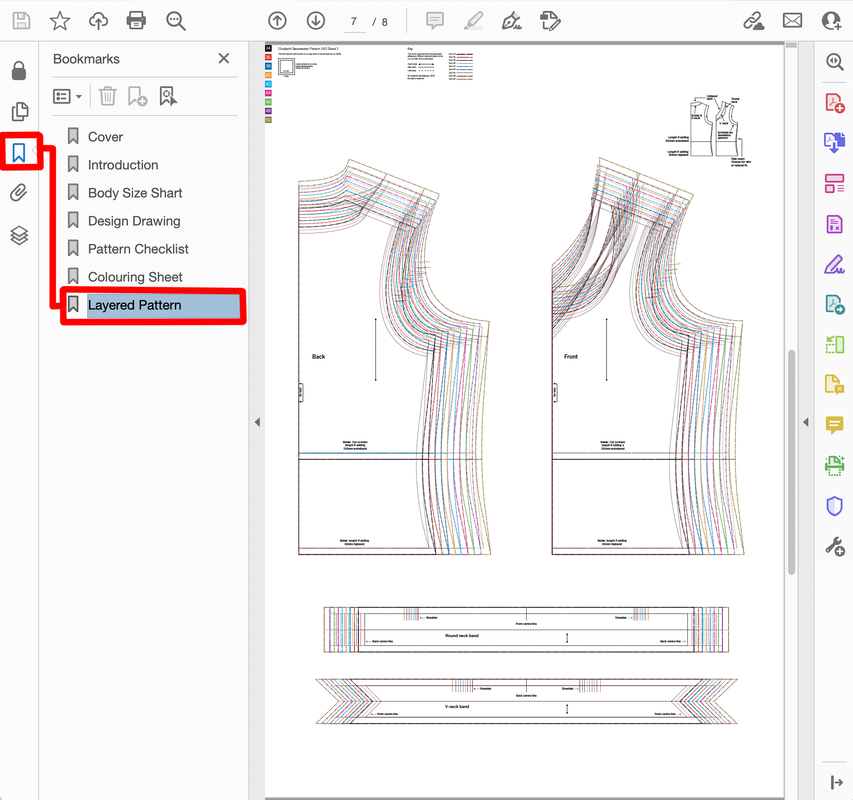
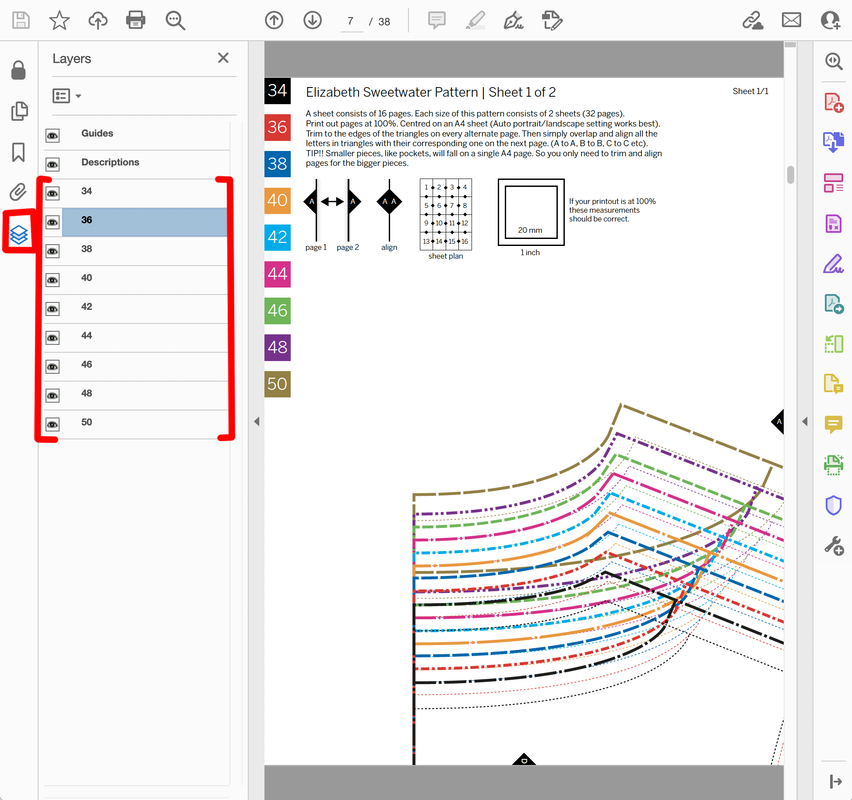
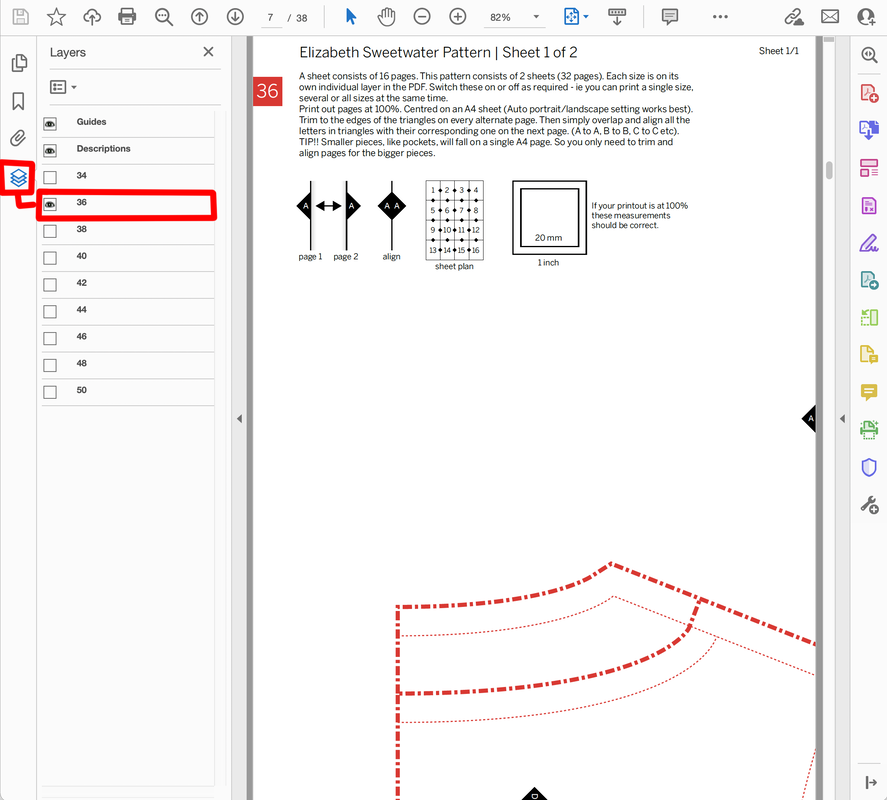
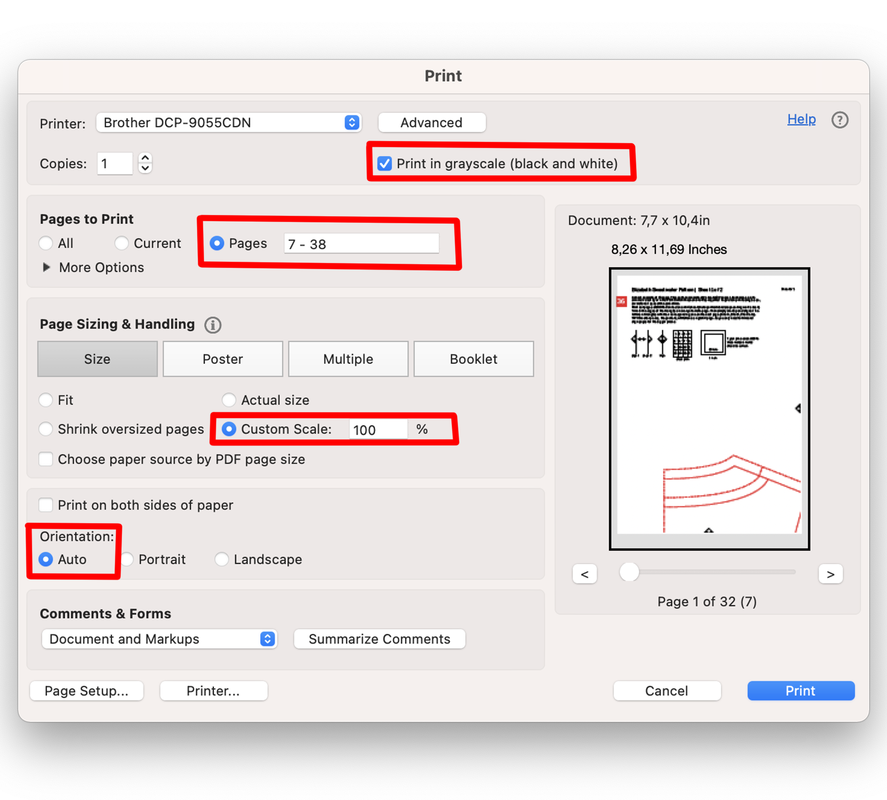
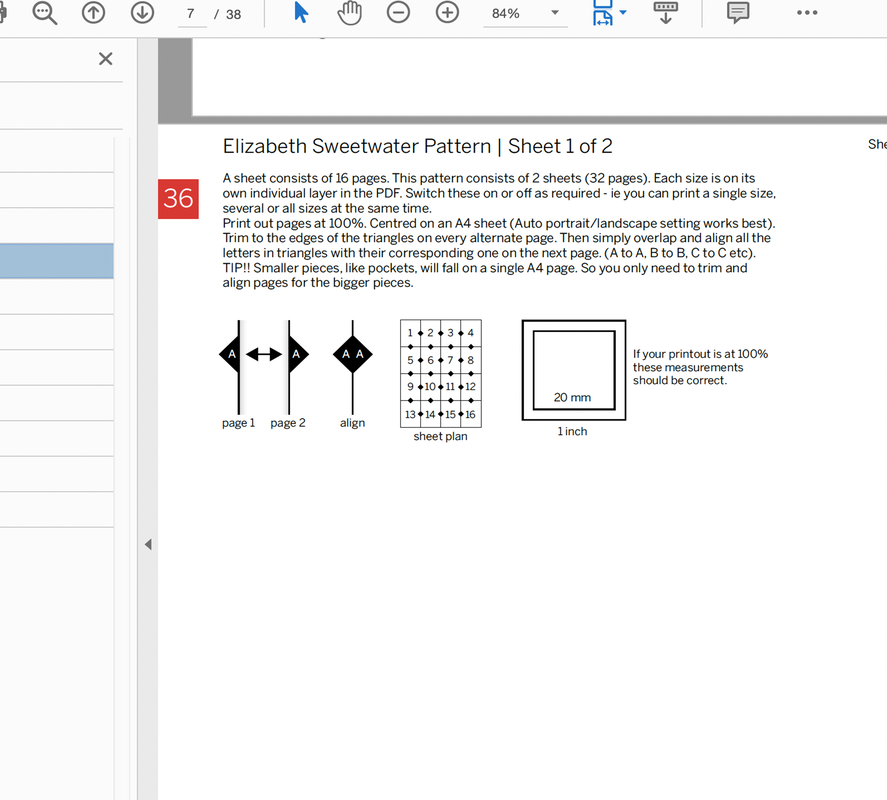
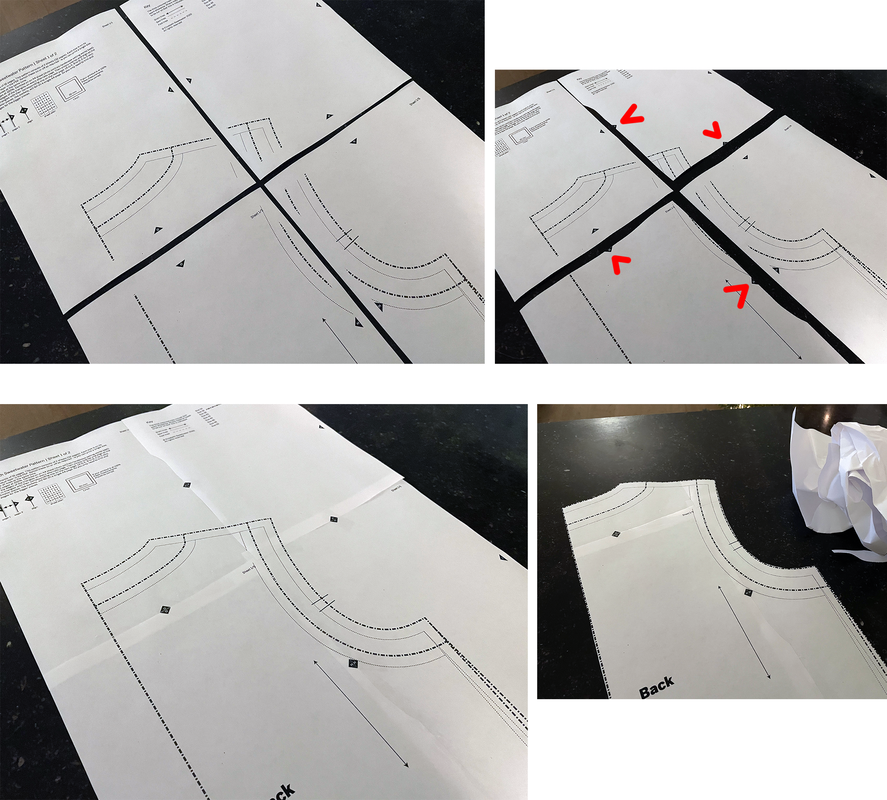
1. De voorbereiding Getting prepared Bij aankoop van een van onze patronen ontvangt u 3 PDF-bestanden: een voor thuisprinters om op A4-papier af te drukken, een tweede voor A0-gebruikers om af te drukken in een printshop en een derde is voor mensen die een overheadprojector gebruiken. De volgende algemene introductietekst geeft een overzicht van hoe onze patroon-pdf's zijn opgezet en legt uit hoe je de A4-versie kunt afdrukken en hoe je de pagina's aan elkaar kunt plakken. A0-gebruikers kunnen bij hun printshop aangeven welke pagina's ze nodig hebben. Op de projector bestanden staan alle panden in dezelfde richting. On purchasing any of our patterns you will receive 3 PDF files: one for home printers to print on A4 paper, a second at A0 is for printshop users and a third is for sewers who use an overhead projector. The following general introduction text provides an overview of how our pattern pdfs are set up and explains how to print out the A4 version and how to stick the pages together. A0 users should simply instruct their printshop which pages they require. Projector users will note that all pieces have the grain direction facing the same way.
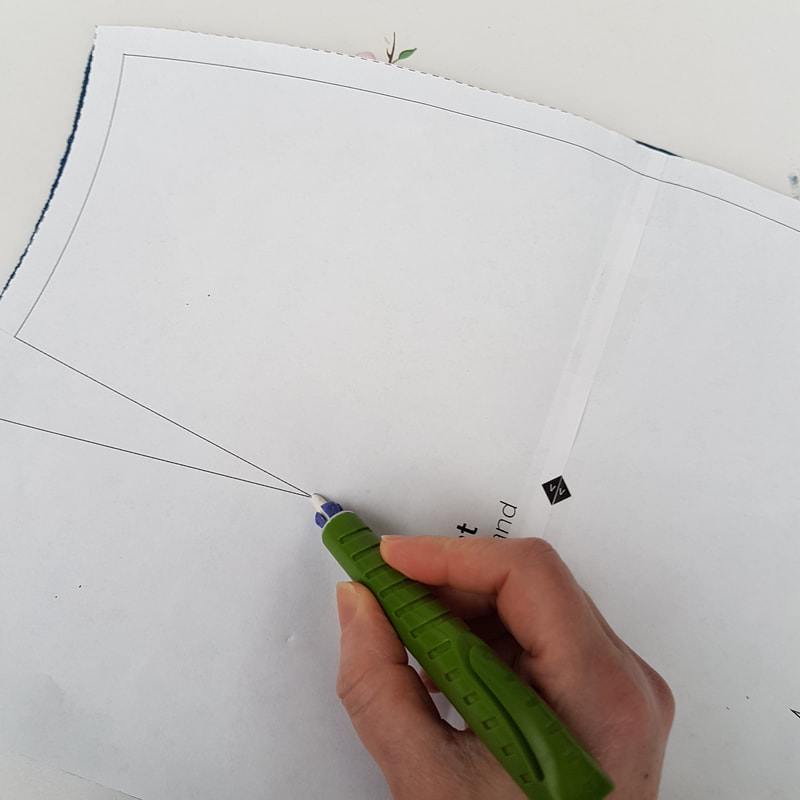
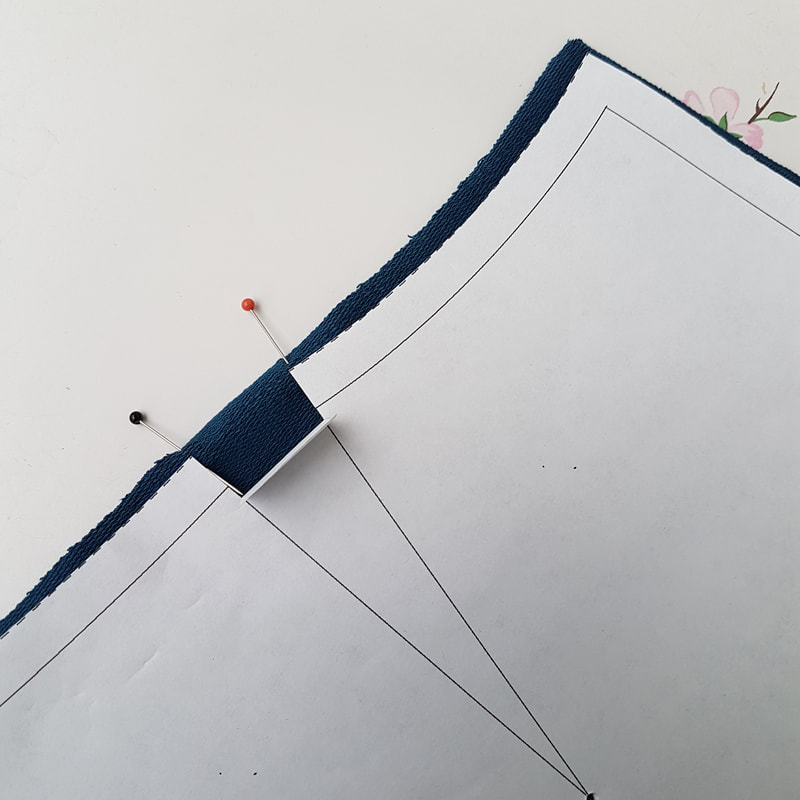
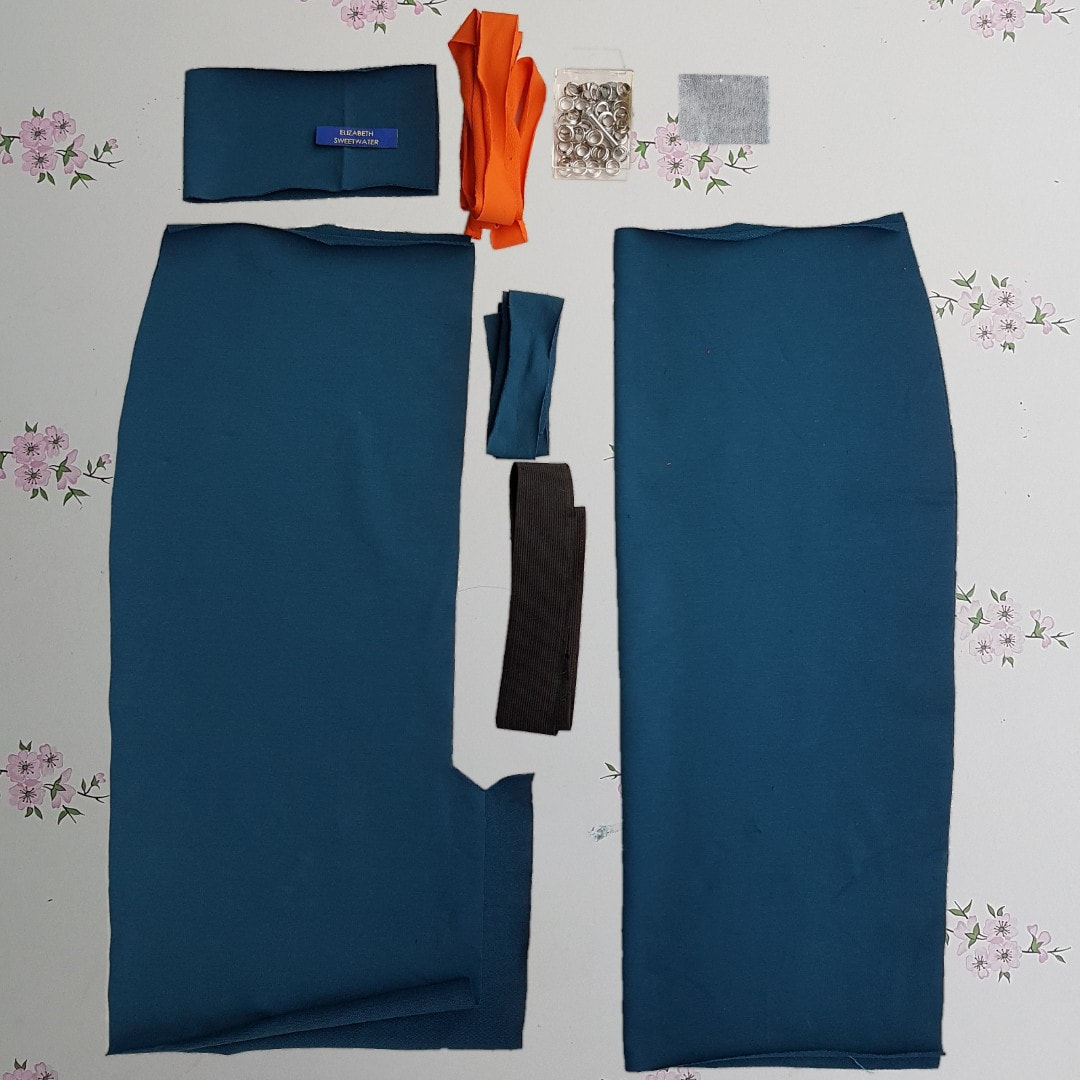
1g. Nu je al je stukken hebt uitgeknipt raadpleeg het onderstaande overzicht om je voor te bereiden op het uitknippen van de door jou gekozen stof. Now you have cut out all your pieces consult the overview below to prepare yourself for the next stage of cutting out the pieces from your chosen material.
2. Delen op de stof leggen Layout pattern pieces on fabric
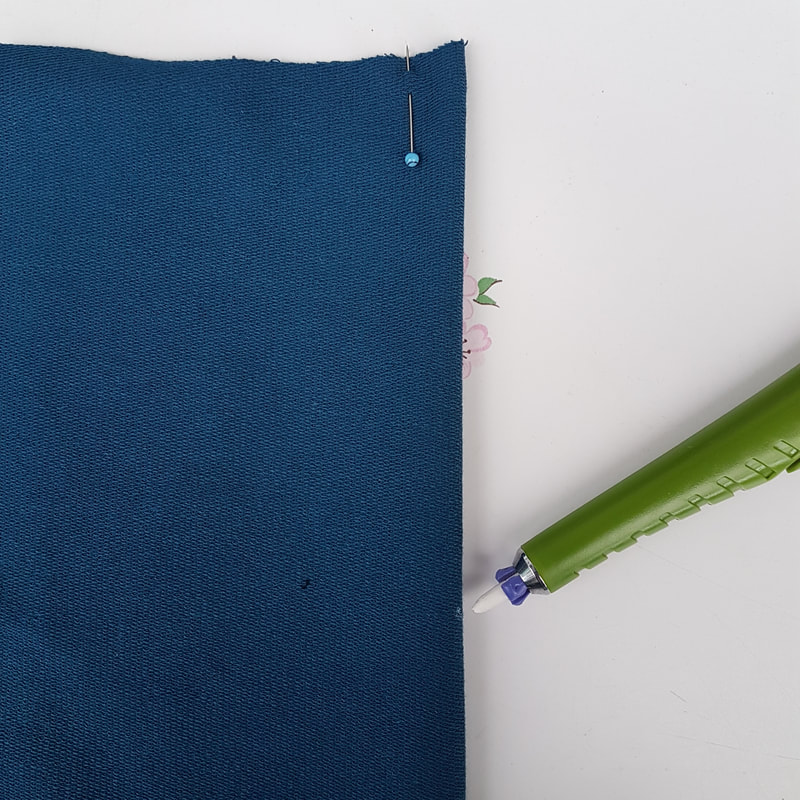
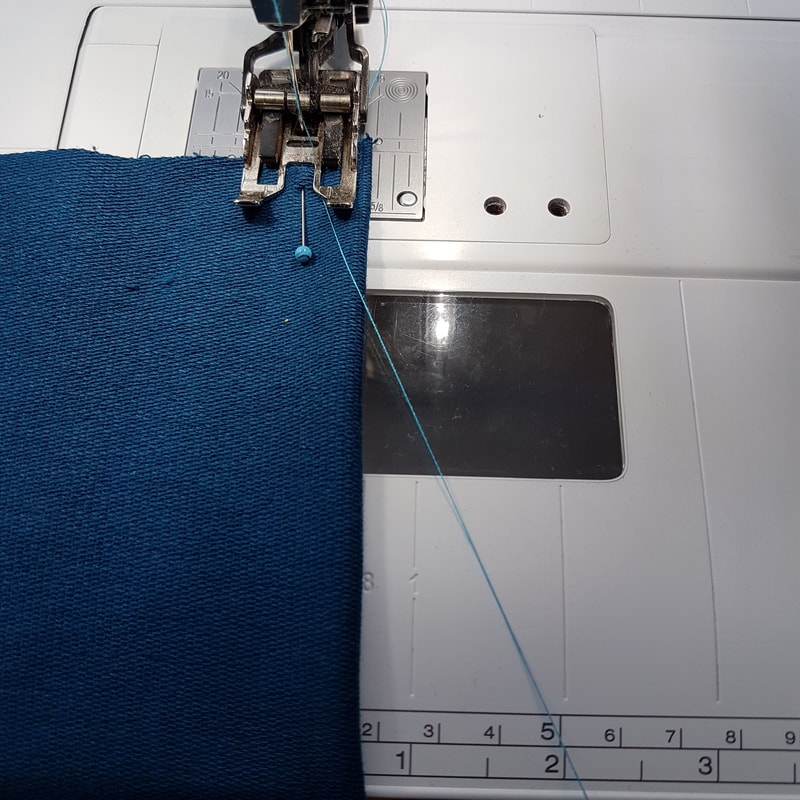
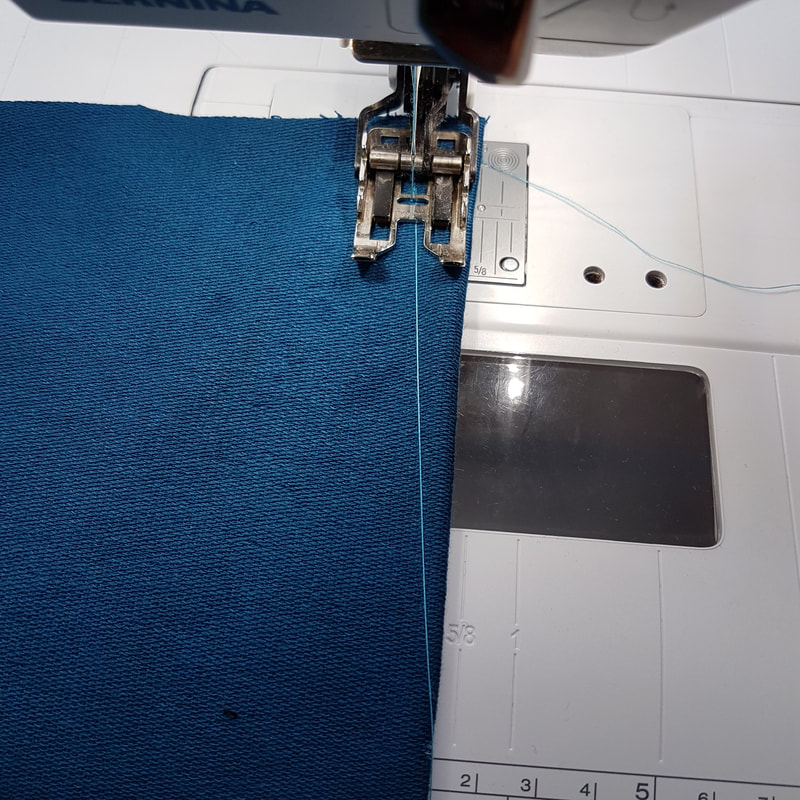
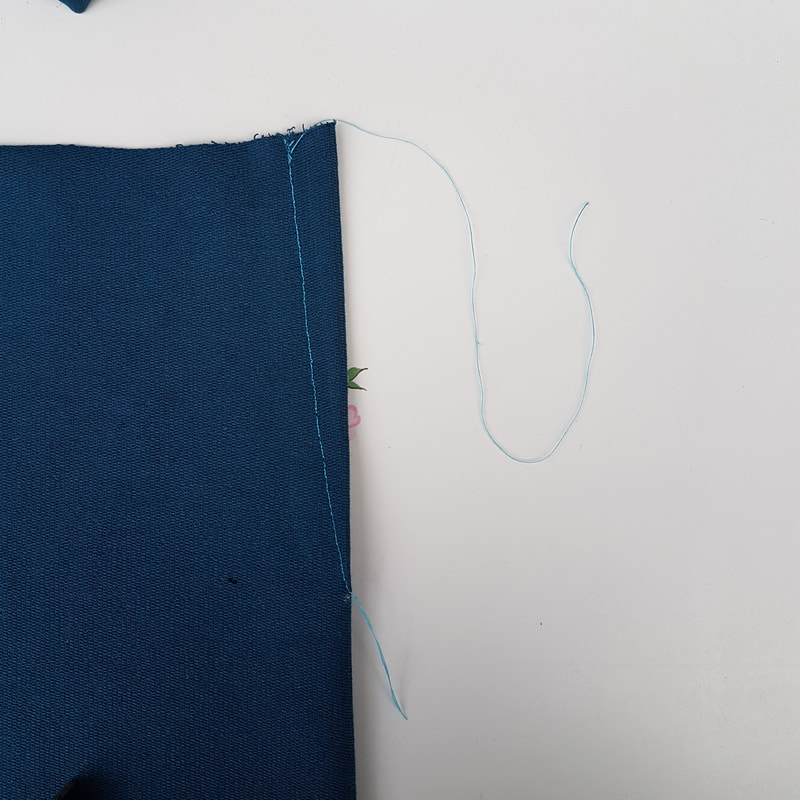
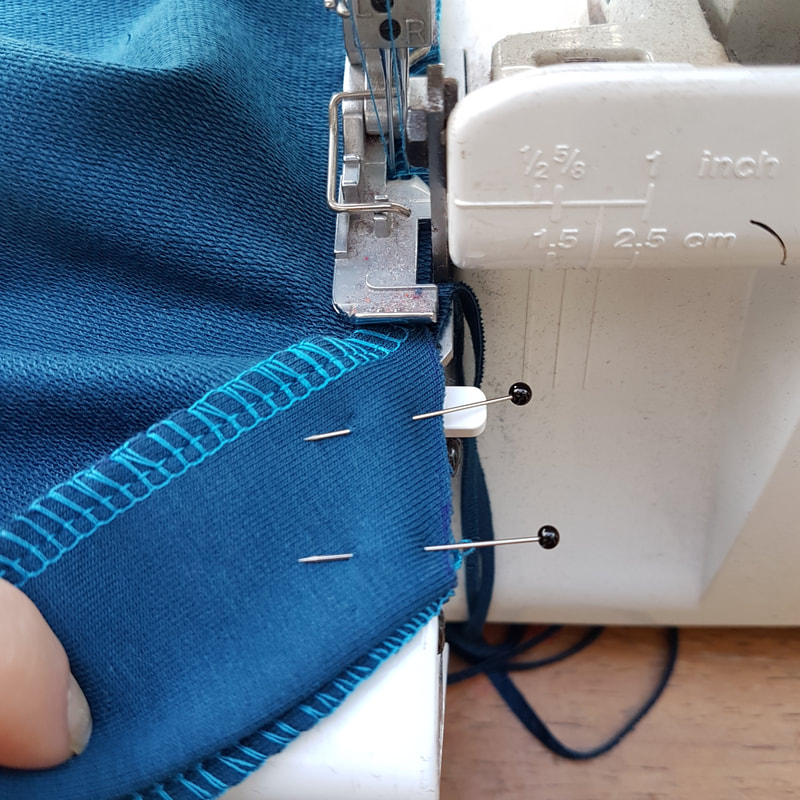
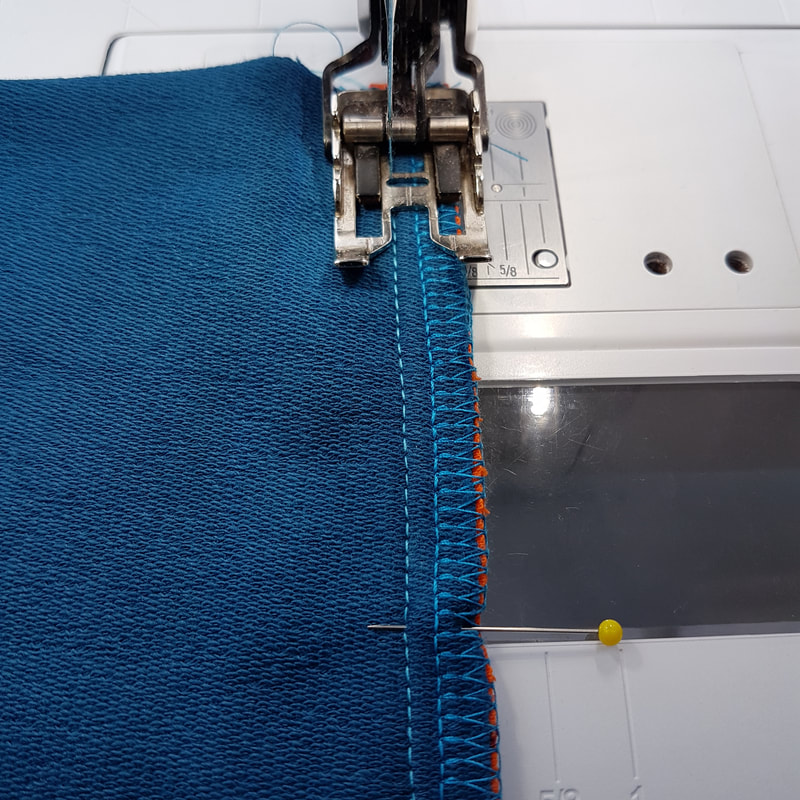
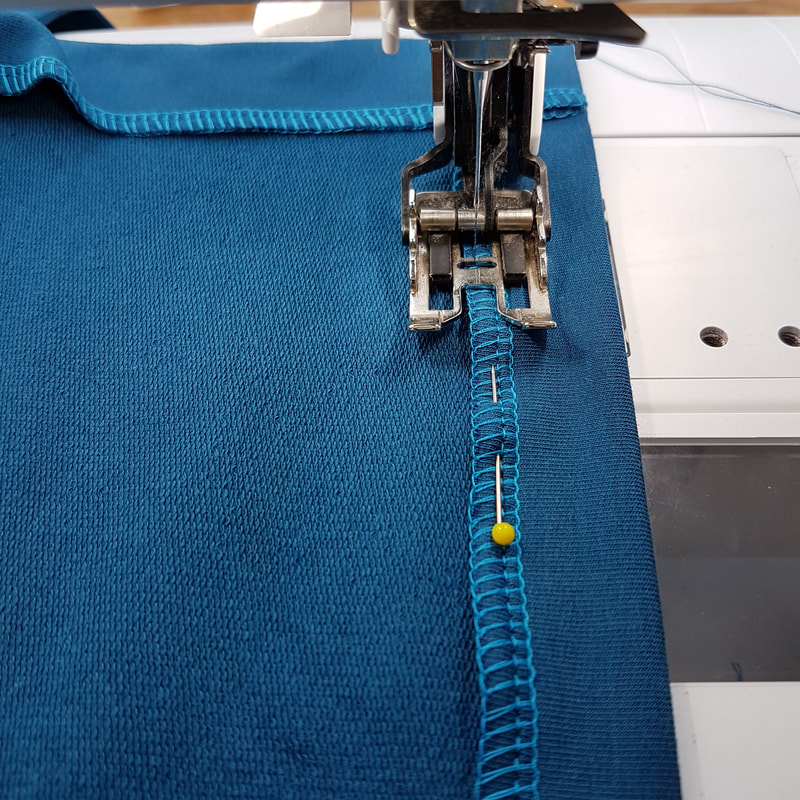
Goed om te weten Ik ga in deze werkbeschrijving uit van het gebruik van een overlock machine. Mocht je daar niet over beschikken dan kun je een zig-zag steek gebruiken op een gewone naaimachine. Ik raad dan wel aan om er altijd een stretch stiksel naast te plaatsen. De naadtoeslag van de patronen is 1cm. Check wat de breedte instelling van je naad is op je lockmachine is. Is het 0,7cm dan kun je tijdens het stikken 3mm wegsnijden. De stretchnaden stik je met een stretchsteek instelling op de gewone naaimachine. Good to know For this tutorial an overlock machine was being used for sewing most of the garment. However, it is possible to use a regular sewing machine and sew with a zigzag stitch. I do recommend sewing an extra stretch stitch next to it to create clean lines. The seam allowance of the patterns is 1cm. Check the seam width setting of your overlock machine. If it is 0.7cm you can cut away 3mm while sewing. The stretch seams can be sewn using the stretch setting on a regular sewing machine. 3. Coupenaden, piping en zijnaden Darts, piping and sideseams
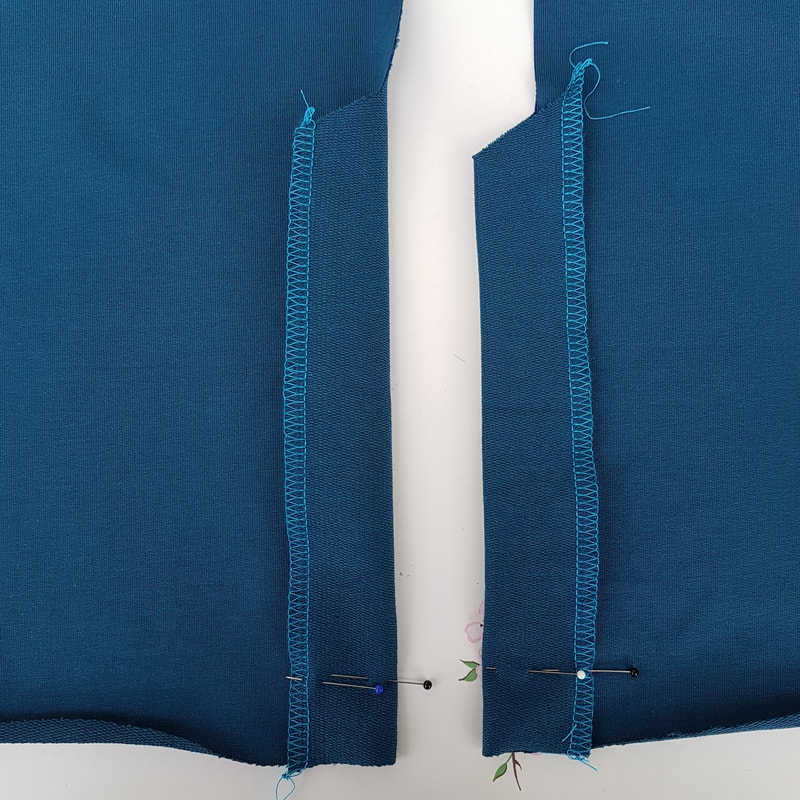
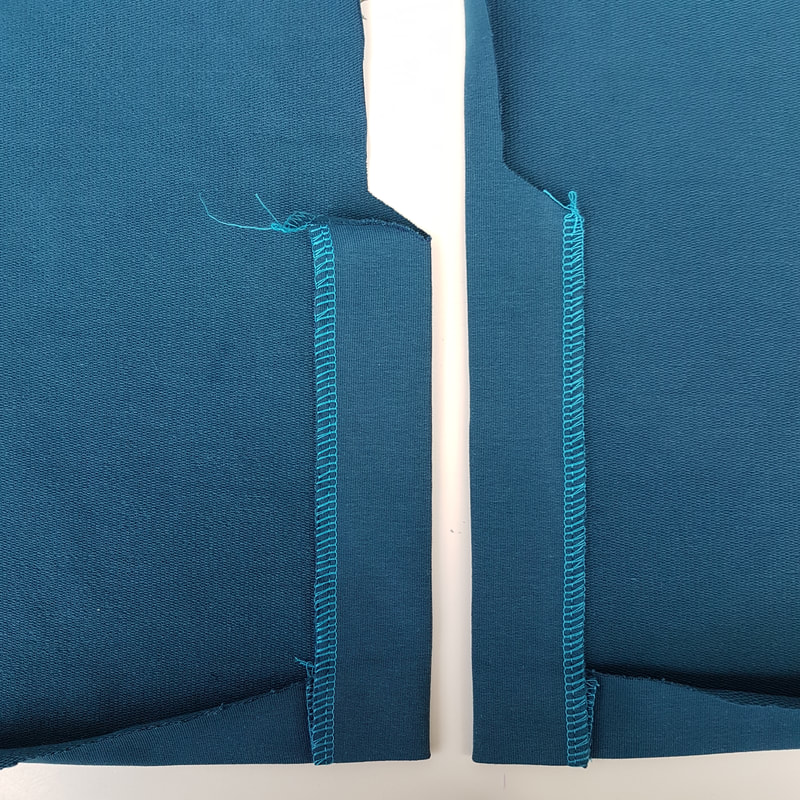
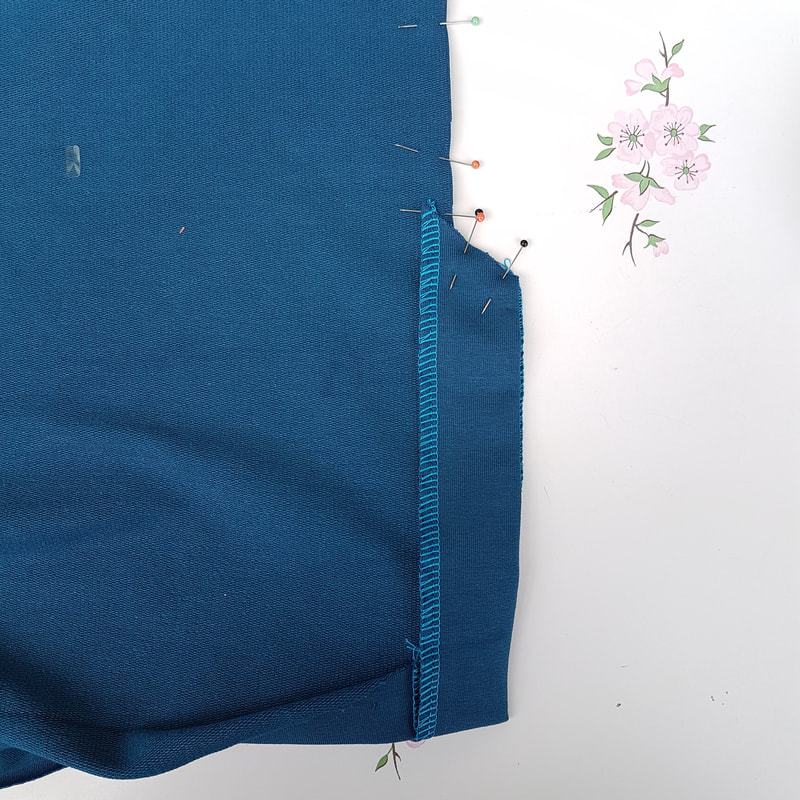
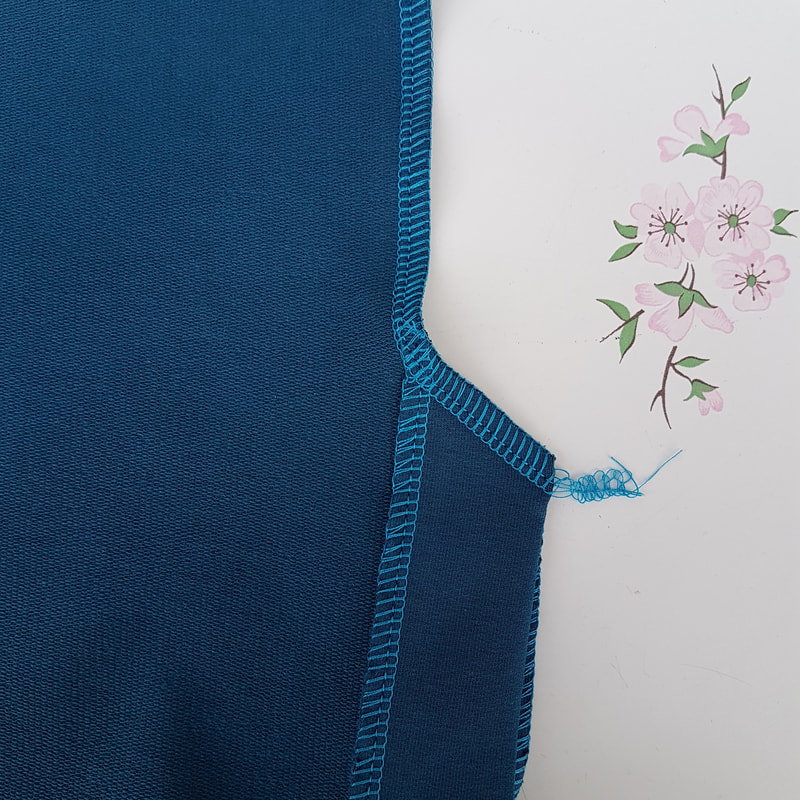
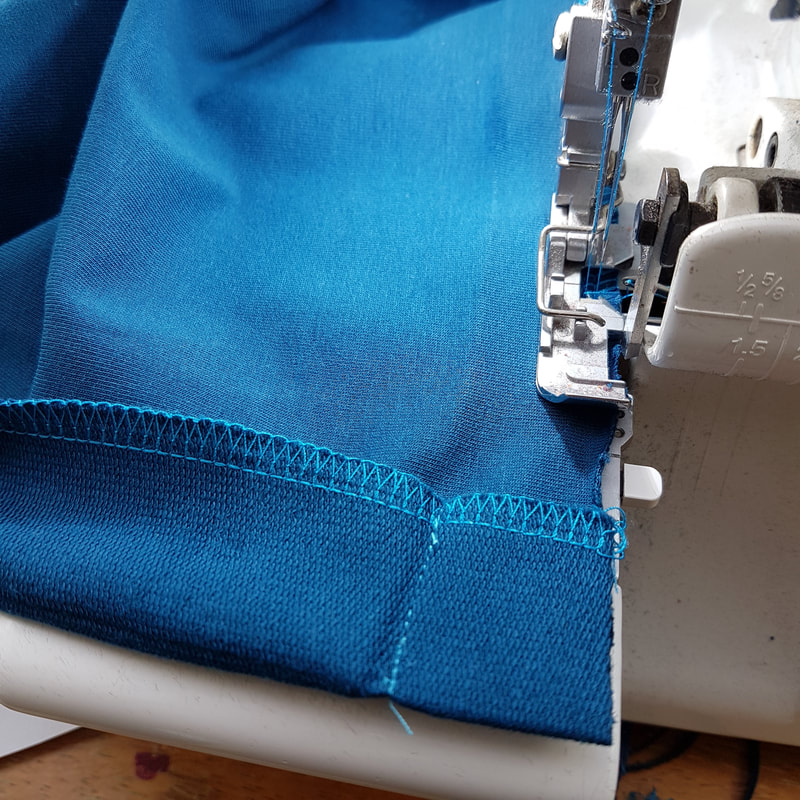
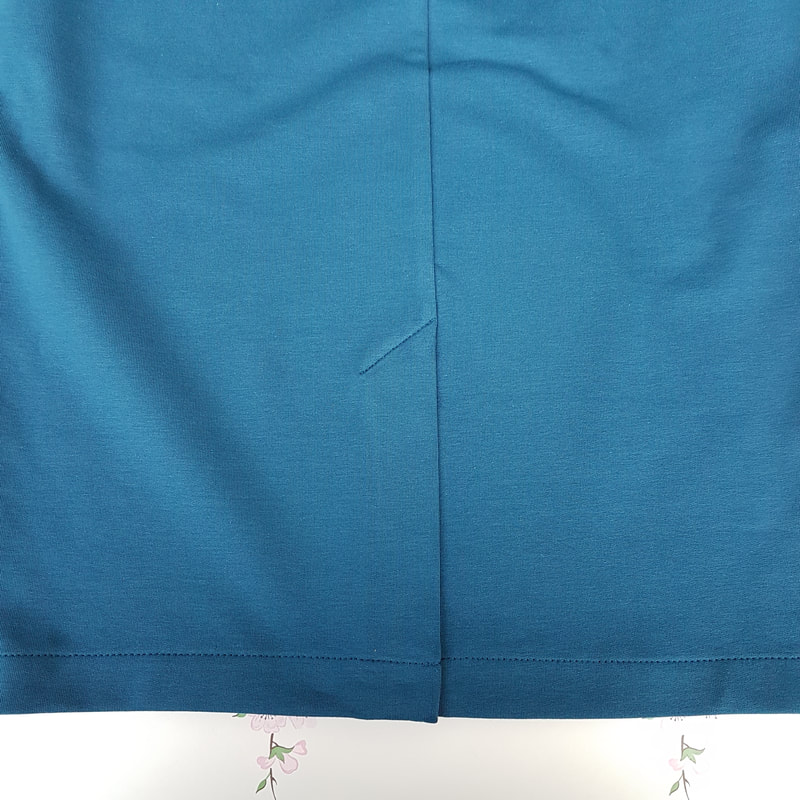
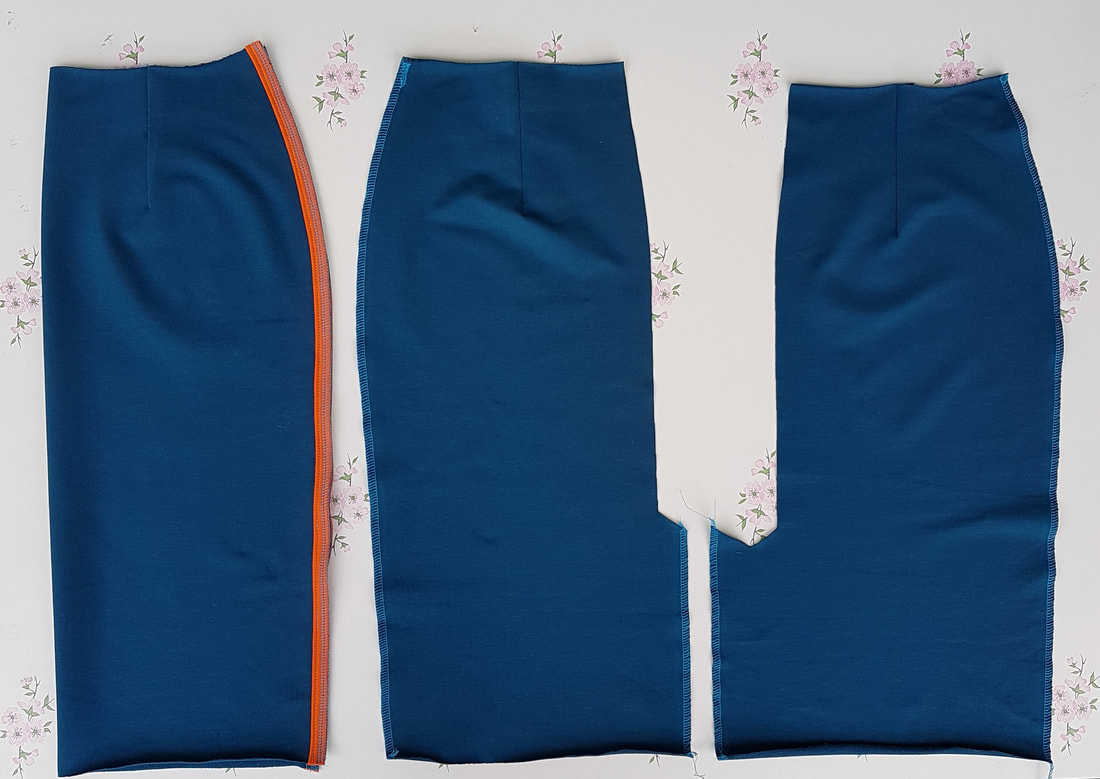 3i. Werk de randen met de overlockmachine af van: zijnaden voor (alleen bij de piping versie), zijnaden achter (alleen bij de piping versie), de rand van de belegdelen achterpand. Finish the edges with the overlockmachine of the: sideseams front (only the piping version), sideseams back (only the piping version), the edge of the facingparts backpiece. 4. Split Slit
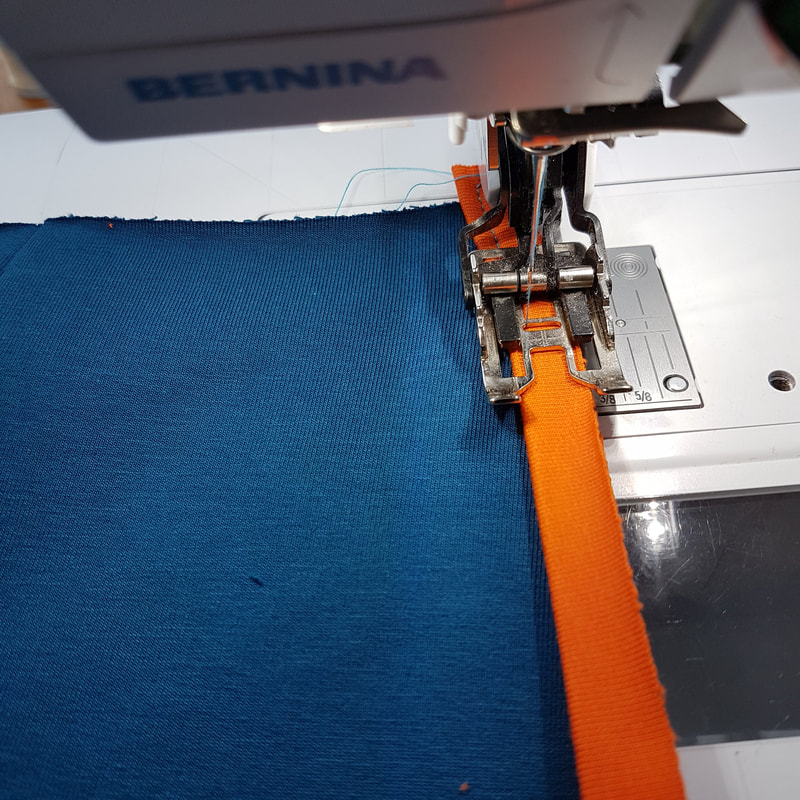
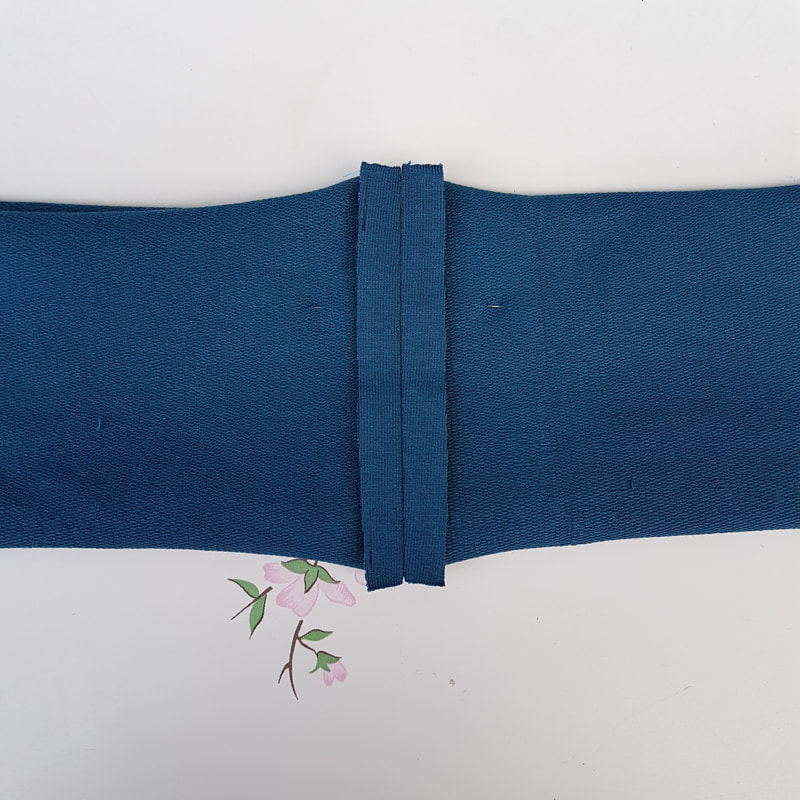
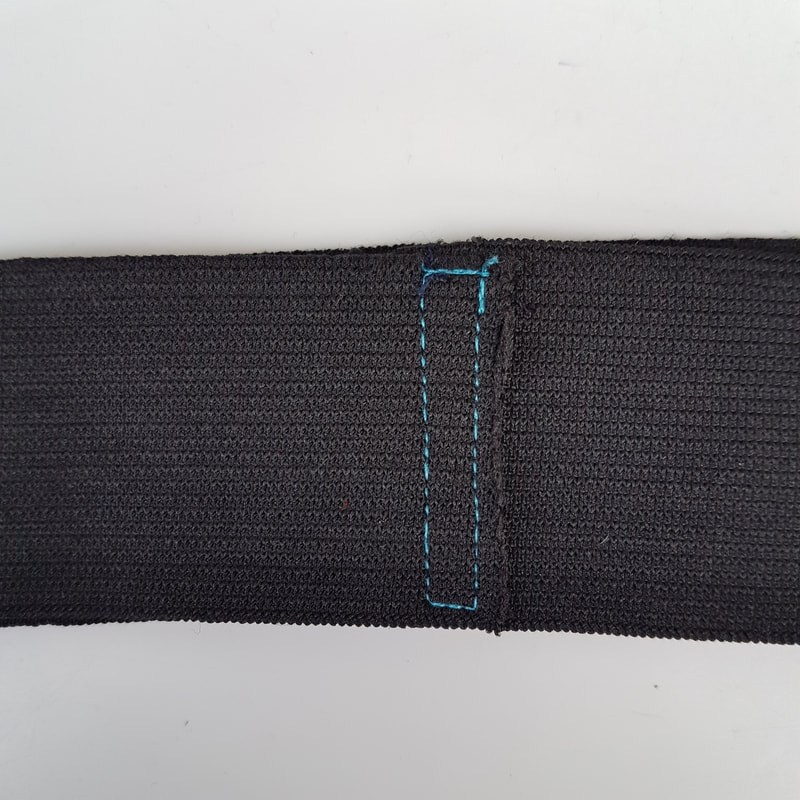
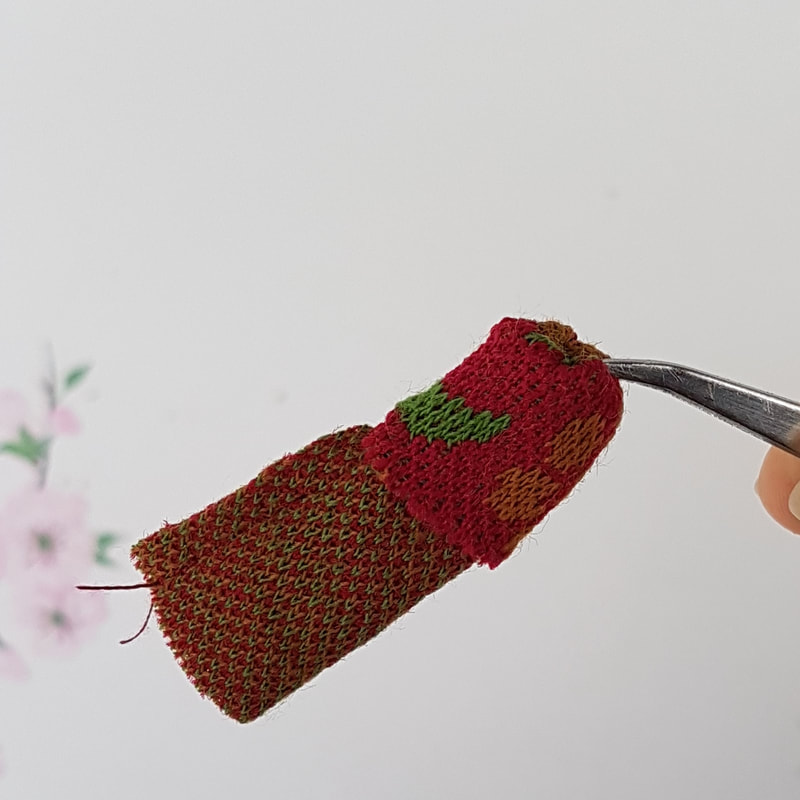
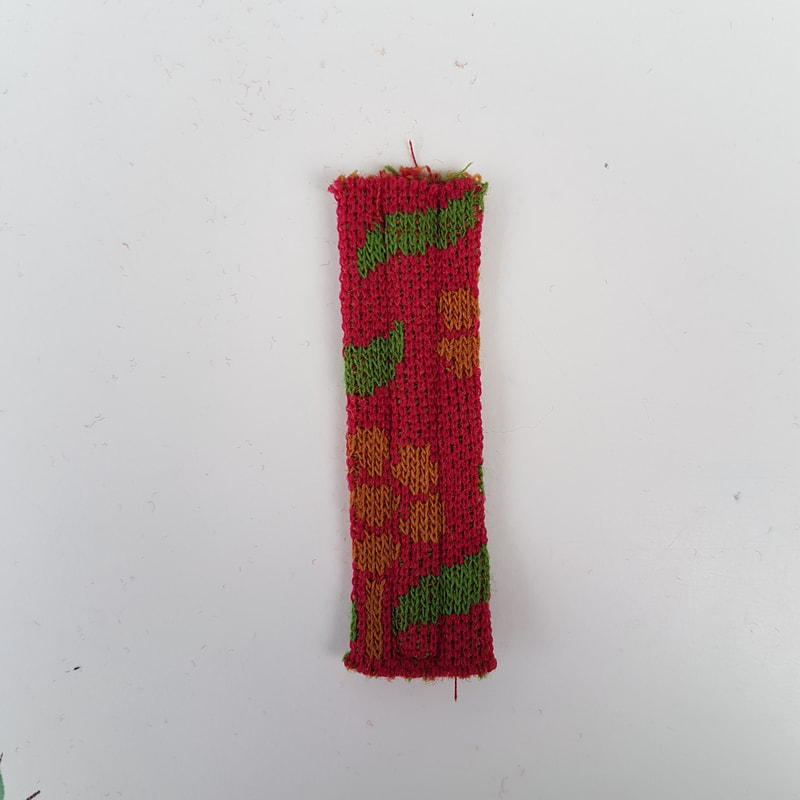
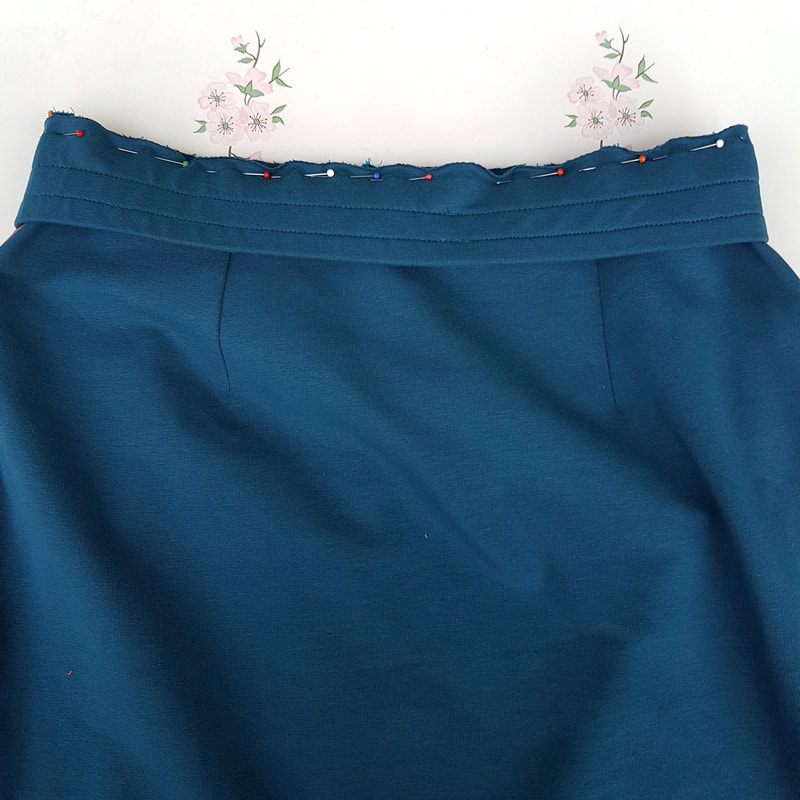
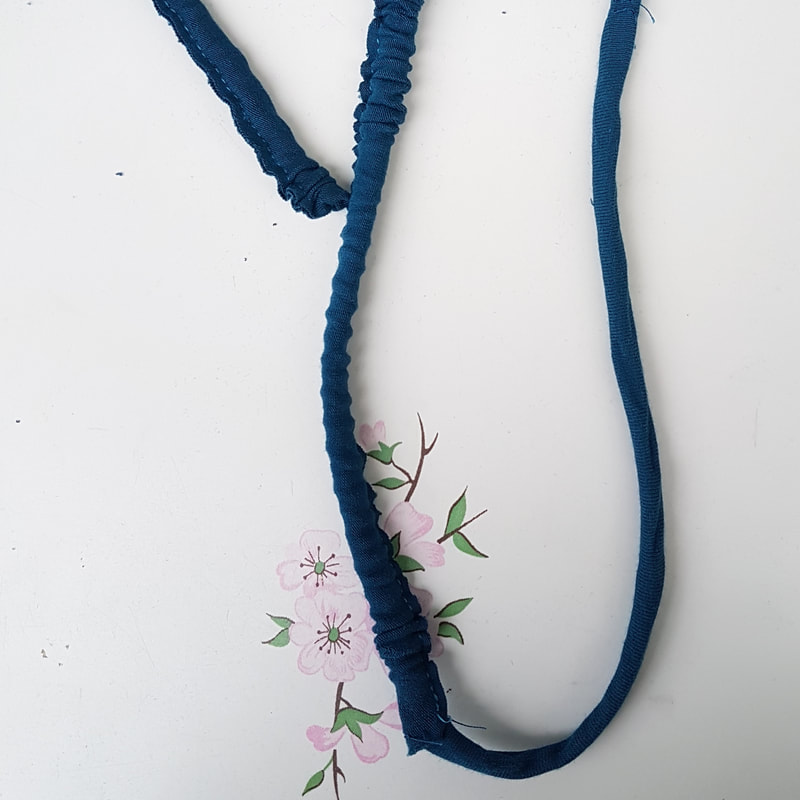
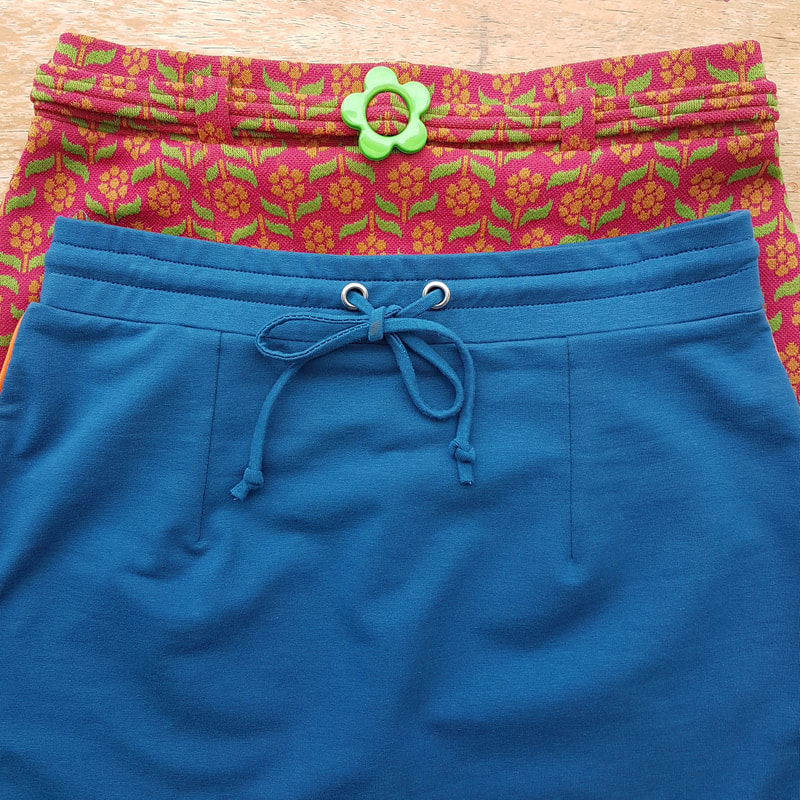
 4g. Stik de bovenrand van het beleg door. Topstitch the top edge of the facing. 5. Tailleband Waistband Er zijn twee tailleband opties, de sportieve en de tailleband met lusjes en riem There are two waistband options: The sporty waistband and the waistband with loops and belt Sportieve tailleband/Sporty waistband
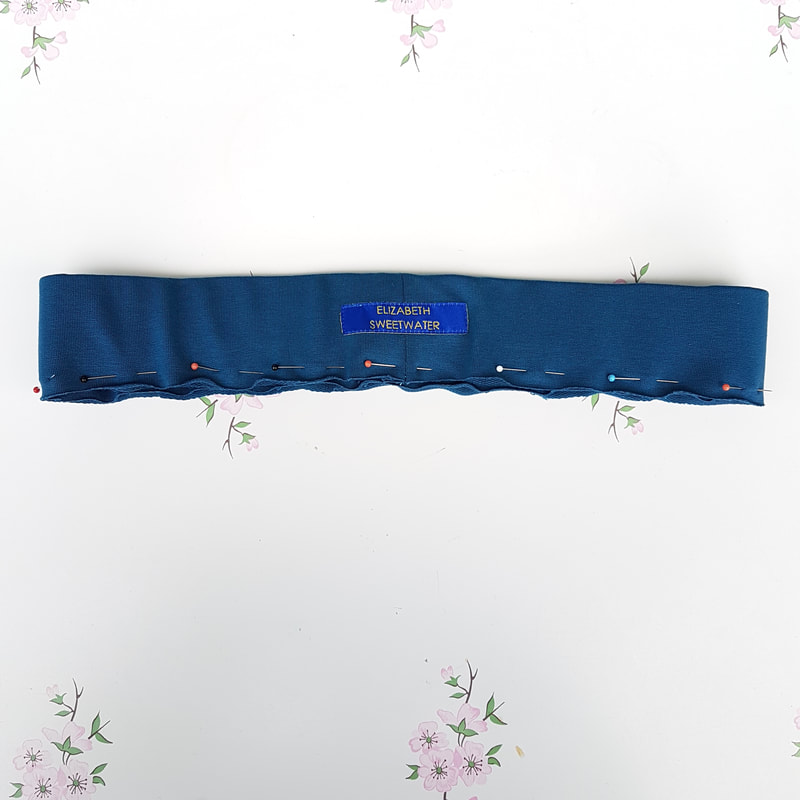
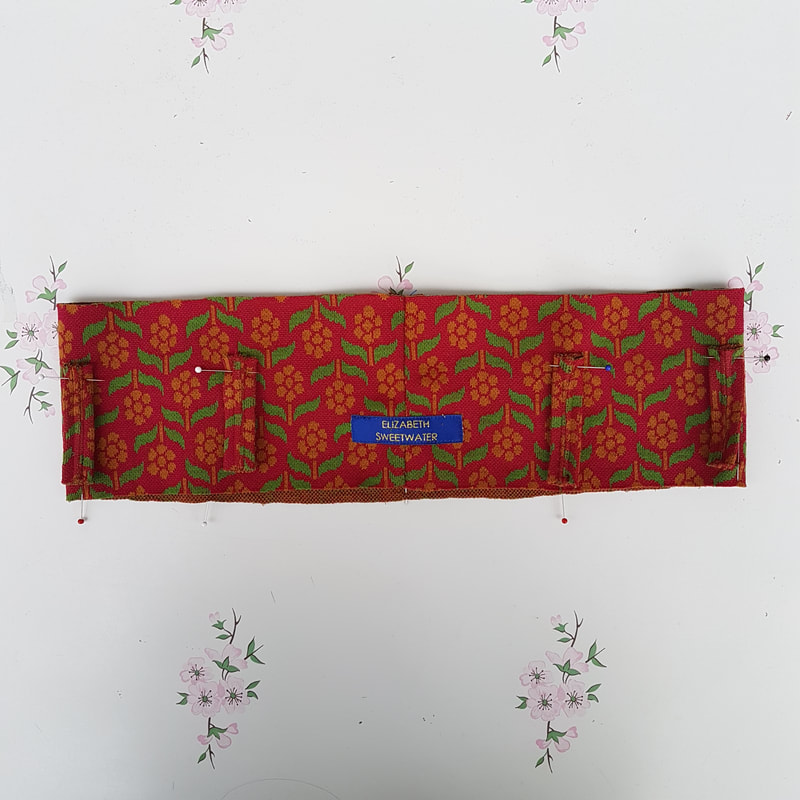
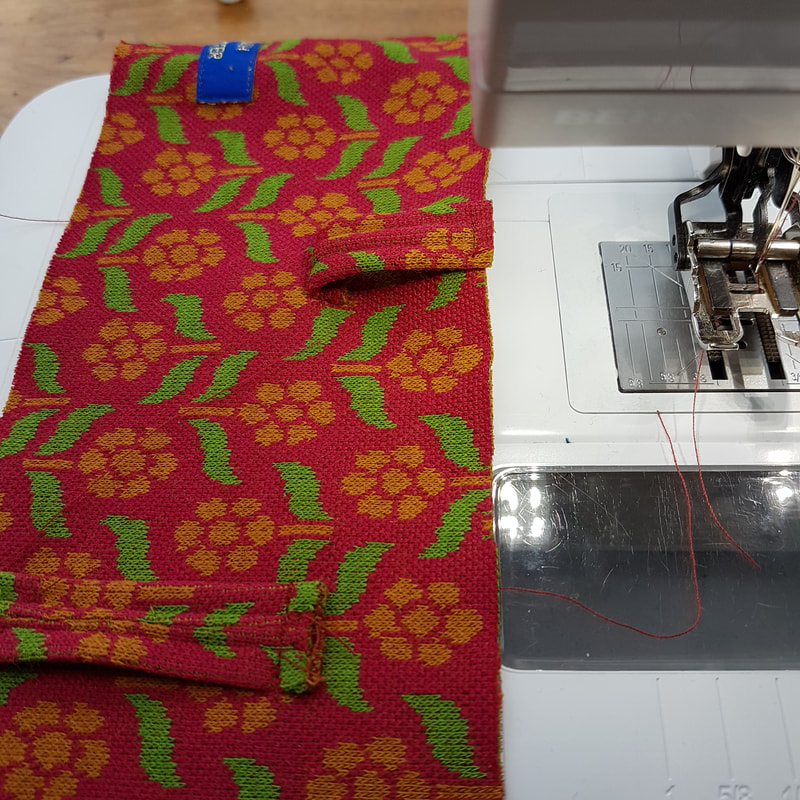
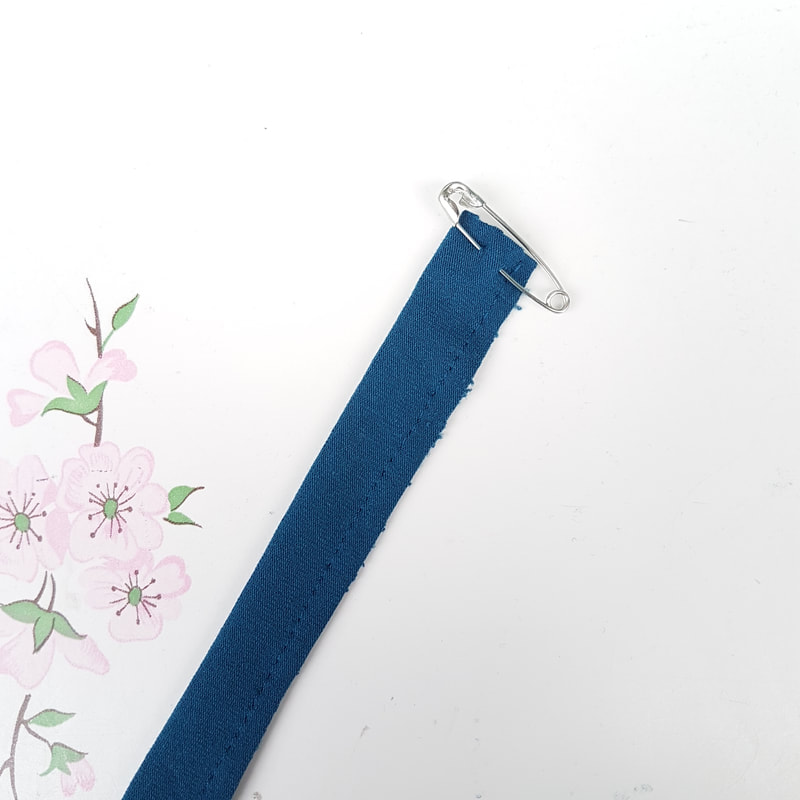
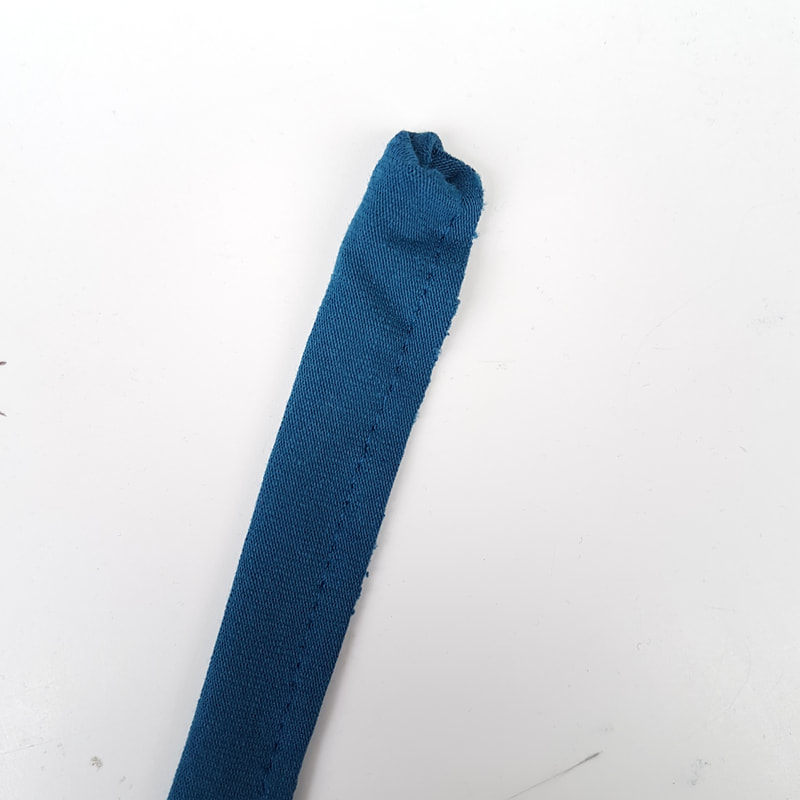
Tailleband met lusjes en riem Waistband with loops and belt
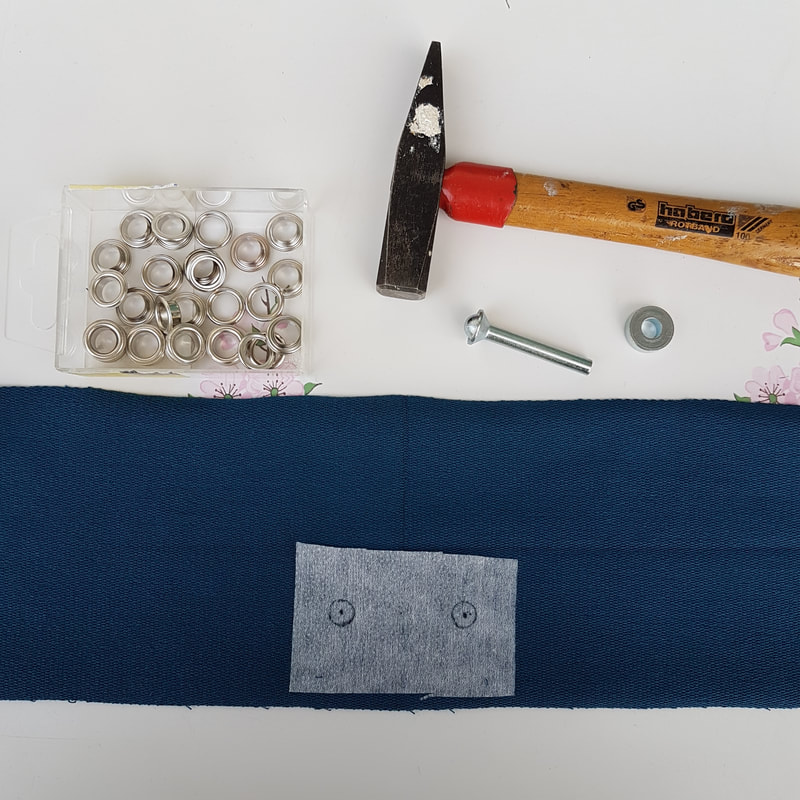
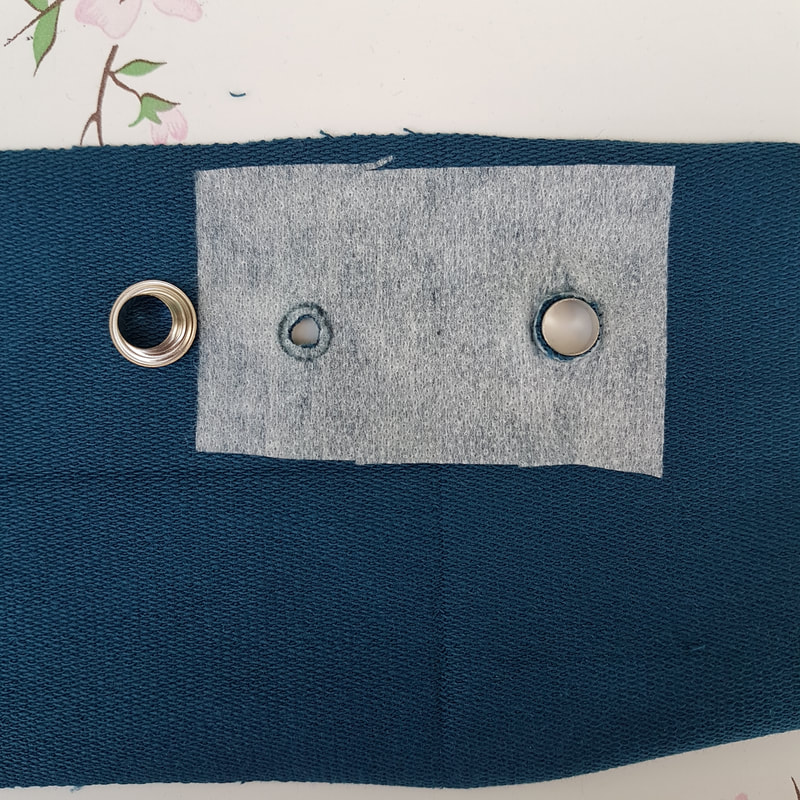
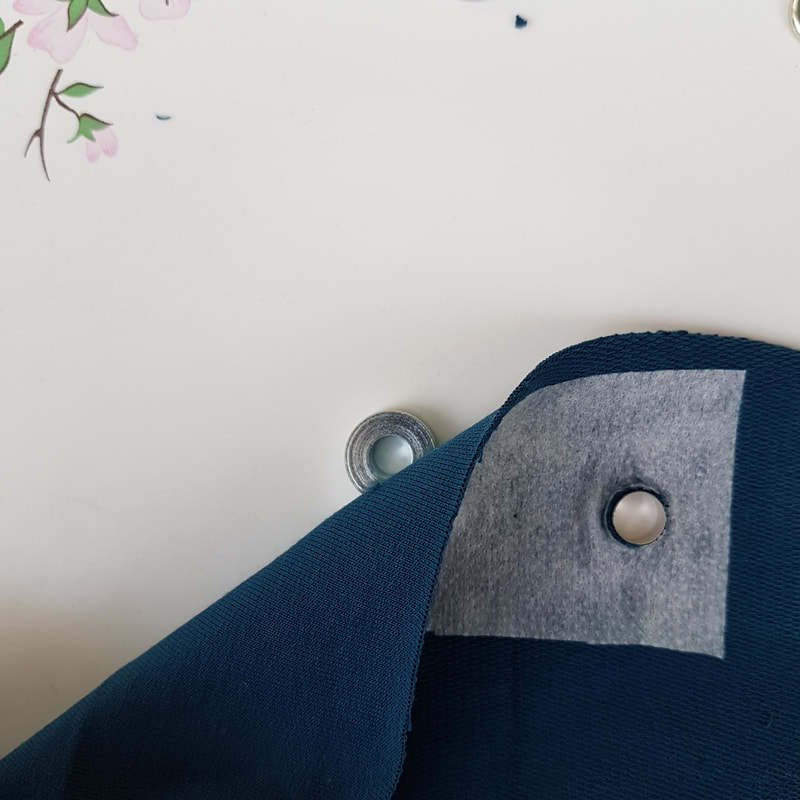
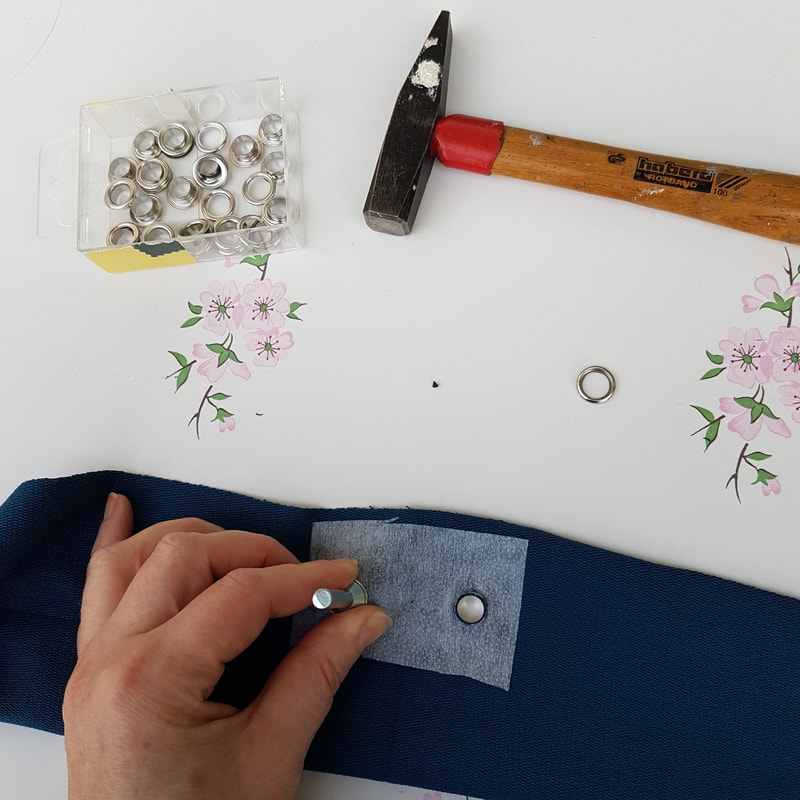
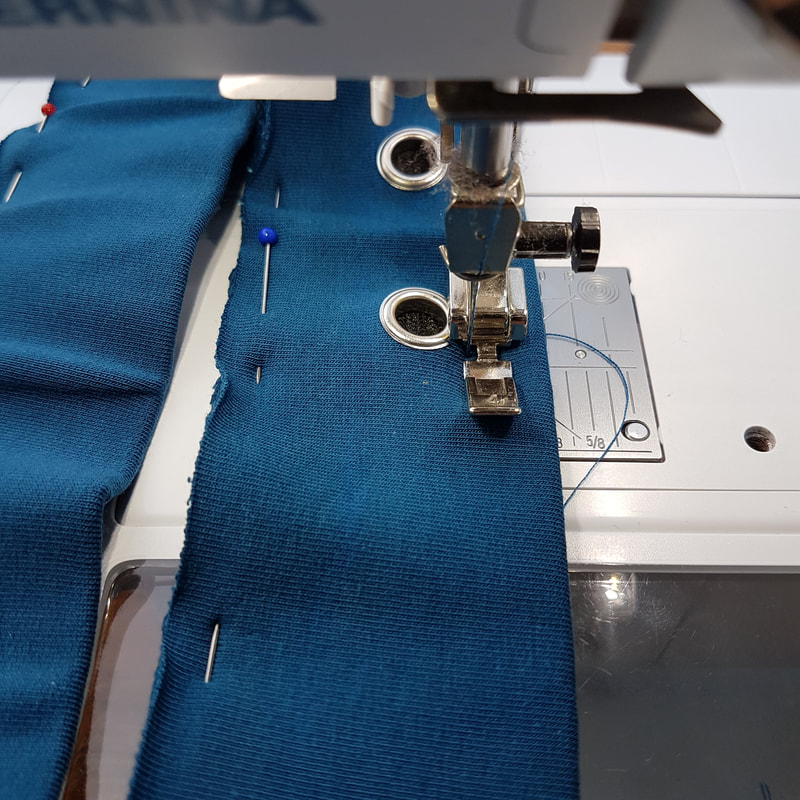
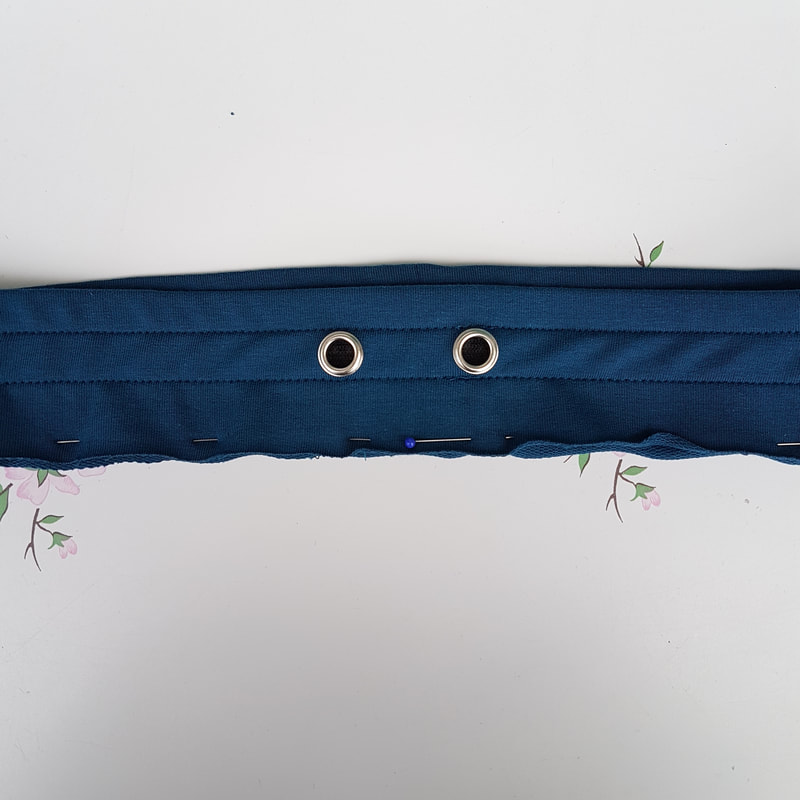
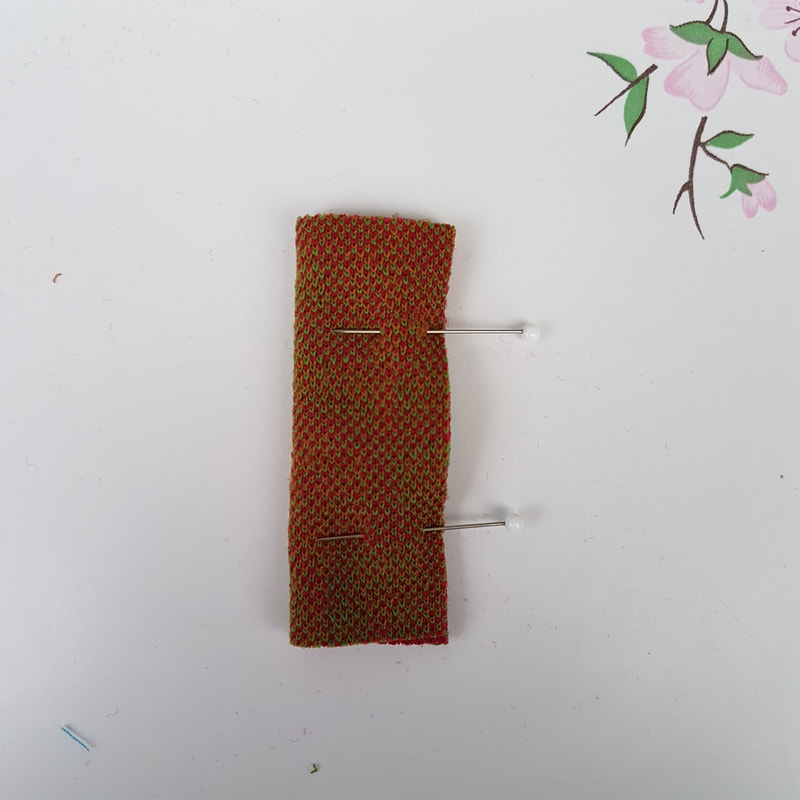
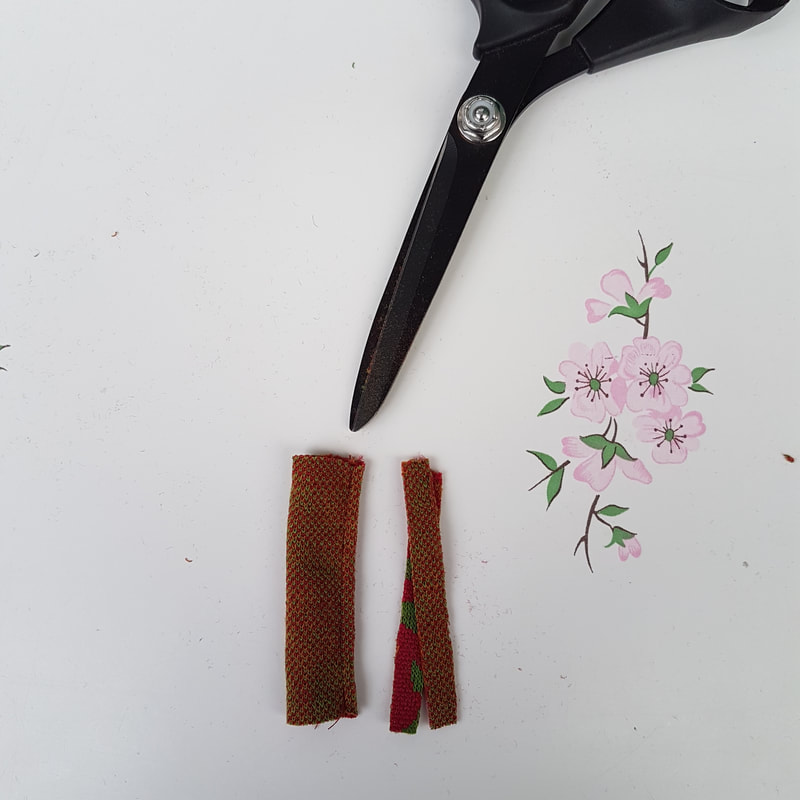
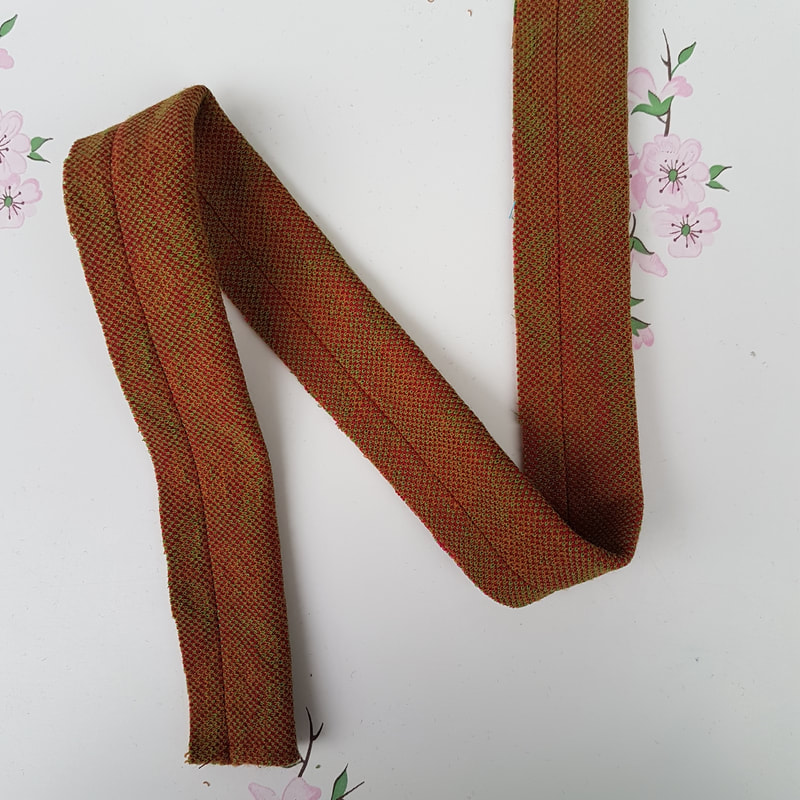
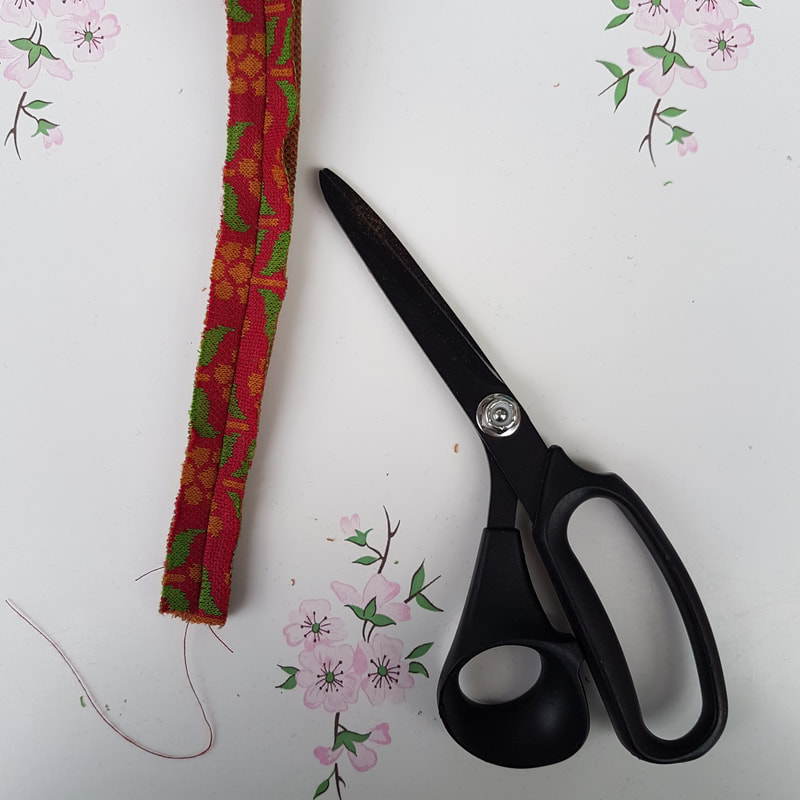
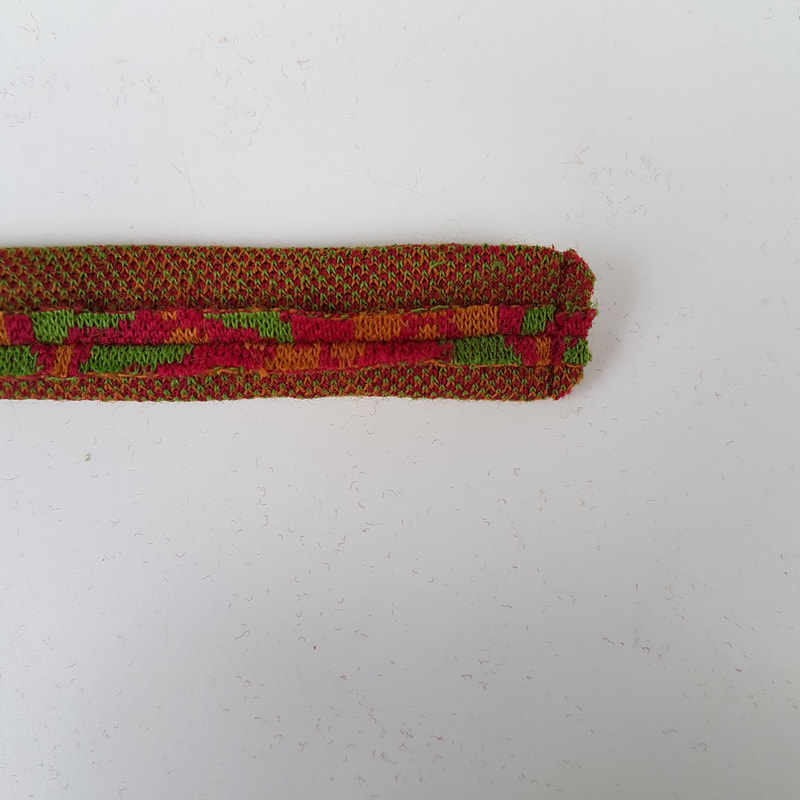
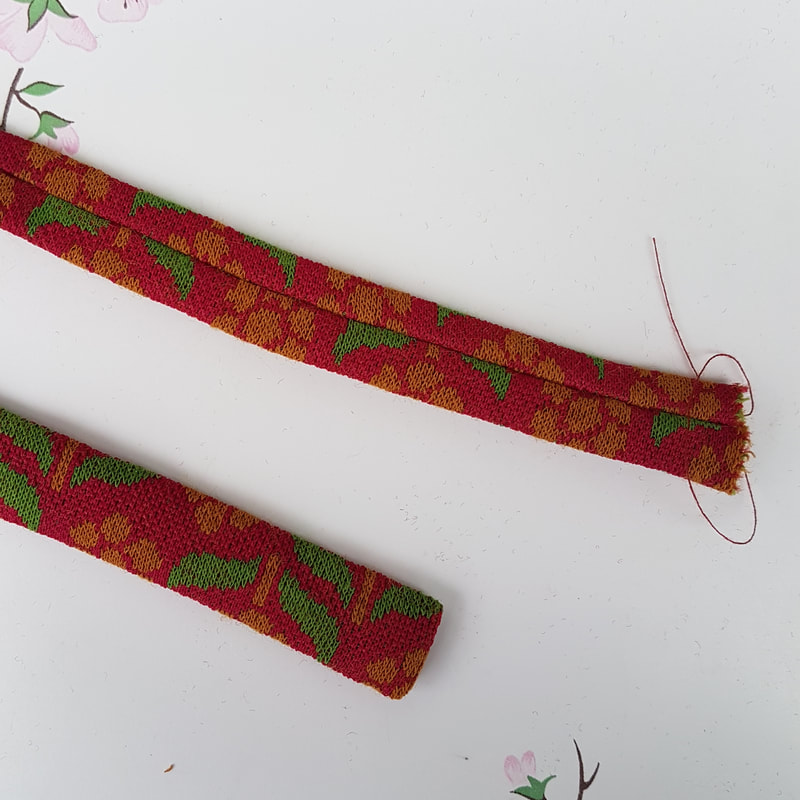
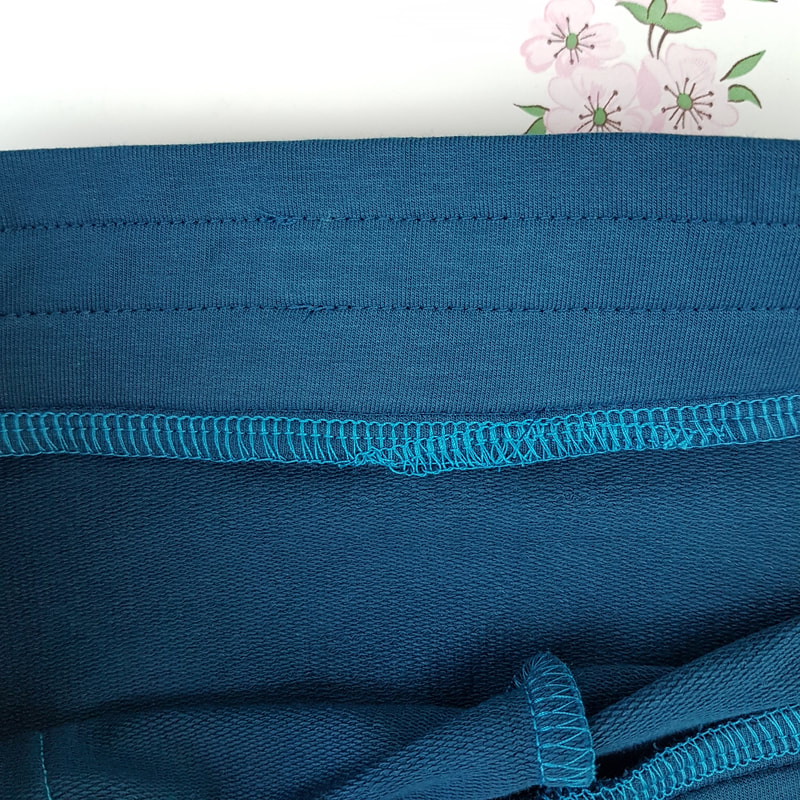
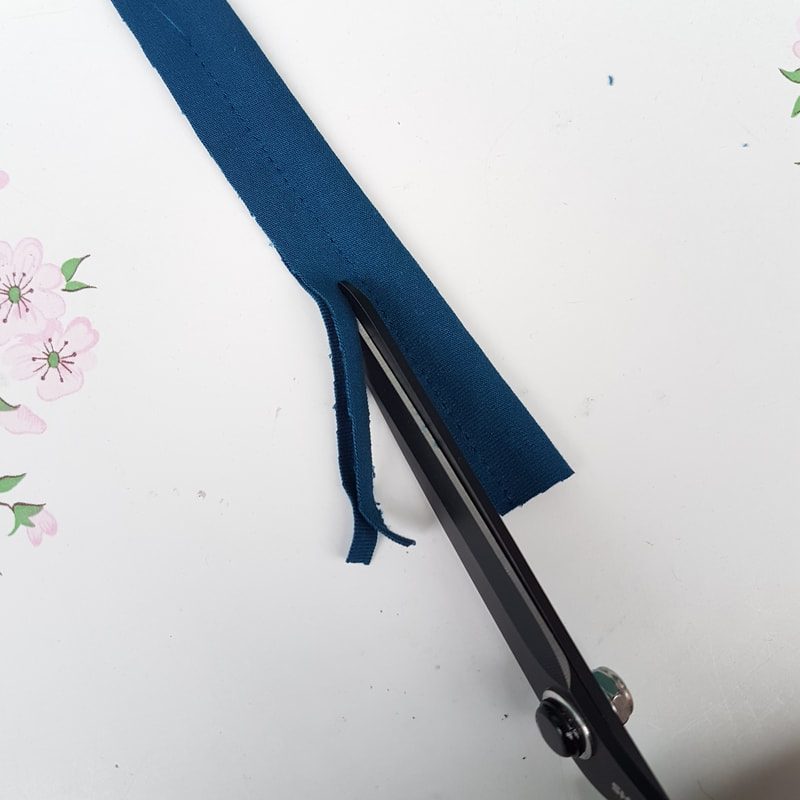
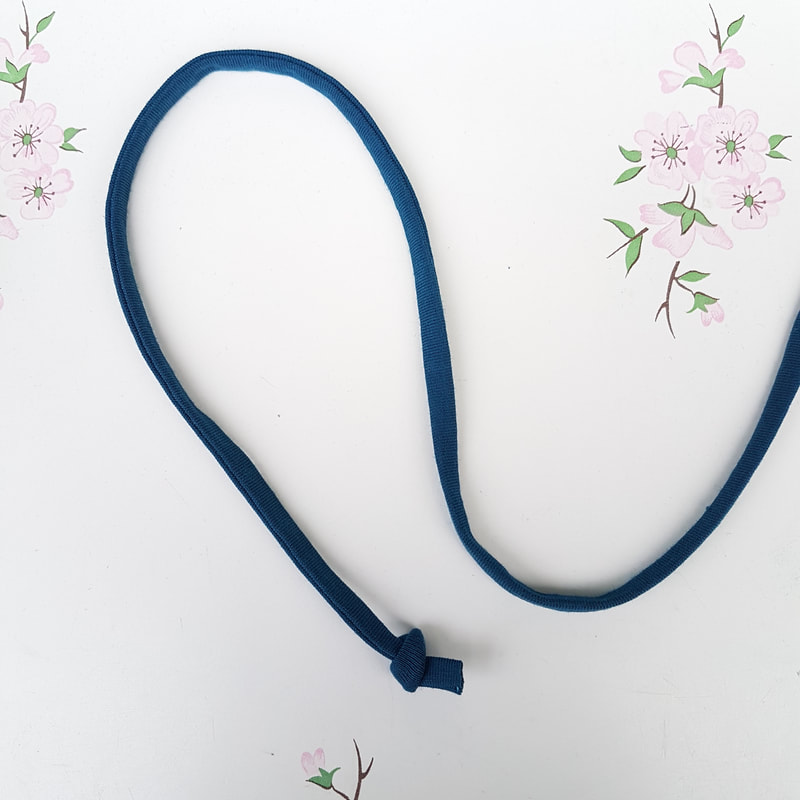
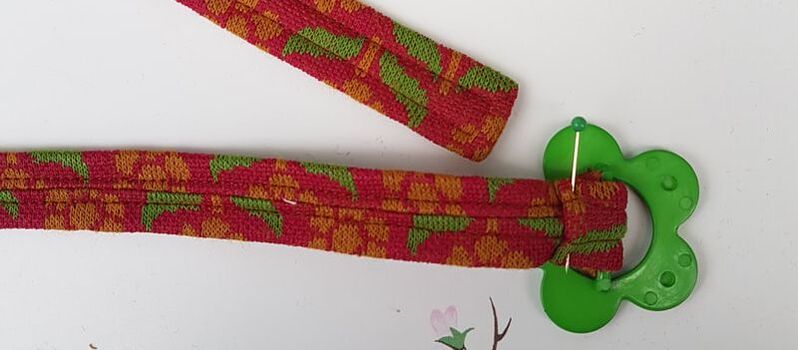 5u. Stik de ceintuur door op 0.5 cm van de kant. Vouw het open uiteinde om het staafje van de gesp en zet vast met de hand. Topstitch the belt on 0.5cm from the edge. Fold the open end around the bar of the buckle and fasten by hand. 6. Zijnaden, tailleband aanzetten en zoom Sideseams, attach waistband and hem
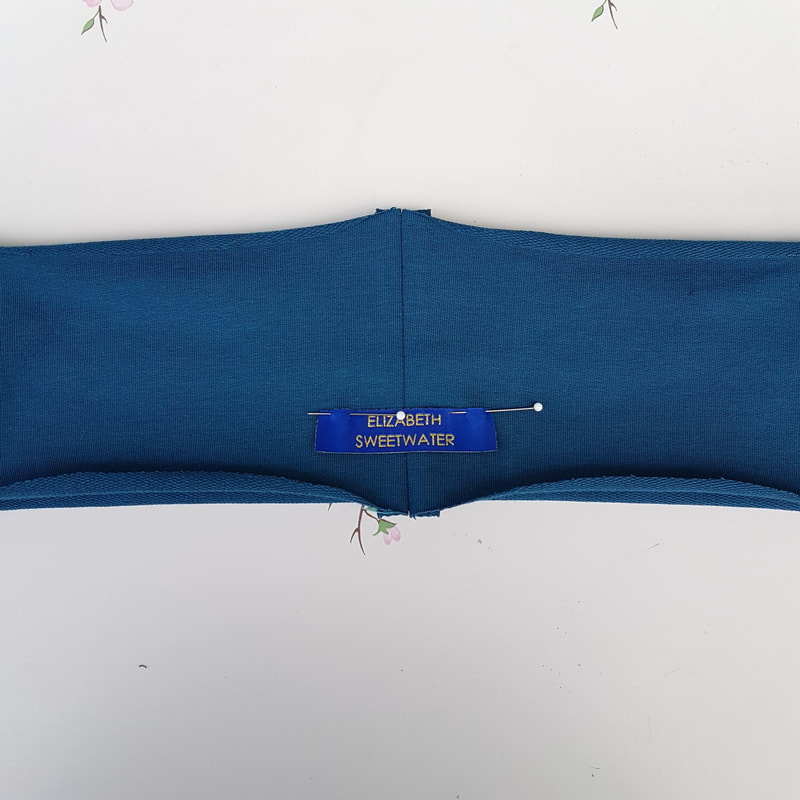
Nog een laatste keer strijken en je rokje is klaar! A final ironing and your skirt is finished!
Comments are closed.
|

For all the latest patterns to buy visit my Etsy shop today. |