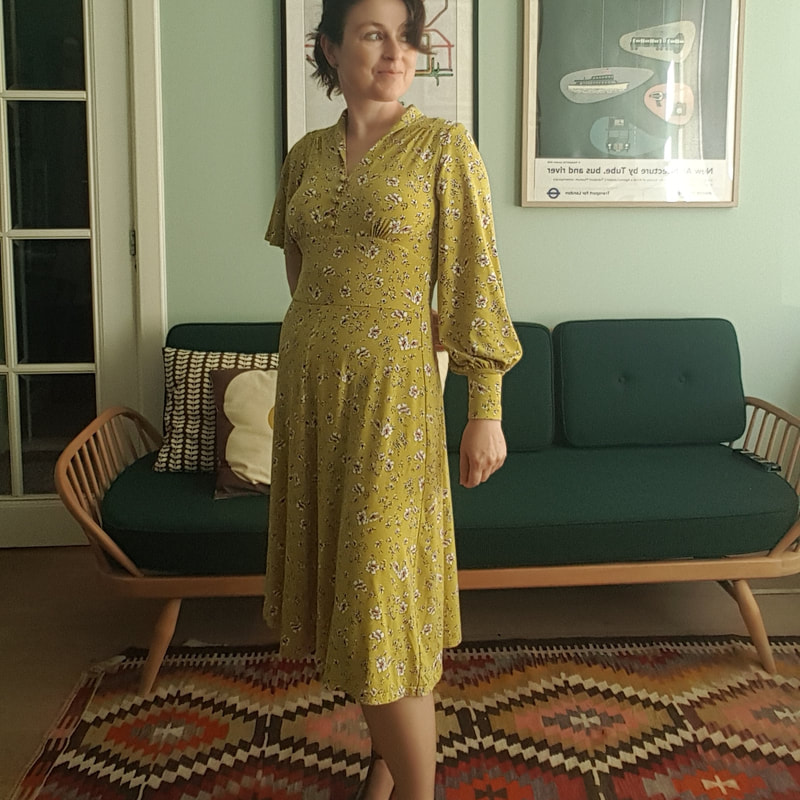
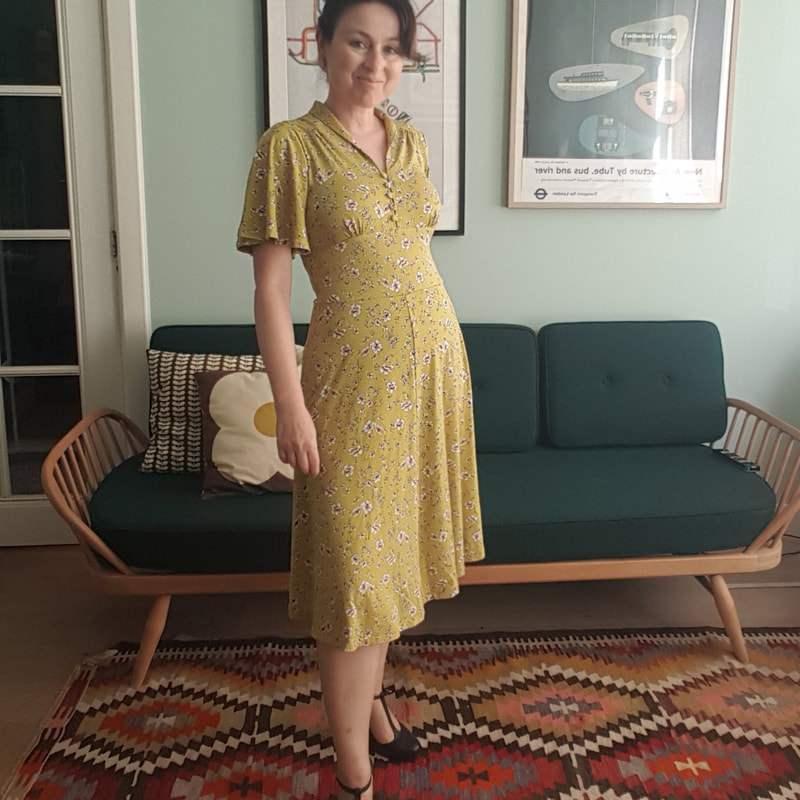
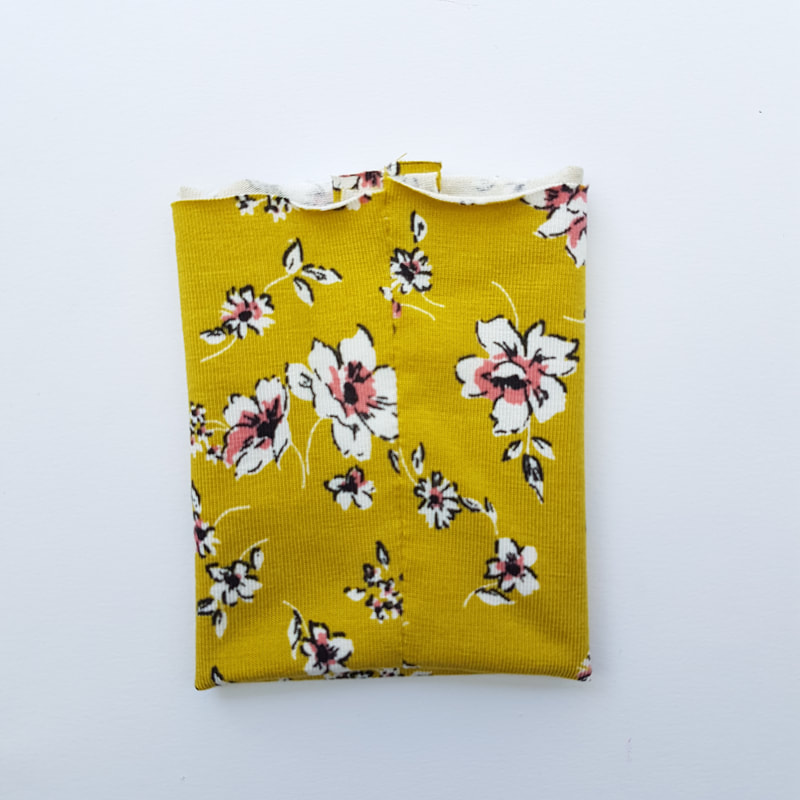
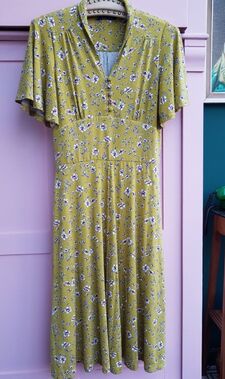
Tea Jurk  Introductie De teadress komt oorspronkelijk uit het midden van de vorige eeuw. Het perfecte jurkje voor een afternoon tea. Nu draag je 'm naar je werk, naar een feestje of met een dik vest en boots voor een wandeling met de hond. Dit jurkje is heel vrouwelijk door zijn aangesloten pasvorm en v- halslijn met sjaalkraagje. De rok heeft een a-lijn en je kunt kiezen tussen een pof-of een vlindermouwtje. De stoffen knoopjes maken de jurk helemaal af. Ik leg je in deze tutorial stap voor stap uit hoe je deze jurk kunt maken. Het materiaal gebruikt voor deze jurk is viscose tricot (een lichtgewicht, tricot kwaliteit met een mooie ‘drape’) maar ze is ook leuk in katoen elasthan single jersey die niet te zwaar is. De stof moet mooi kunnen vallen. Controleer voor je begint de maattabel voor de juiste maat. Introduction The teadress has its origin in the midcentury. The perfect dress for an afternoon tea. Now it's a dress for all occasions; work, party or wear a heavy knit cardigan and boots for a walk with the dog. This dress is very feminine because of its fitted shape and v-neck with sjawl collar. The skirt is flared and you can choose between a butterfly sleeve or a trumpet/puff sleeve. The tiny fabric buttons complete this vintage inspired dress. In this step by step tutorial I will explain how to make this dress. The material used is a Viscose jersey, a lightweight single jersey fabric. It will also work in a lightweight cotton elasthane single jersey. The fabric you choose should have a nice ‘drape’ Check before you start the size spec to see what size works best for you.
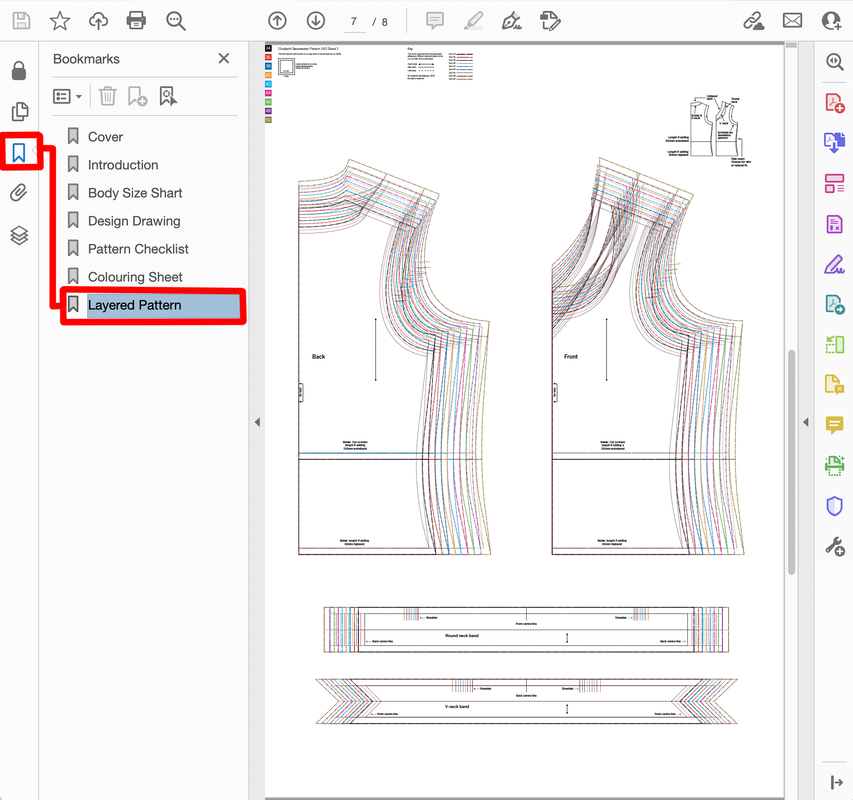
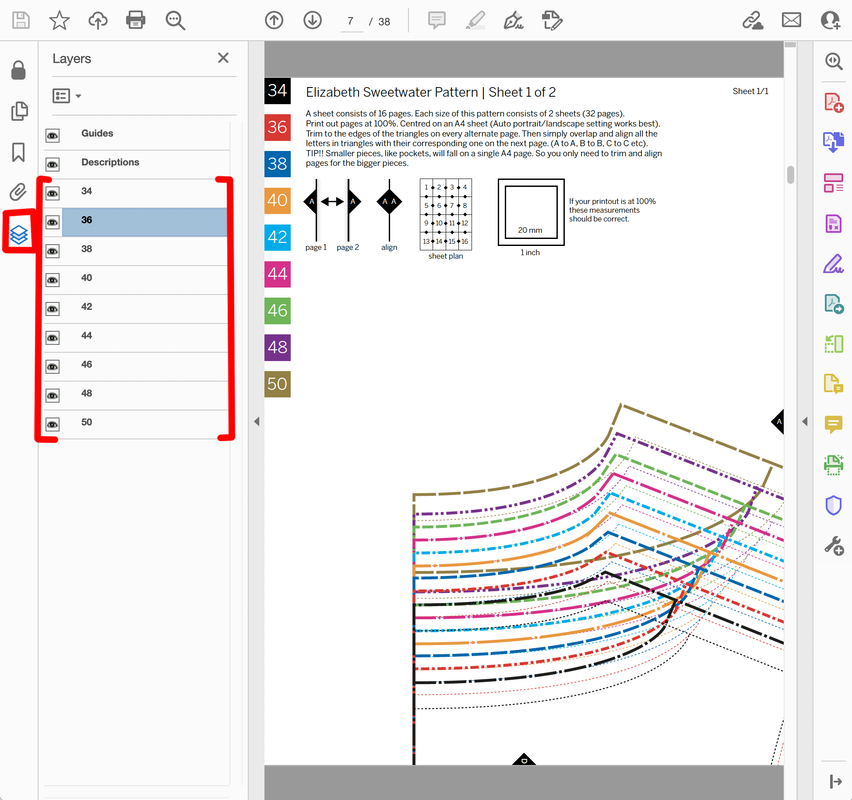
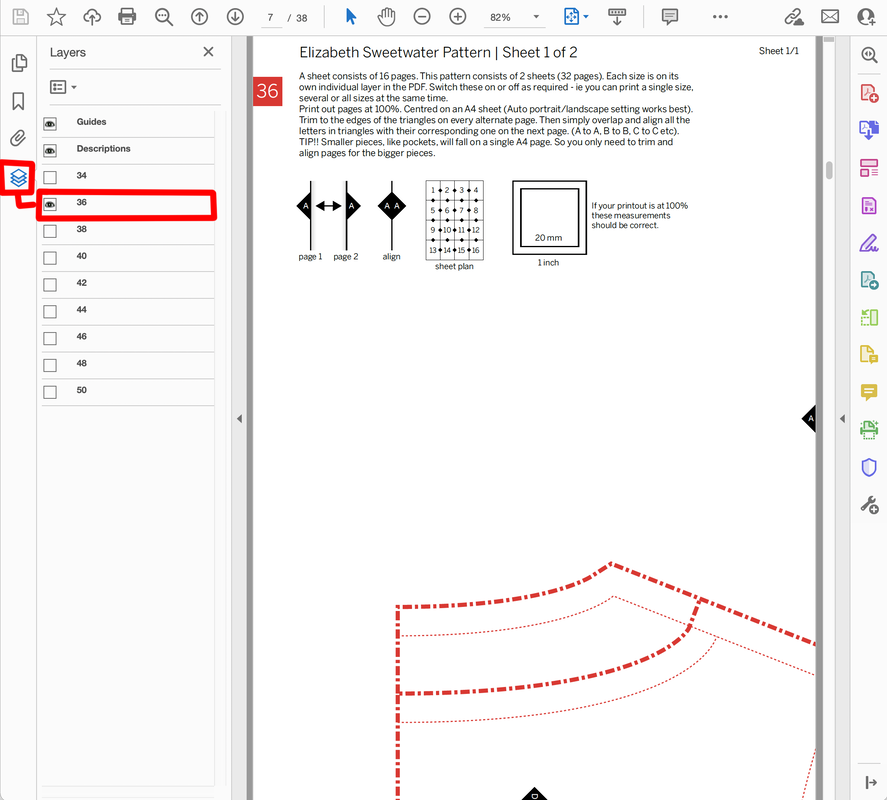
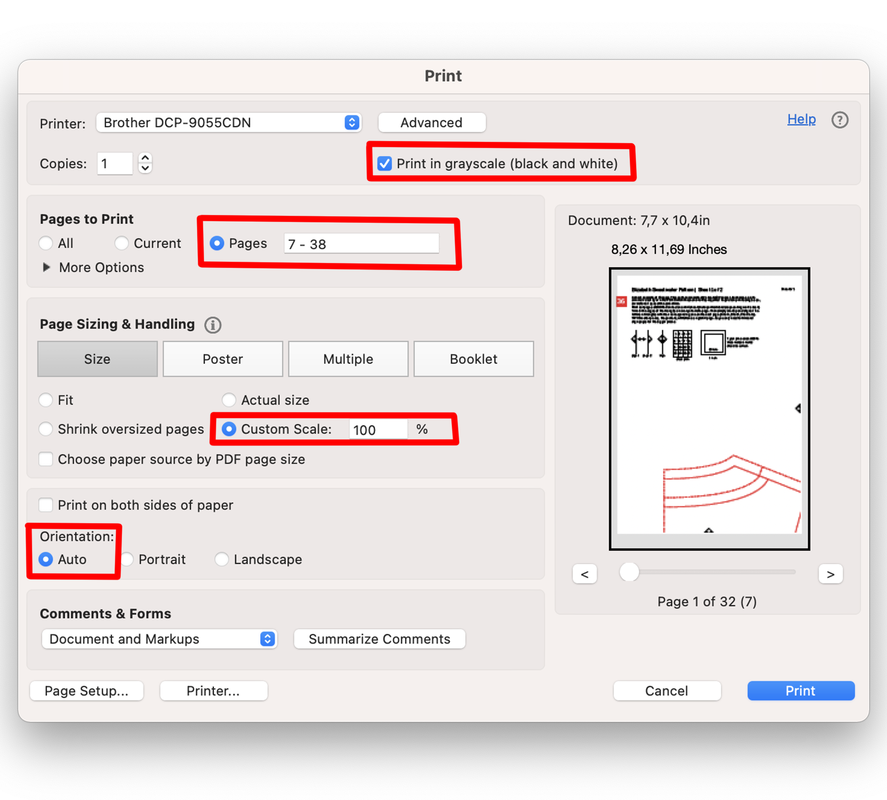
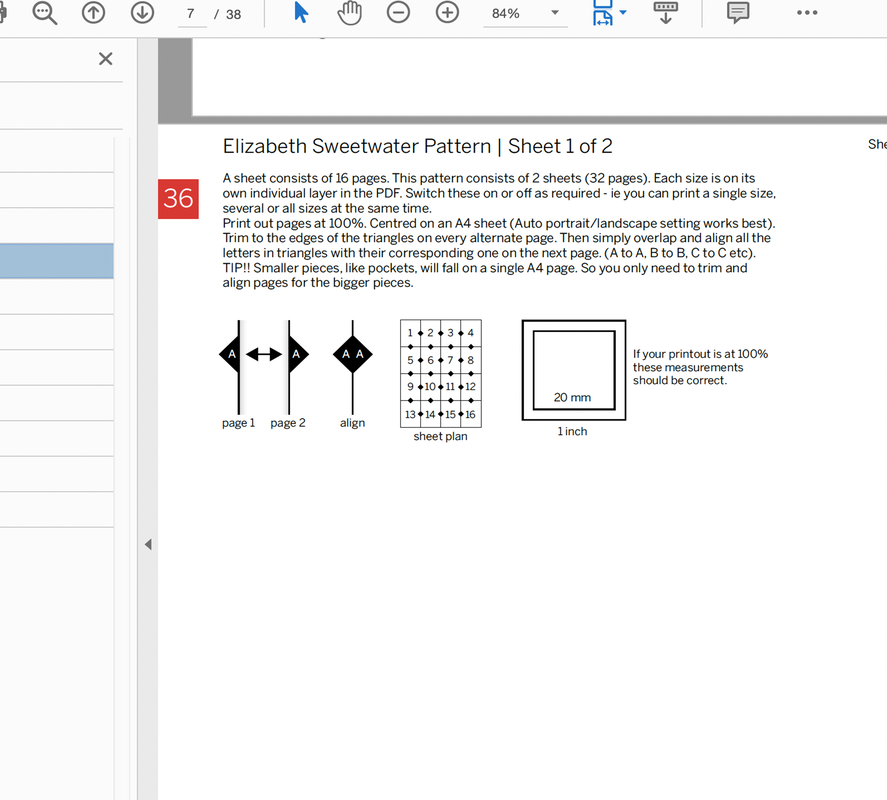
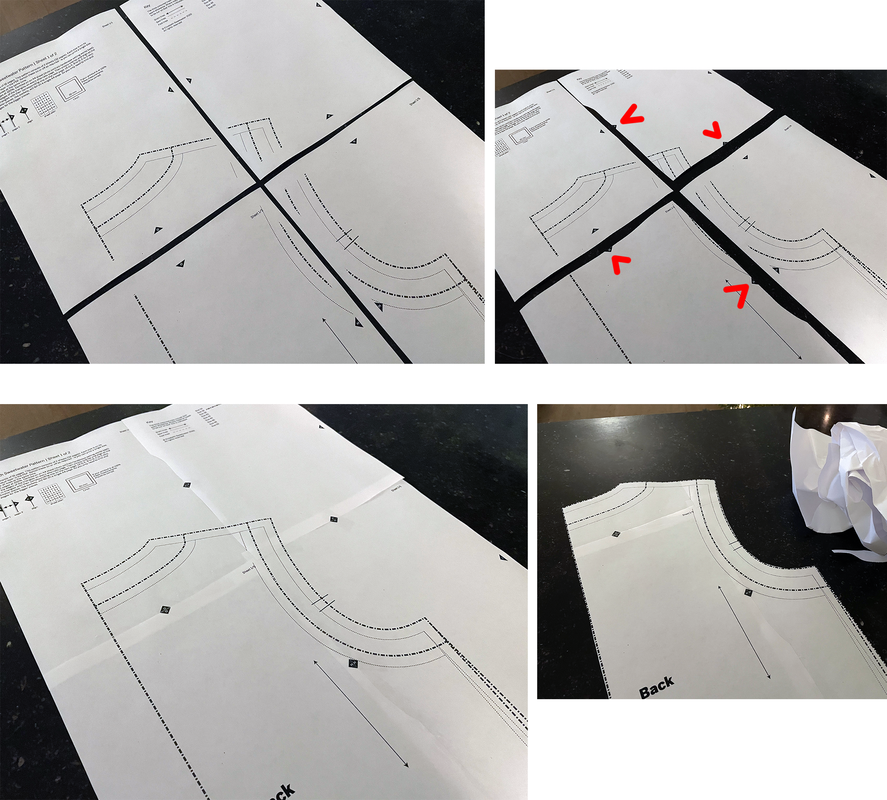
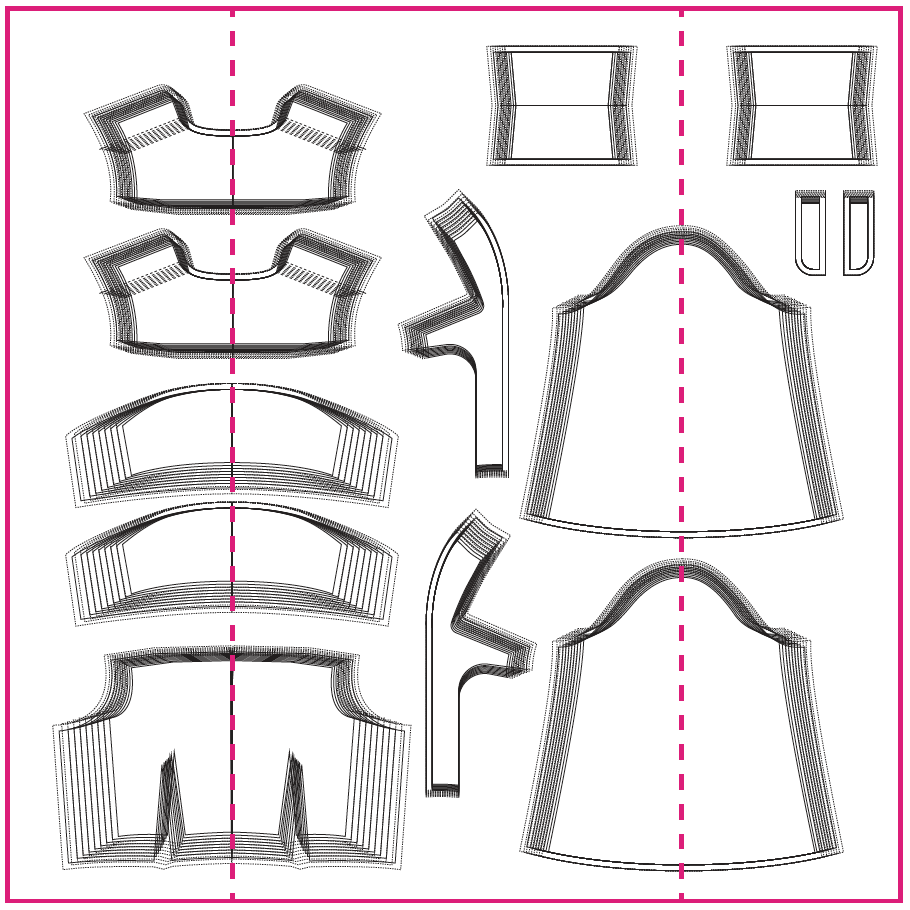
1. De Patroon The pattern Bij aankoop van een van onze patronen ontvangt u 3 PDF-bestanden: een voor thuisprinters om op A4-papier af te drukken, een tweede voor A0-gebruikers om af te drukken in een printshop en een derde is voor mensen die een overheadprojector gebruiken. De volgende algemene introductietekst geeft een overzicht van hoe onze patroon-pdf's zijn opgezet en legt uit hoe je de A4-versie kunt afdrukken en hoe je de pagina's aan elkaar kunt plakken. A0-gebruikers kunnen bij hun printshop aangeven welke pagina's ze nodig hebben. Op de projector bestanden staan alle panden in dezelfde richting. On purchasing any of our patterns you will receive 3 PDF files: one for home printers to print on A4 paper, a second at A0 is for printshop users and a third is for sewers who use an overhead projector. The following general introduction text provides an overview of how our pattern pdfs are set up and explains how to print out the A4 version and how to stick the pages together. A0 users should simply instruct their printshop which pages they require. Projector users will note that all pieces have the grain direction facing the same way.
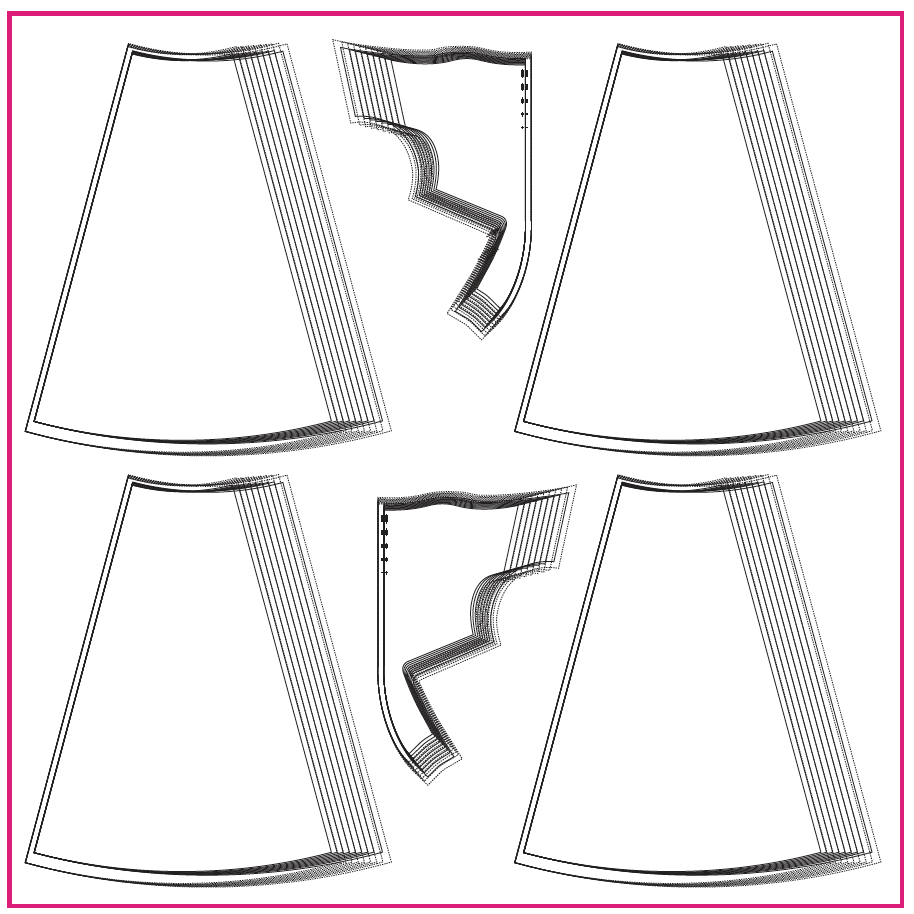
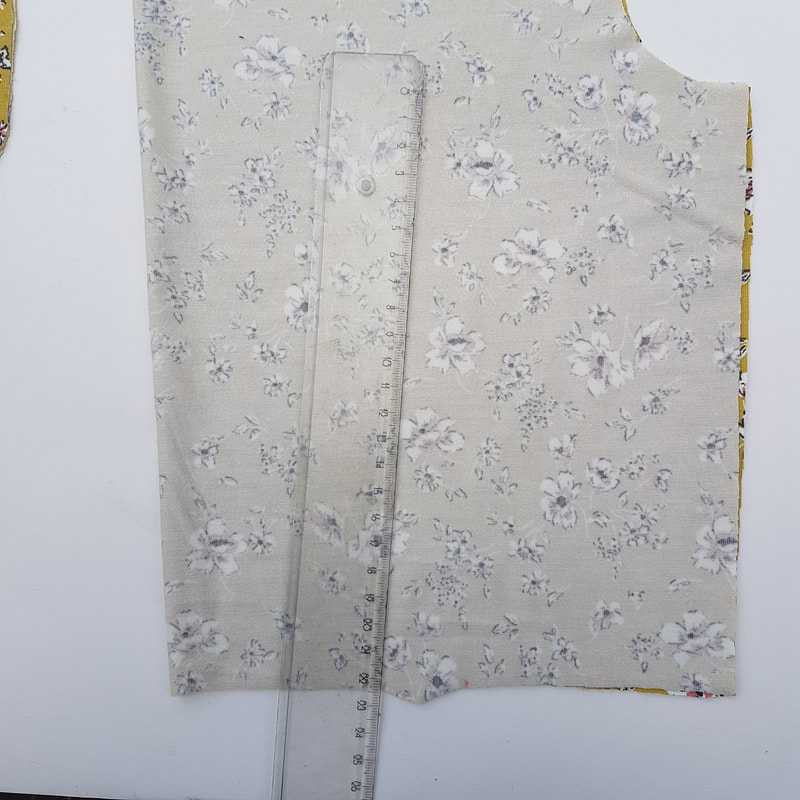
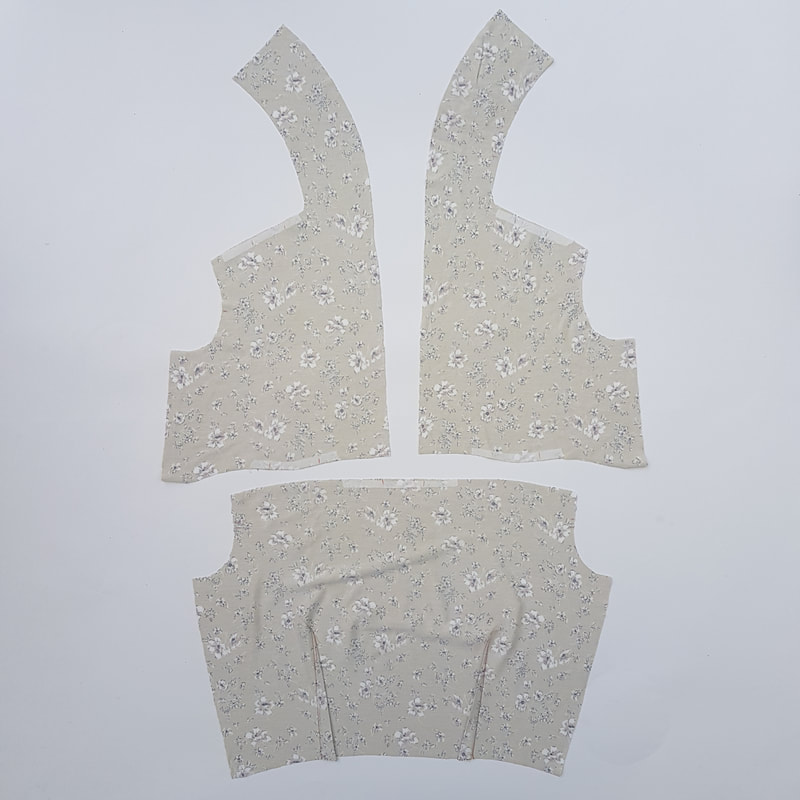
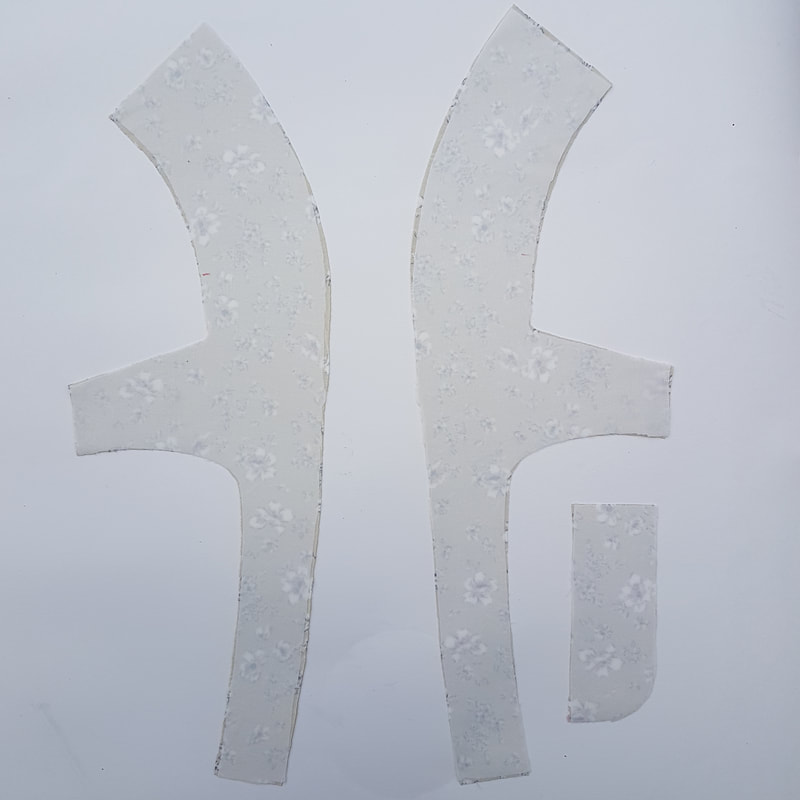
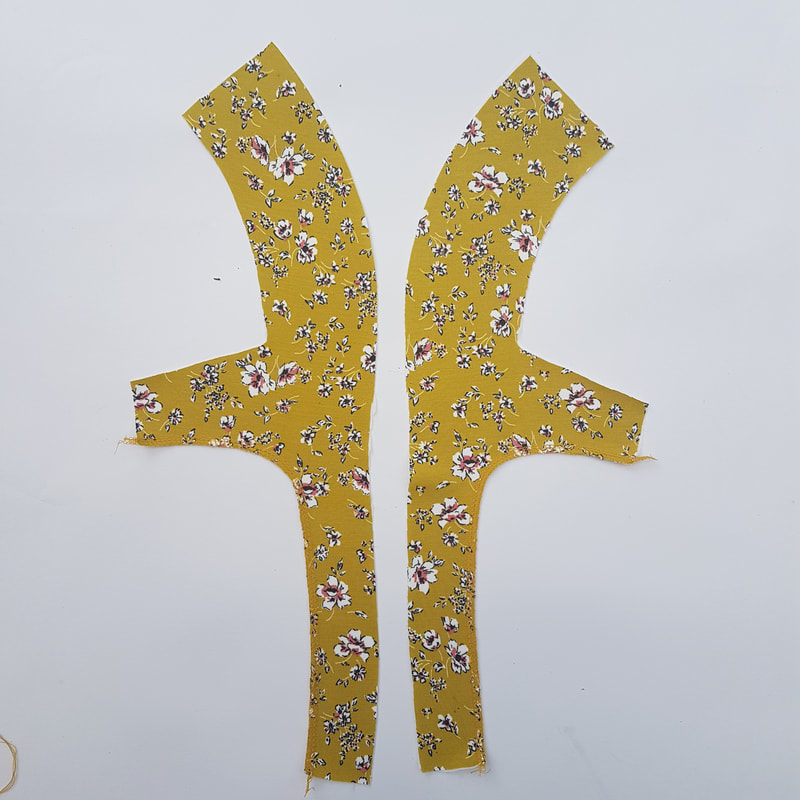
1g. Nu je al je stukken hebt uitgeknipt raadpleeg het onderstaande overzicht om je voor te bereiden op het uitknippen van de door jou gekozen stof. Now you have cut out all your pieces consult the overview below to prepare yourself for the next stage of cutting out the pieces from your chosen material.
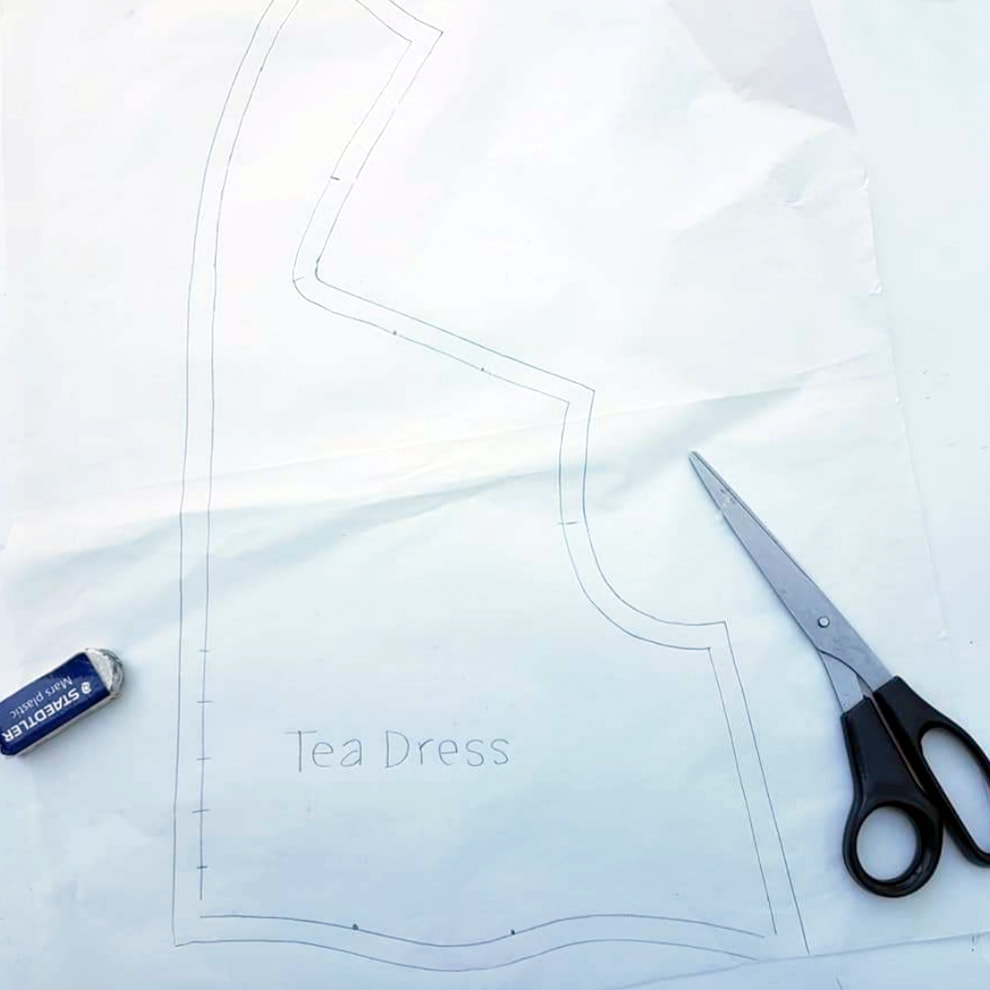
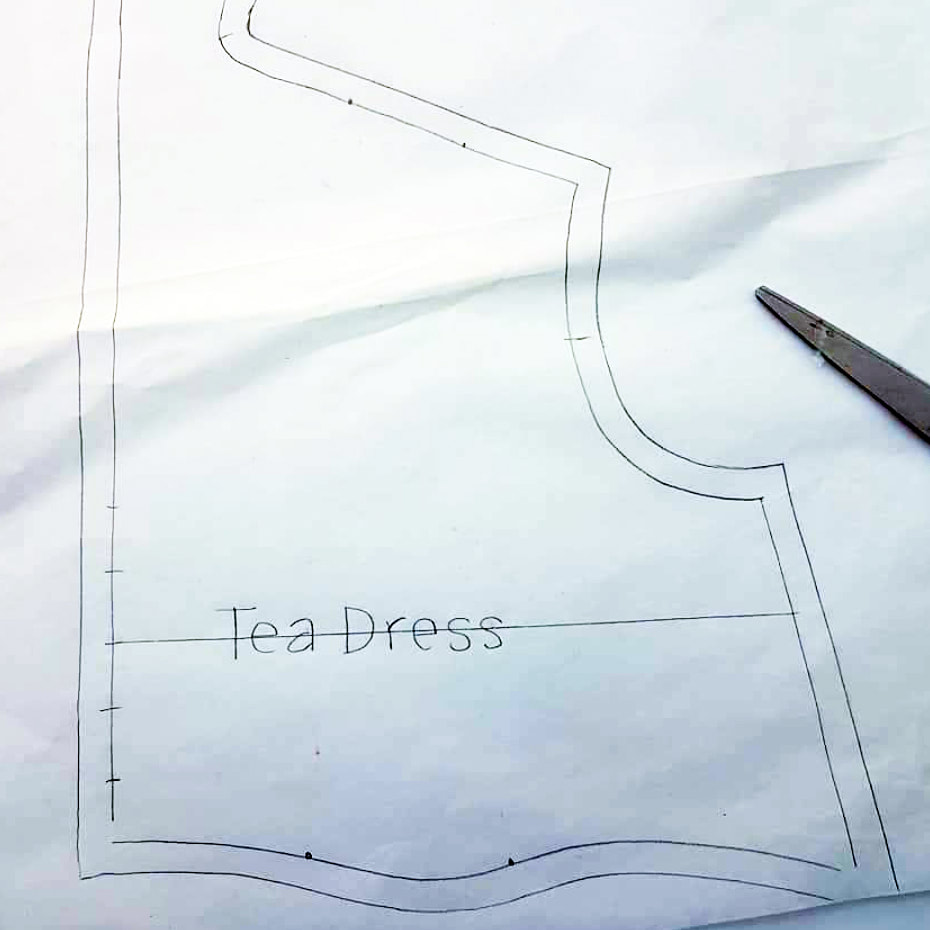
2. De voorbereiding Getting prepared
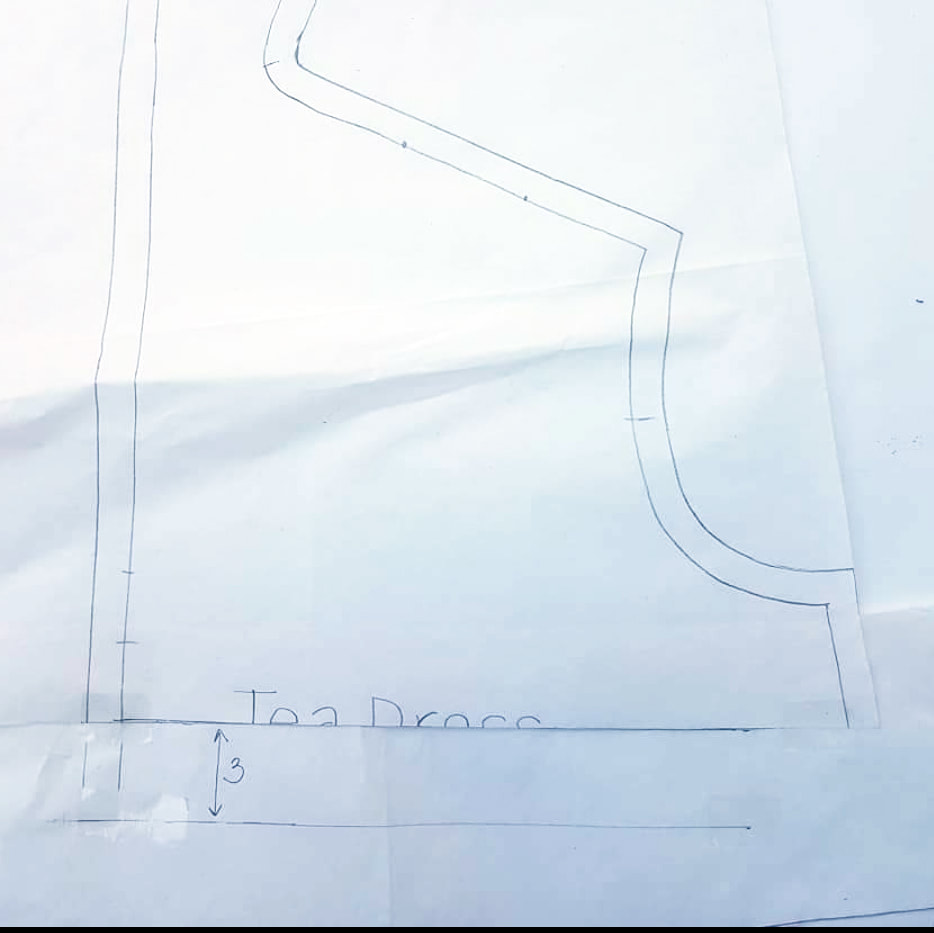
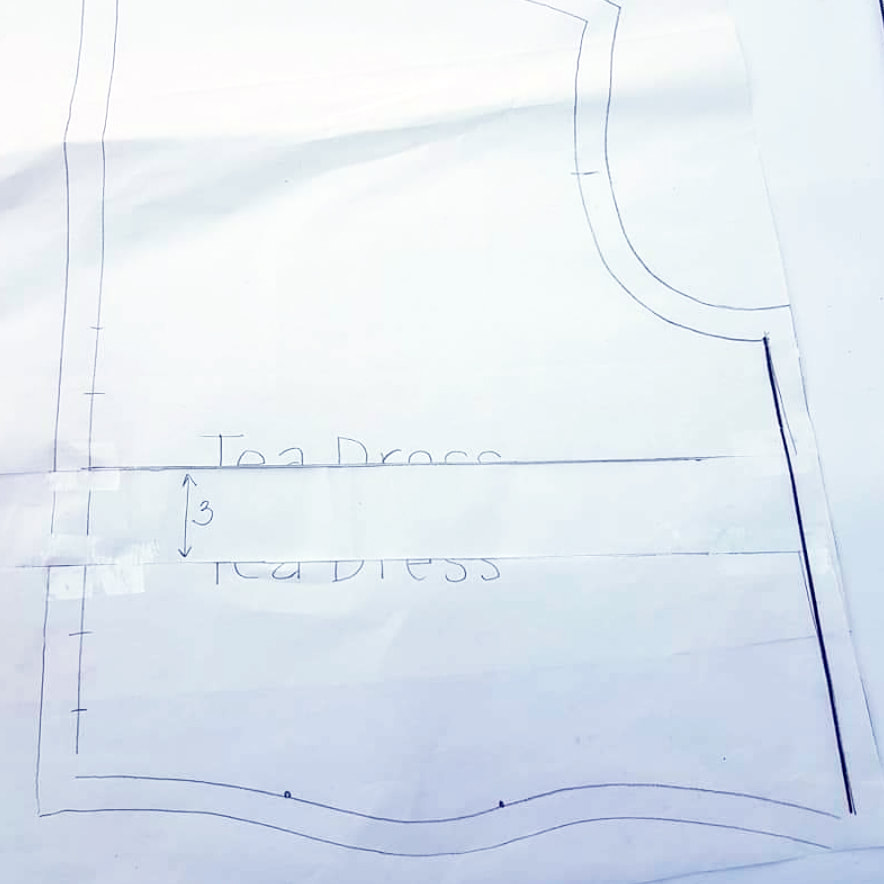
Tip voor langere vrouwen Tip for taller women Verlengen bovenstuk Increase length of top piece
3. Checklijst Checklist 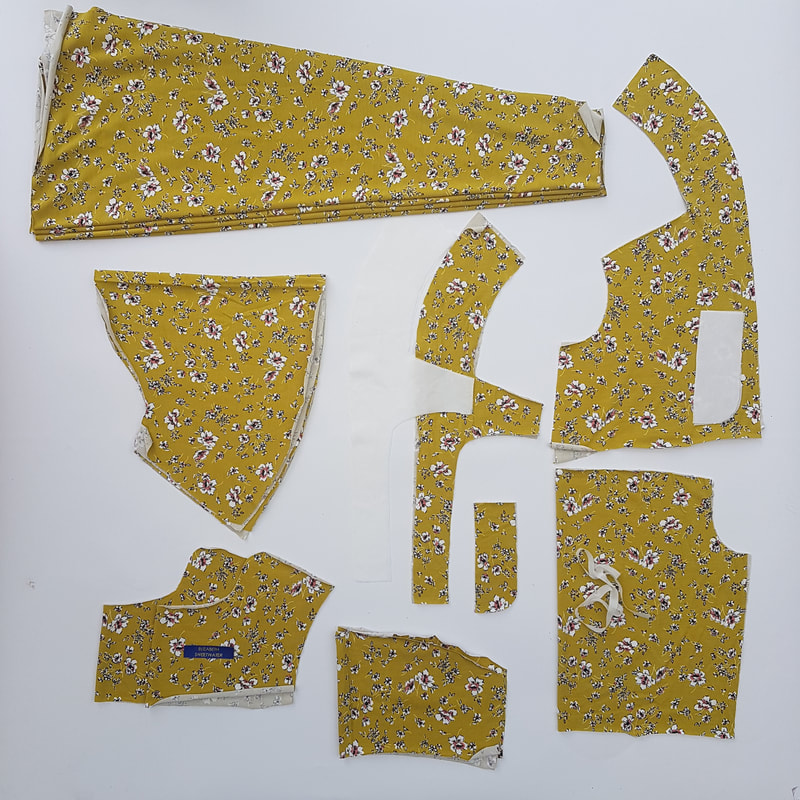
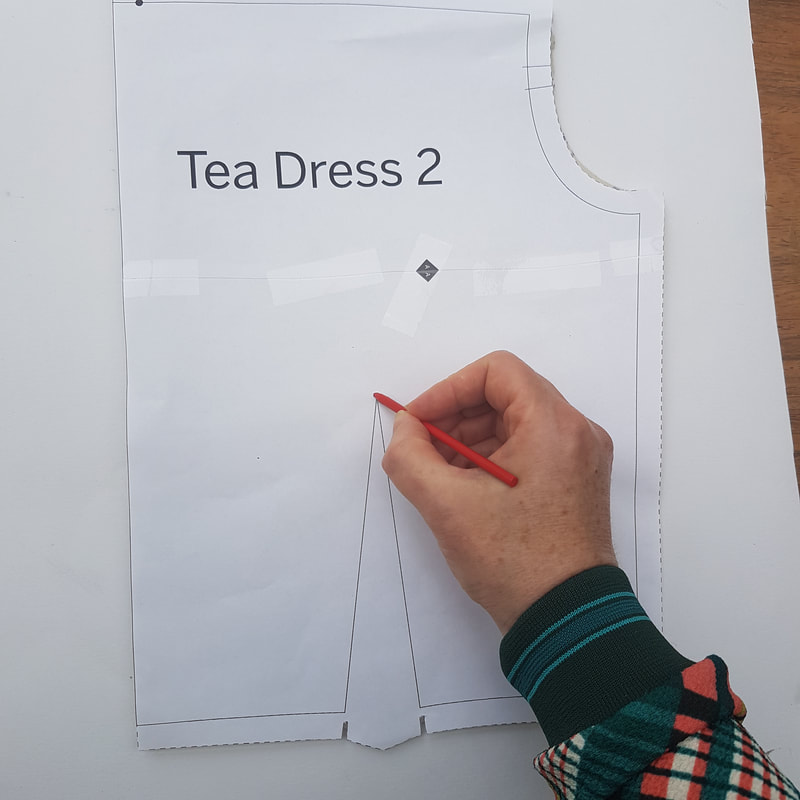
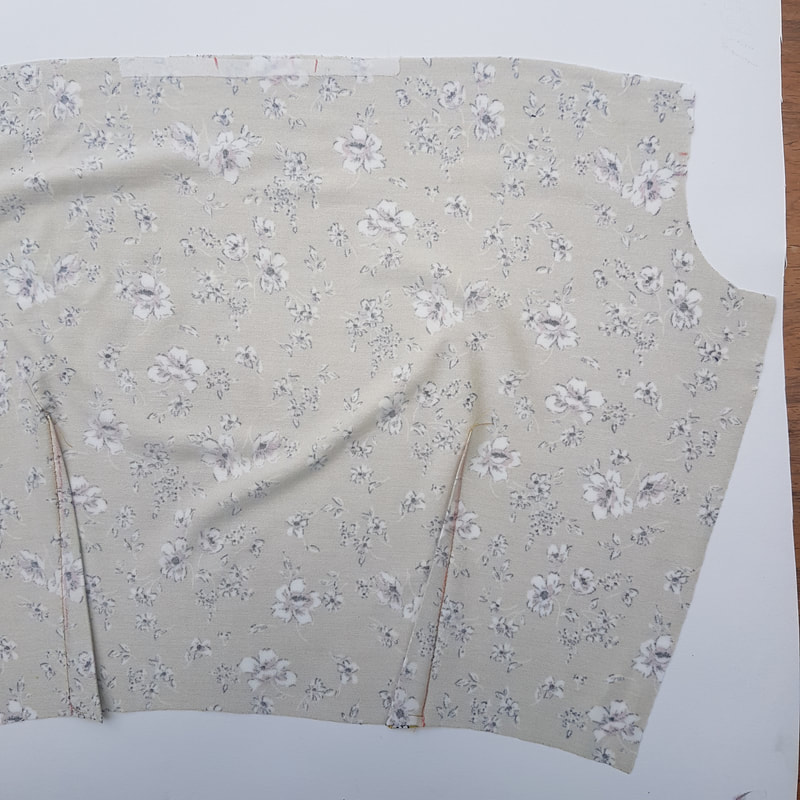
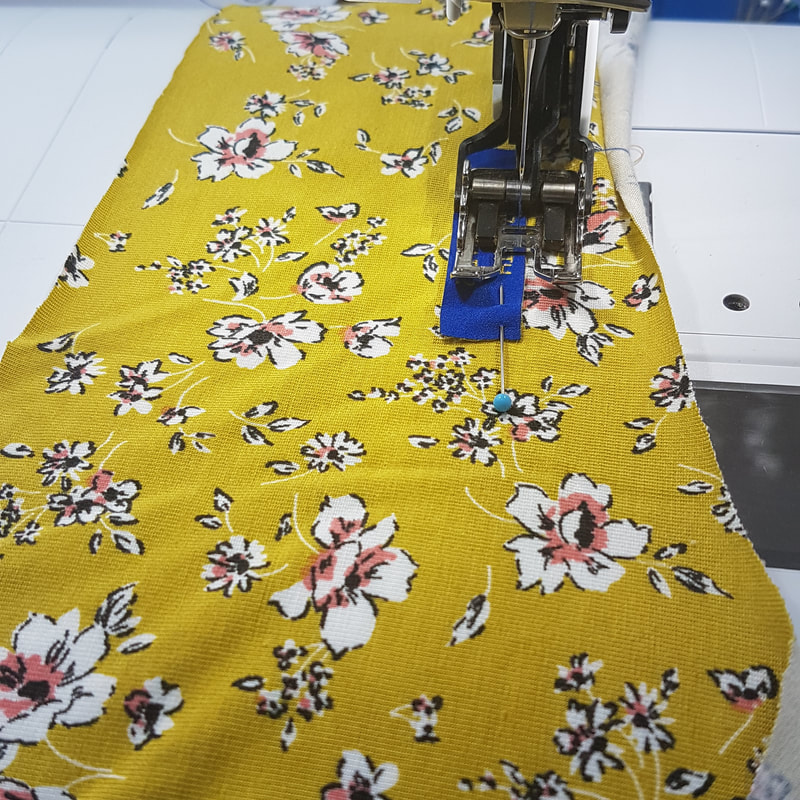
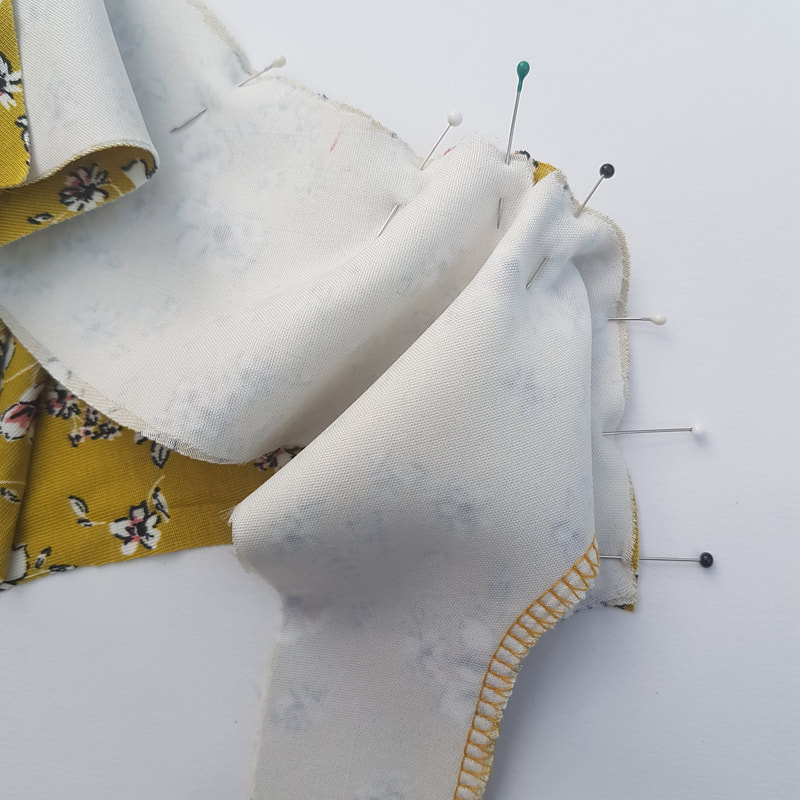
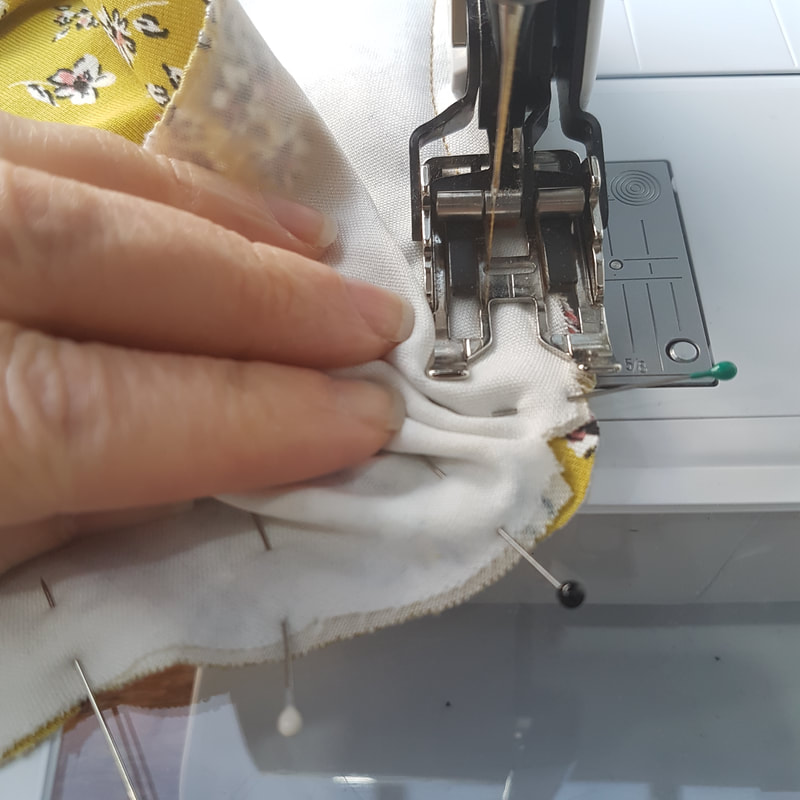
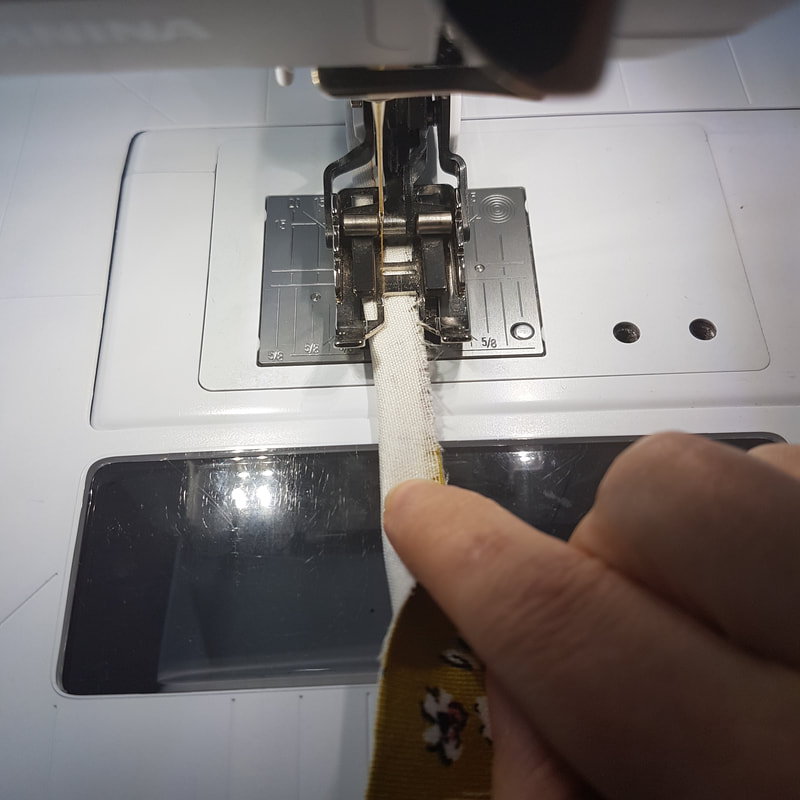
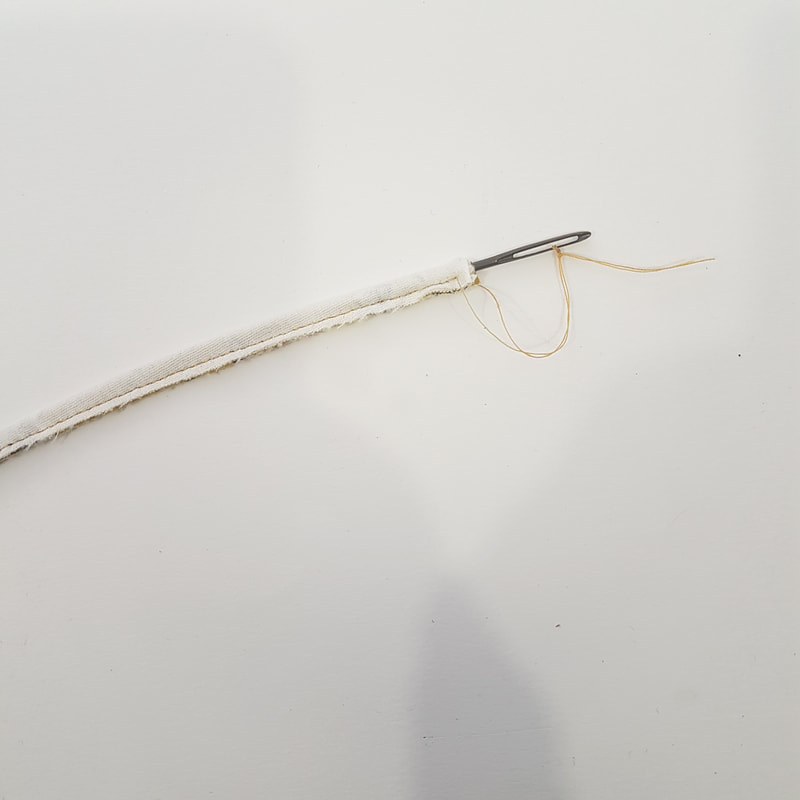
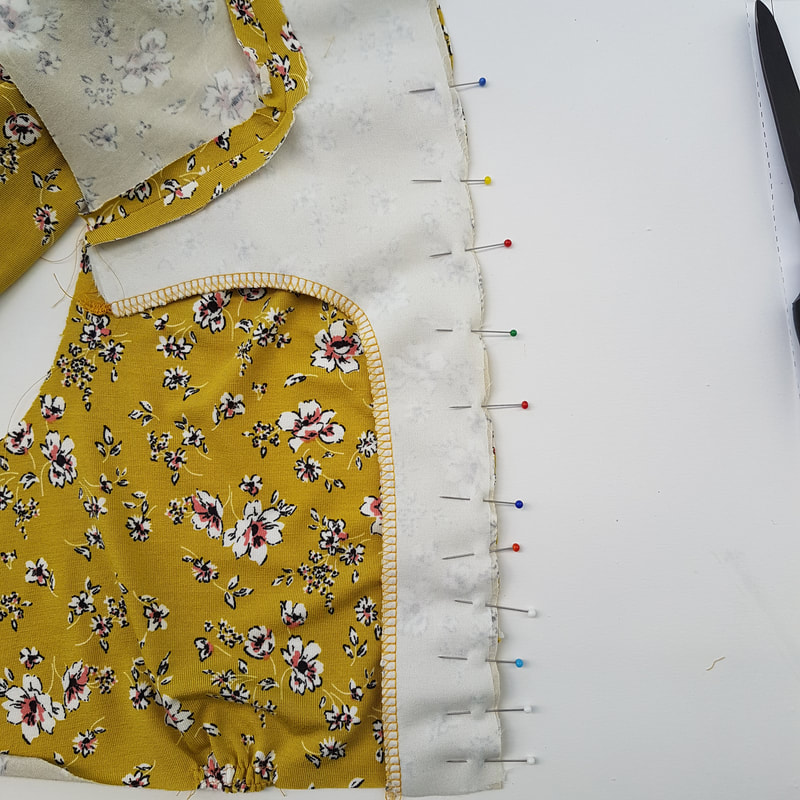
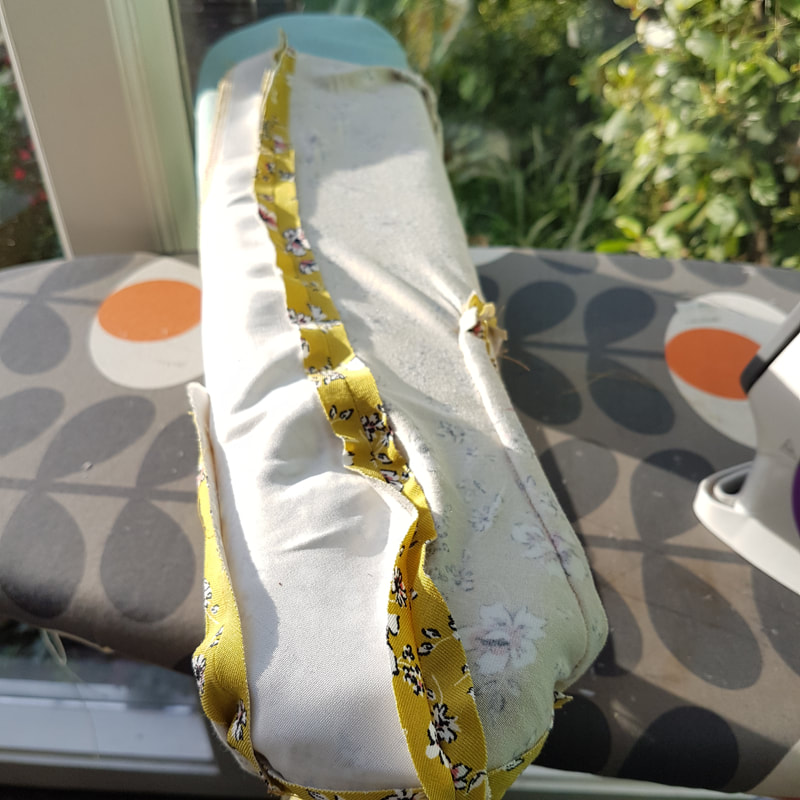
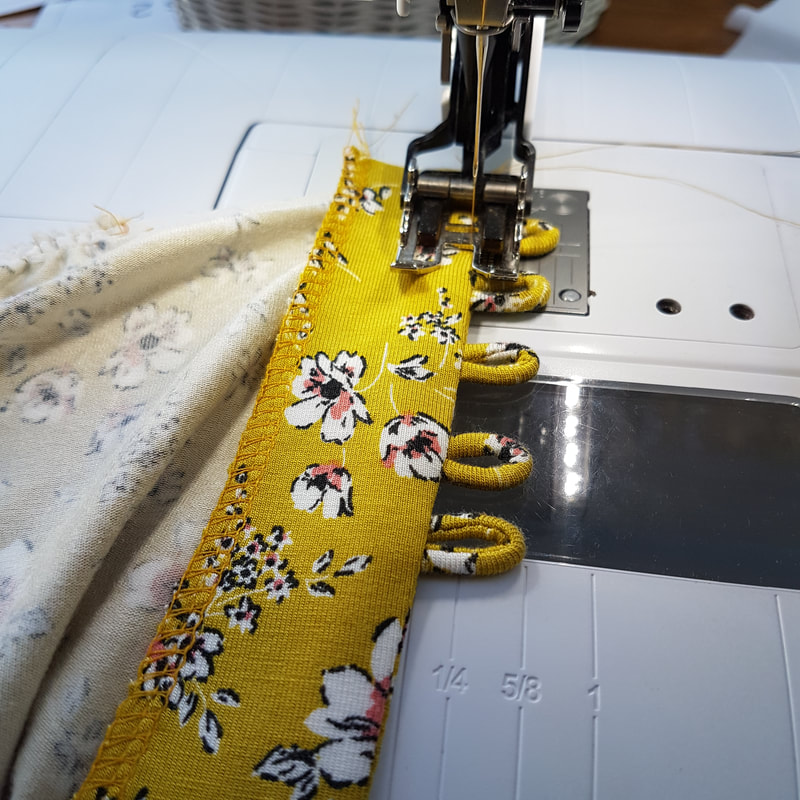
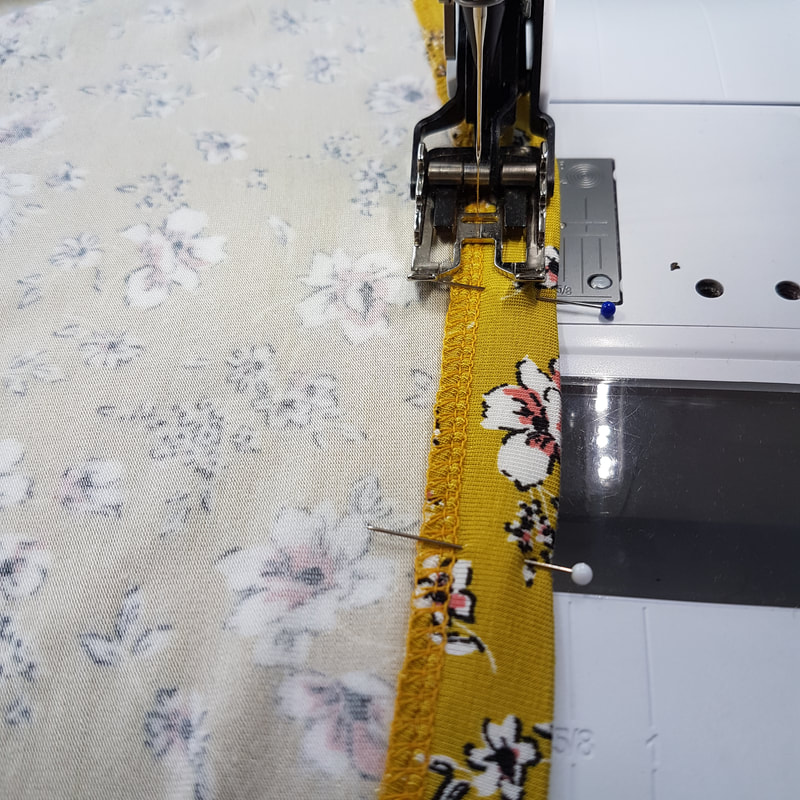
Goed om te weten Ik ga in deze werkbeschrijving uit van het gebruik van een overlock machine. Mocht je daar niet over beschikken dan kun je een zig-zag steek gebruiken op een gewone naaimachine. Ik raad dan wel aan om er altijd een stretch stiksel naast te plaatsen. De naadtoeslag van de patronen is 10mm. Check wat de breedte instelling van je naad is op je lockmachine is. Is het 7mm dan kun je tijdens het stikken 3mm wegsnijden. De stretchnaden stik je met een stretchsteek instelling op de gewone naaimachine. Good to know For this tutorial an overlock machine was being used for sewing most of the garment. However, it is possible to use a regular sewing machine and sew with a zigzag stitch. I do recommend sewing an extra stretch stitch next to it to create clean lines. The seam allowance of the patterns is 10mm. Check the seam width setting of your overlock machine. Is it less than 7mm? Then you can cut away a little while sewing. The stretch seams can be sewn using the stretch setting on a regular sewing machine. 4. Markering, coupenaden, plakken en afwerken Marking pieces, darts, interfacing and finishing edges
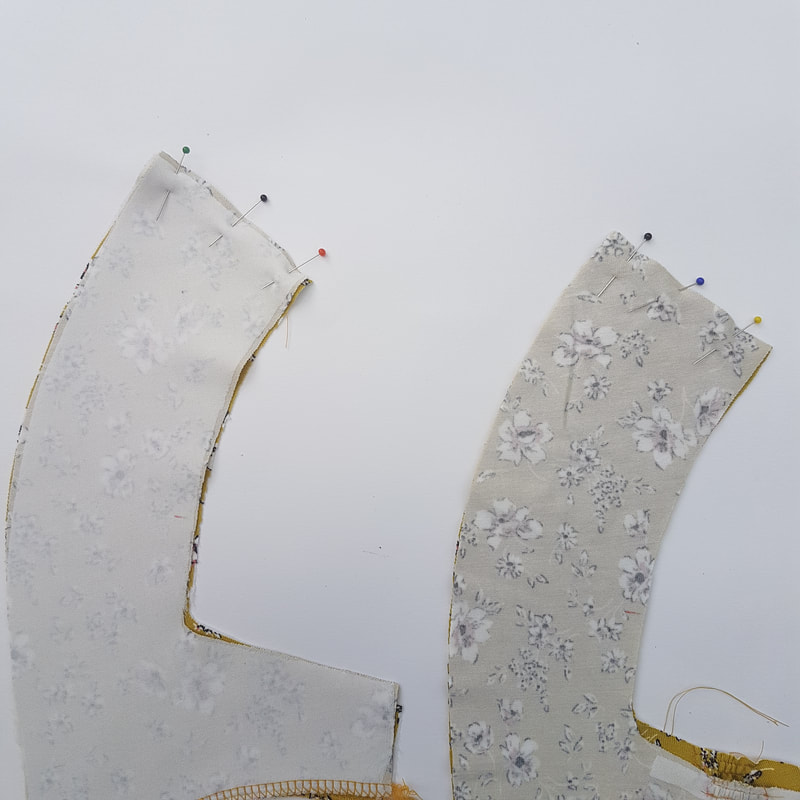
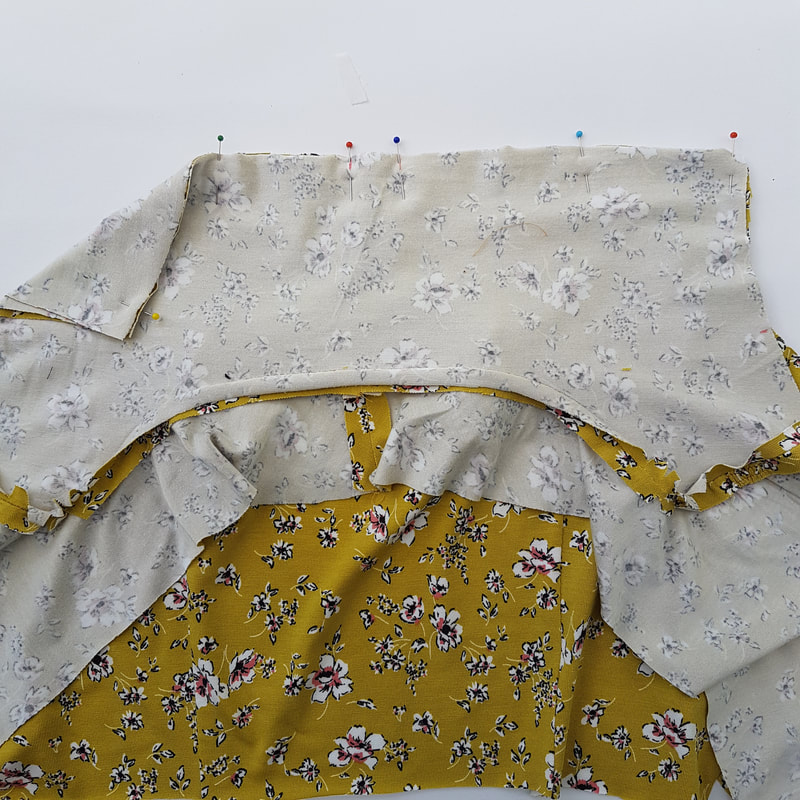
5. De schouder naden The shoulder seams
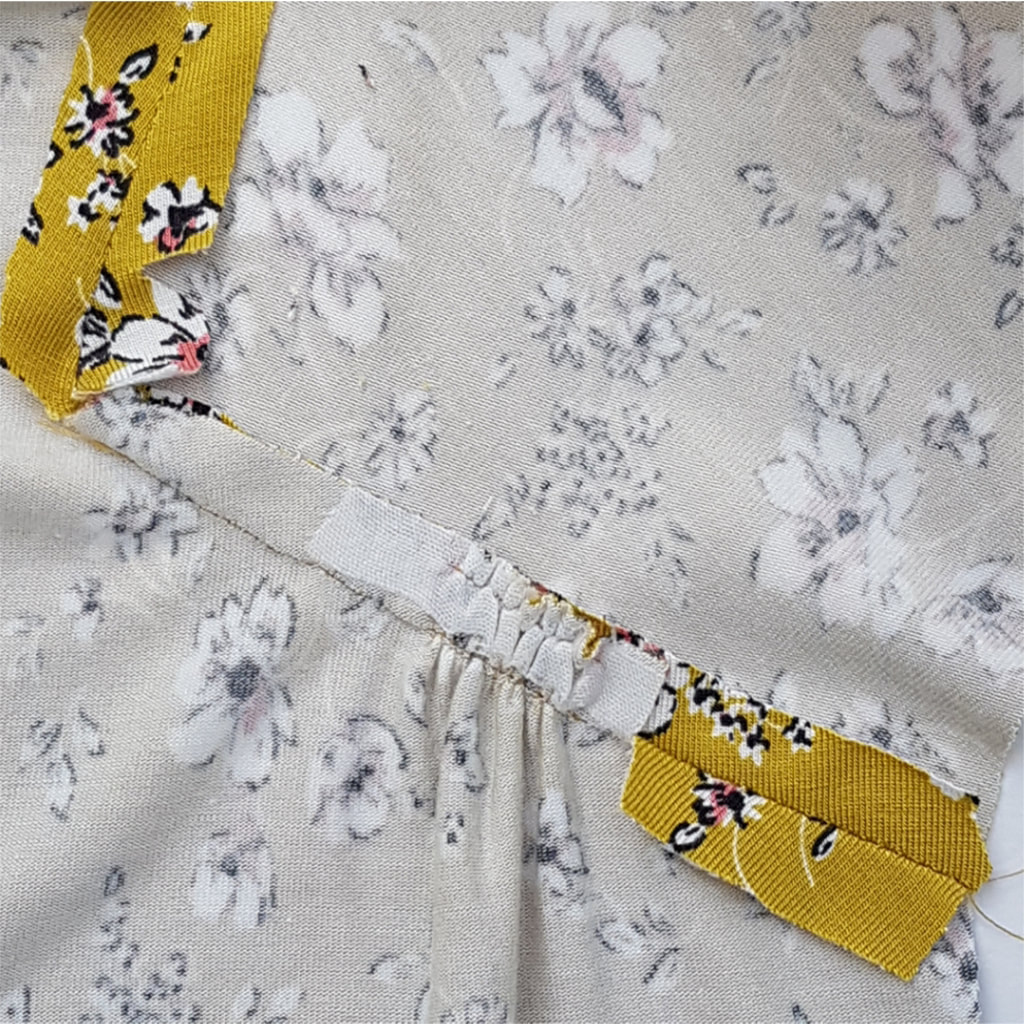
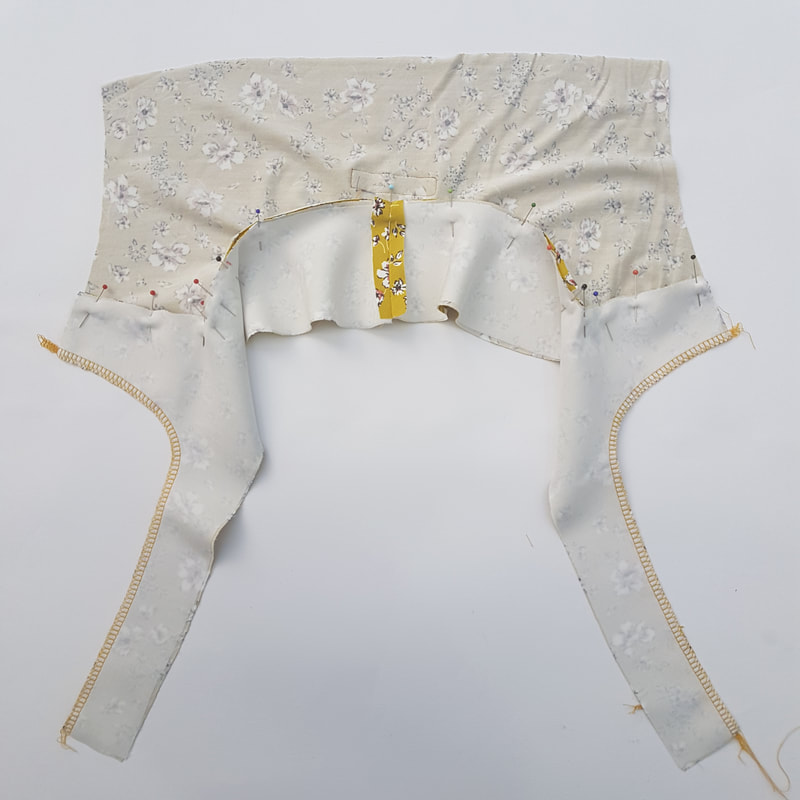
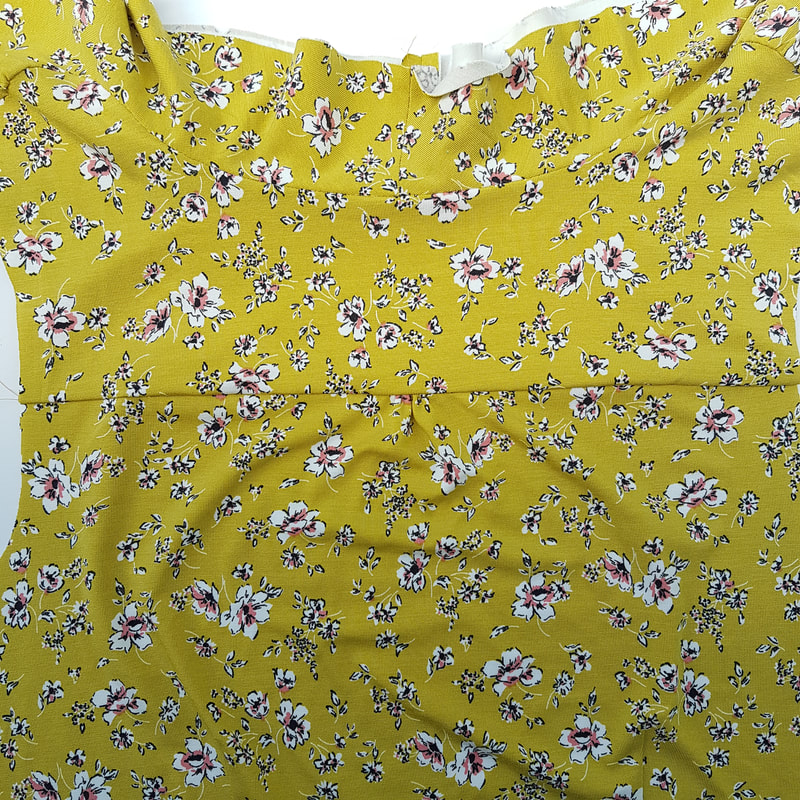
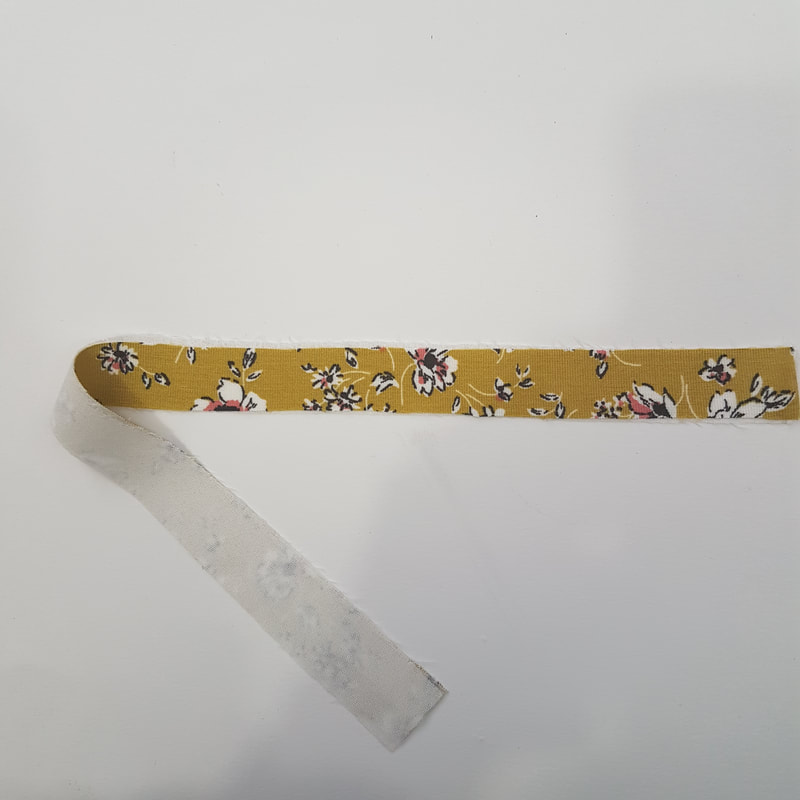
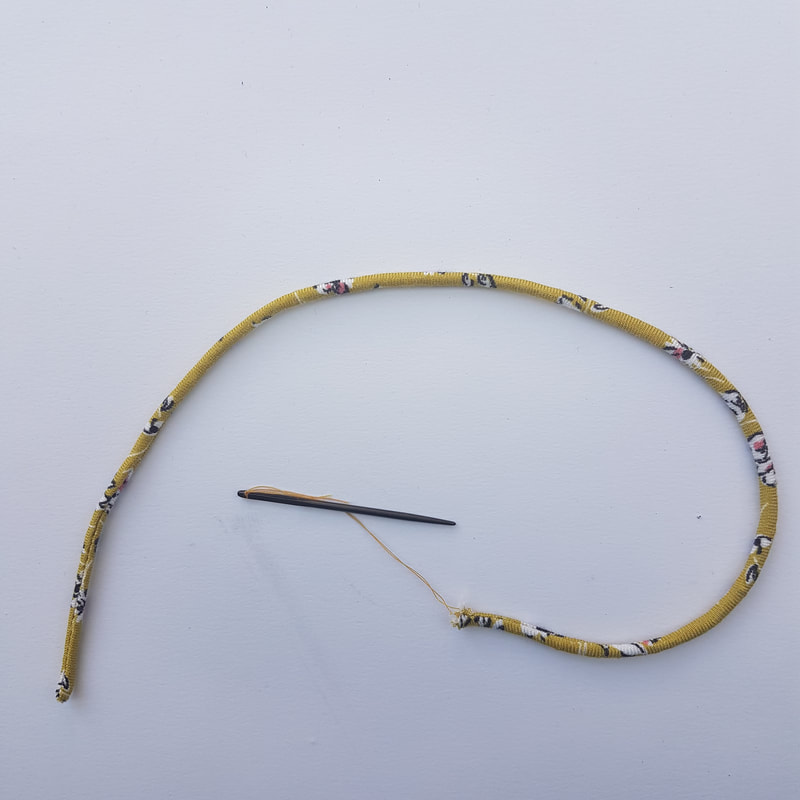
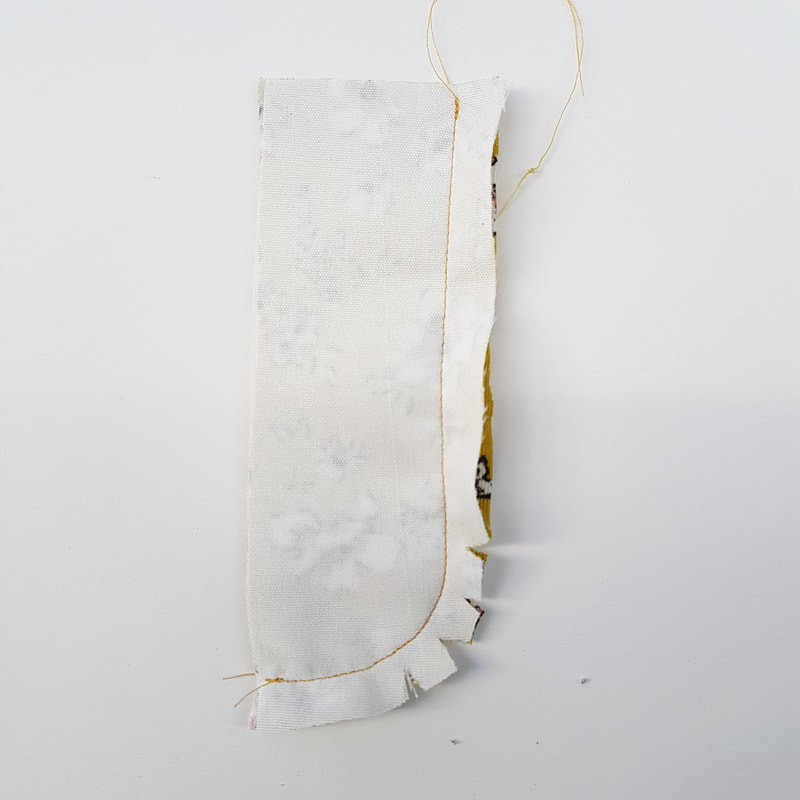
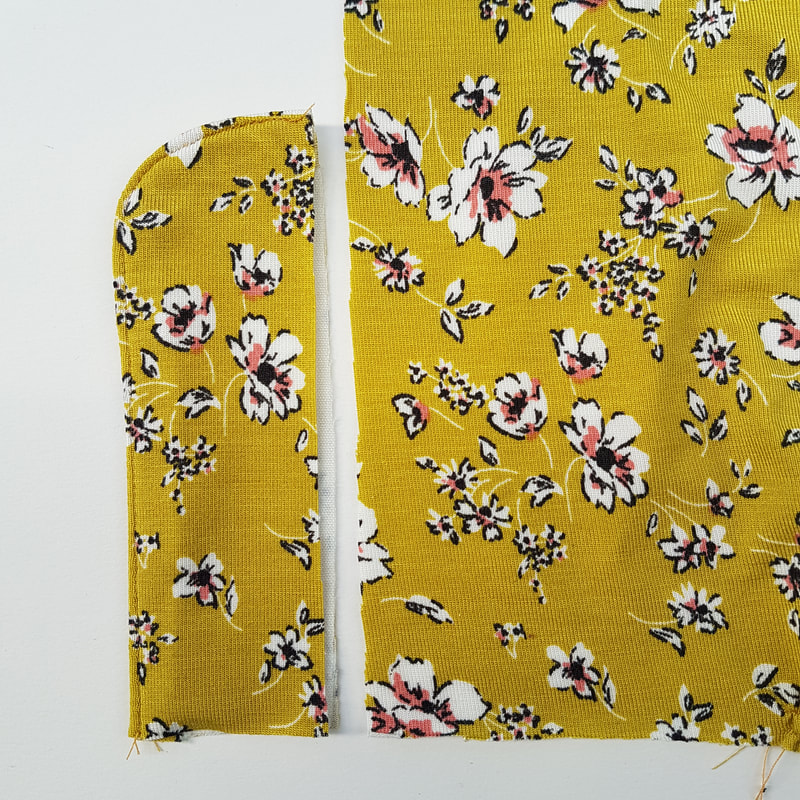
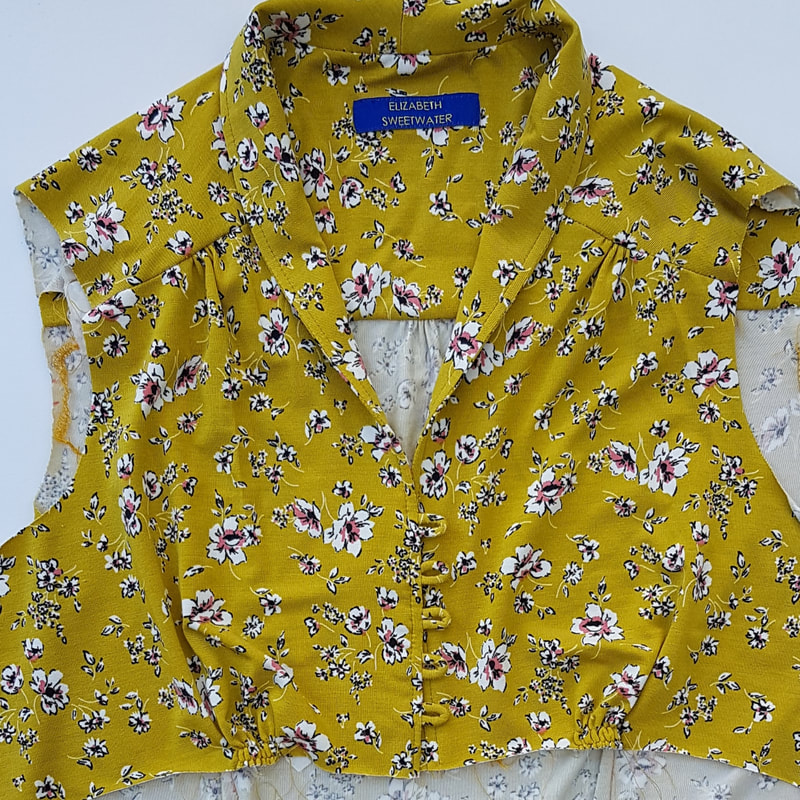
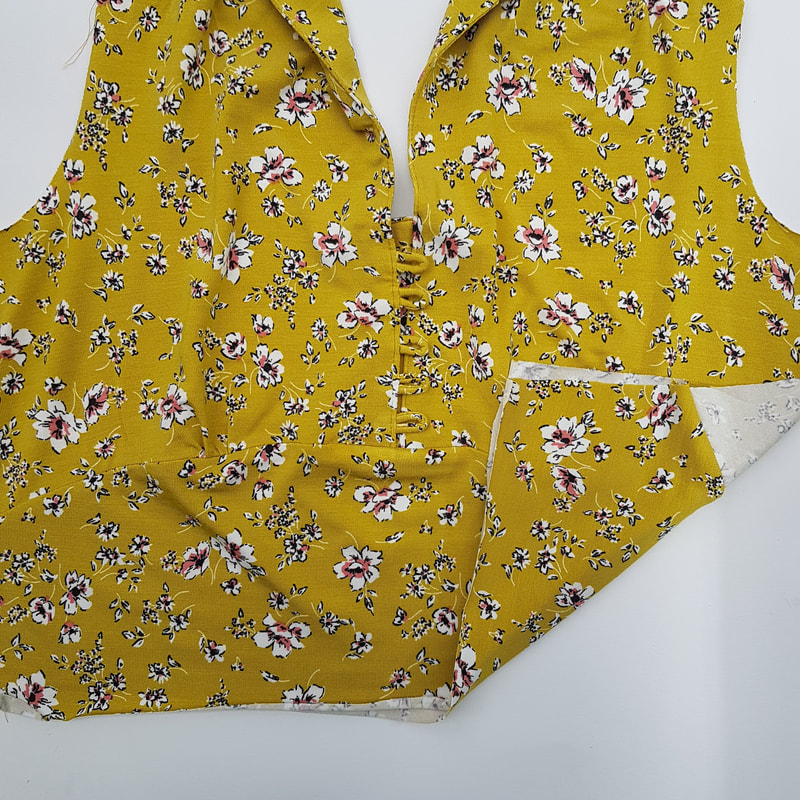
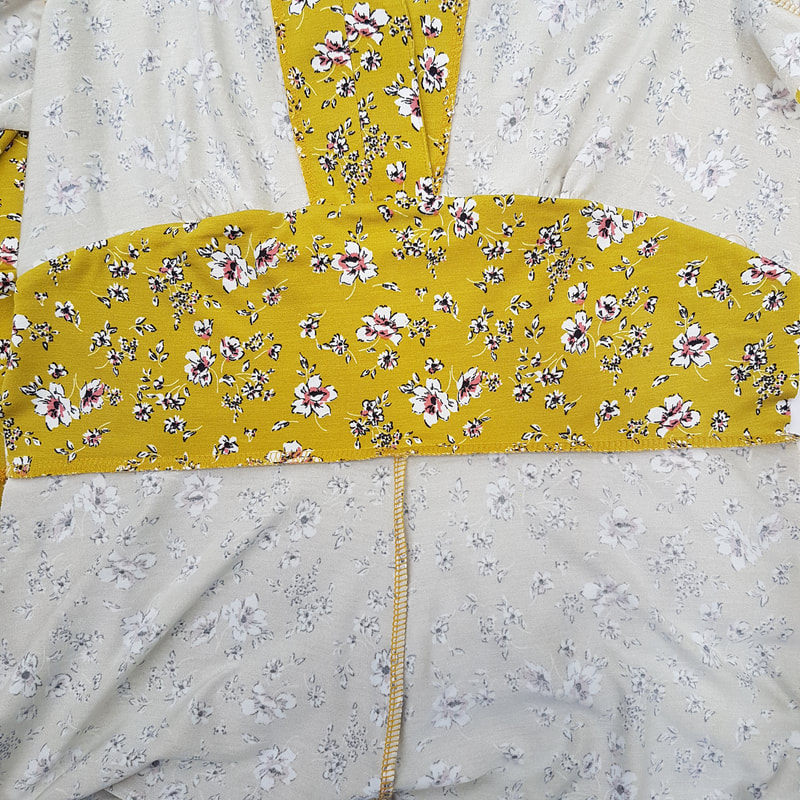
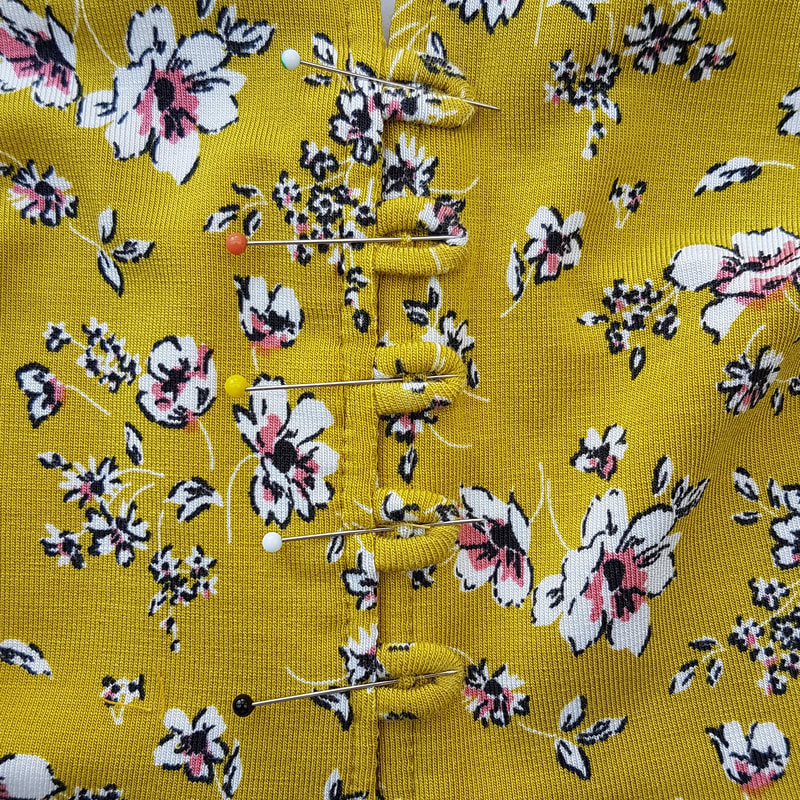
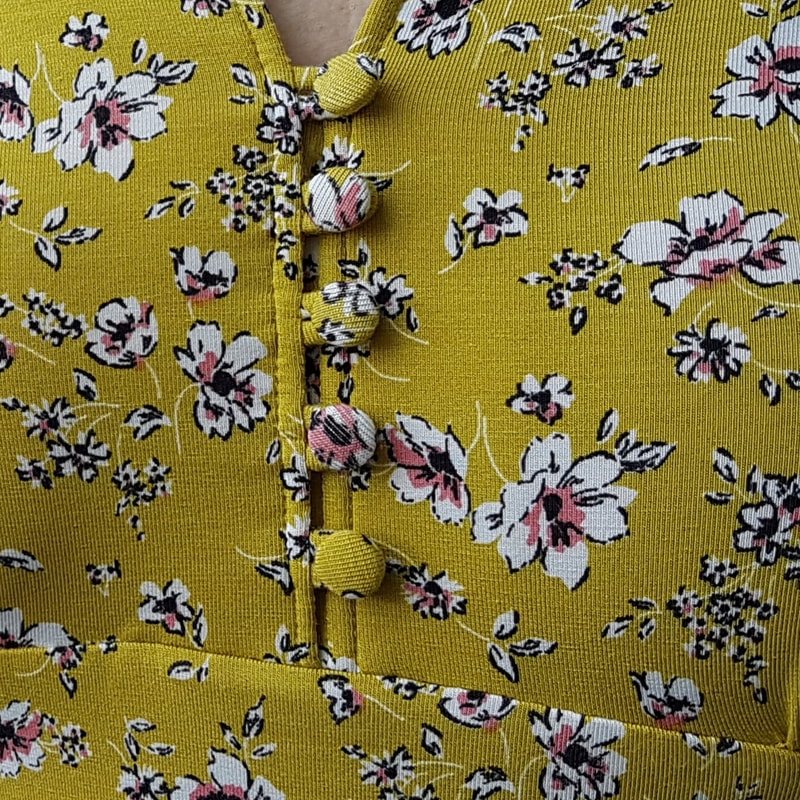
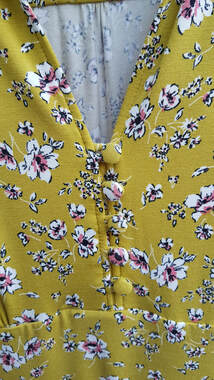
6. Knoopsluiting, kraag en tailleband Button closure, collar and waistband
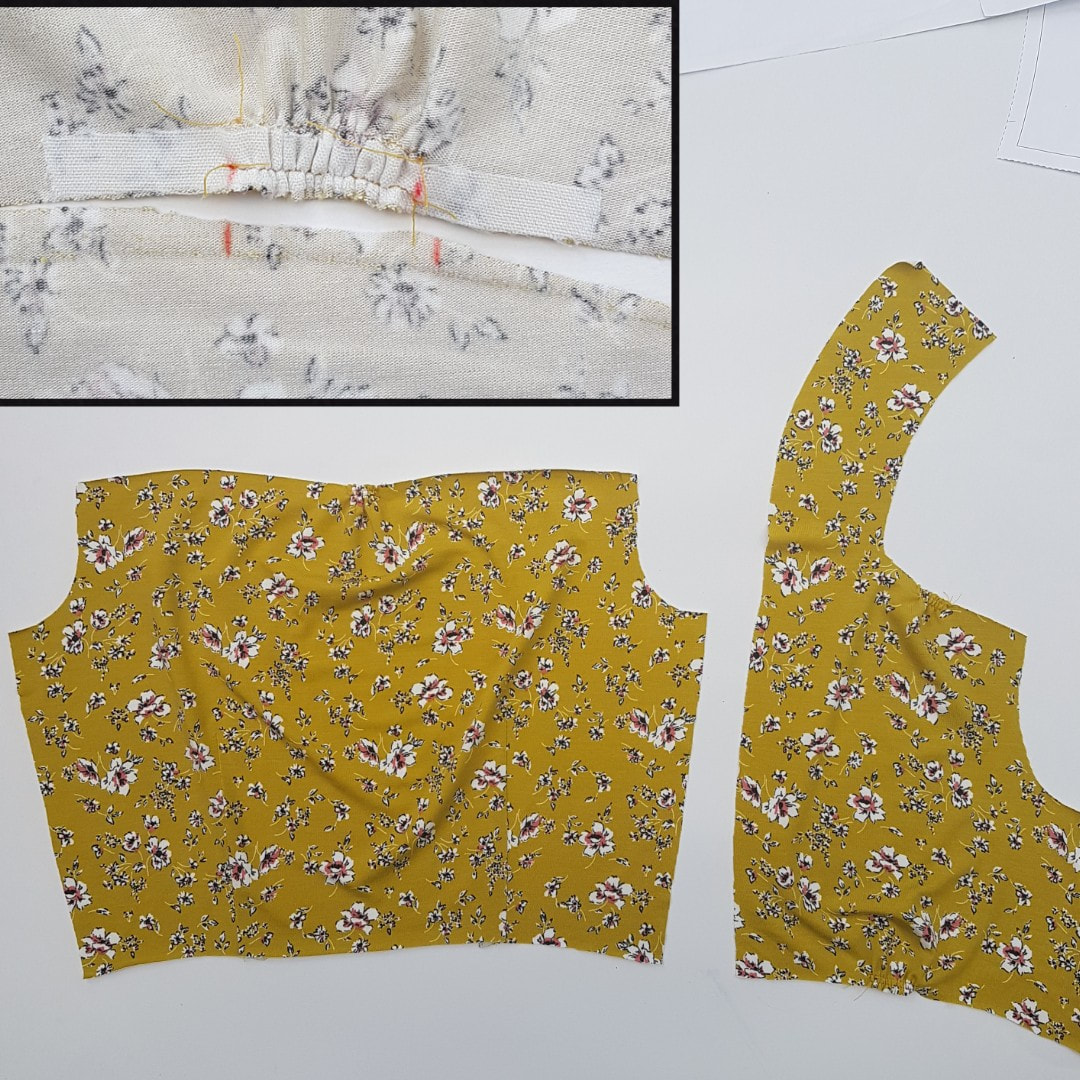
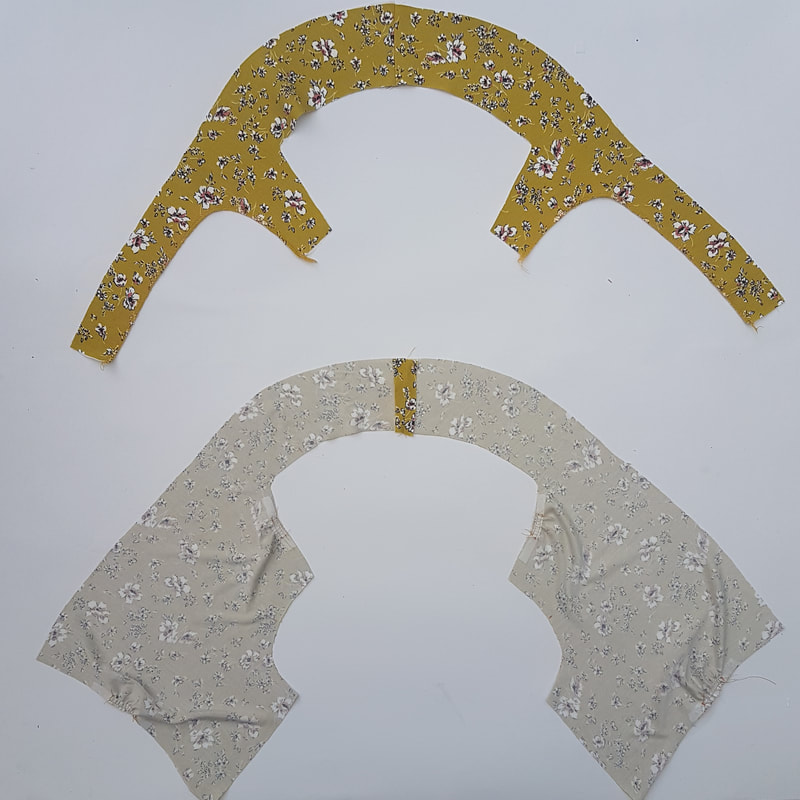
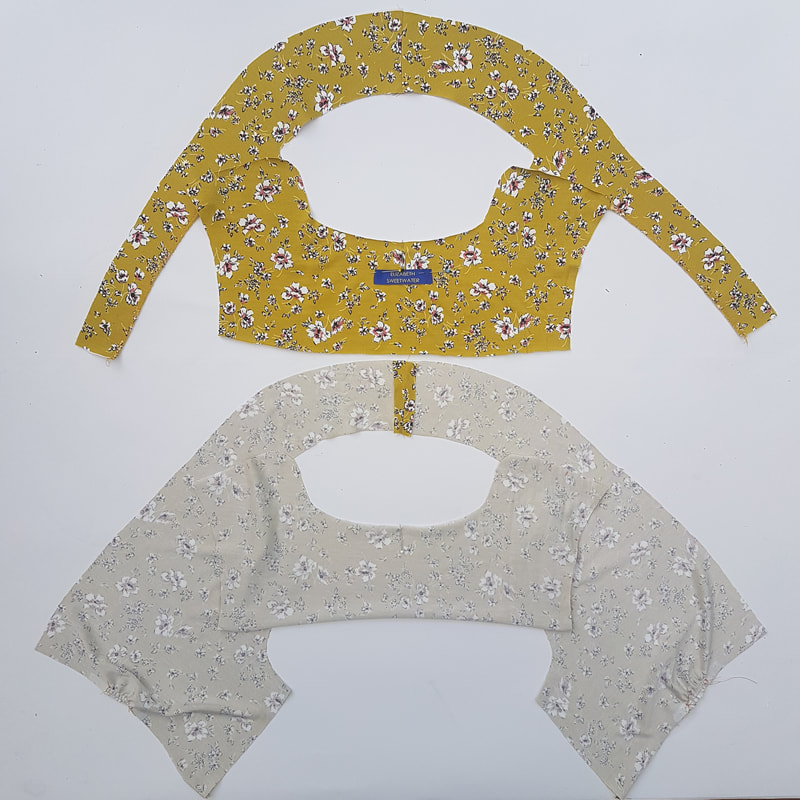
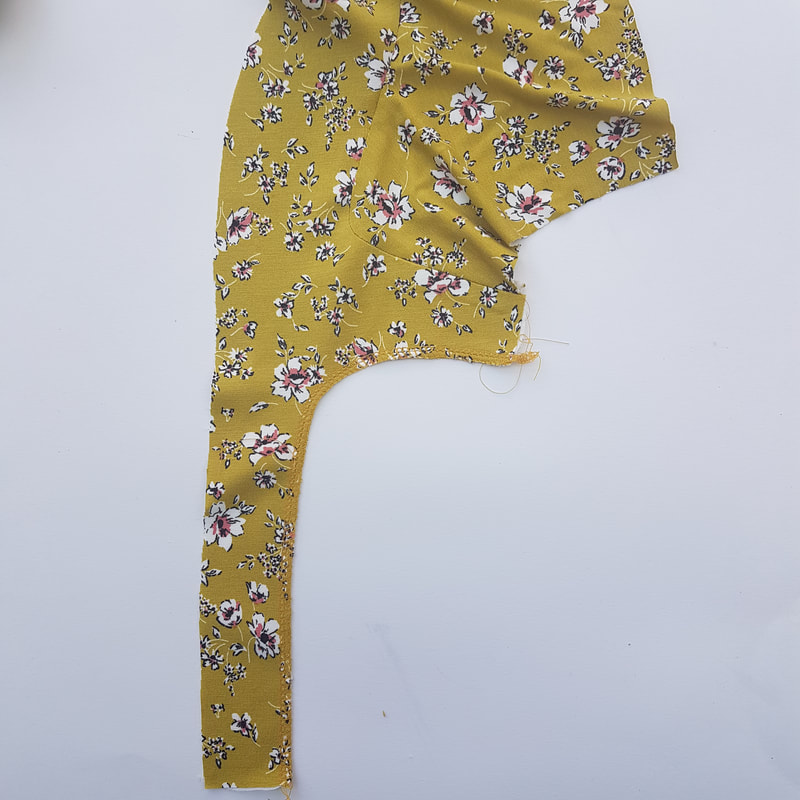
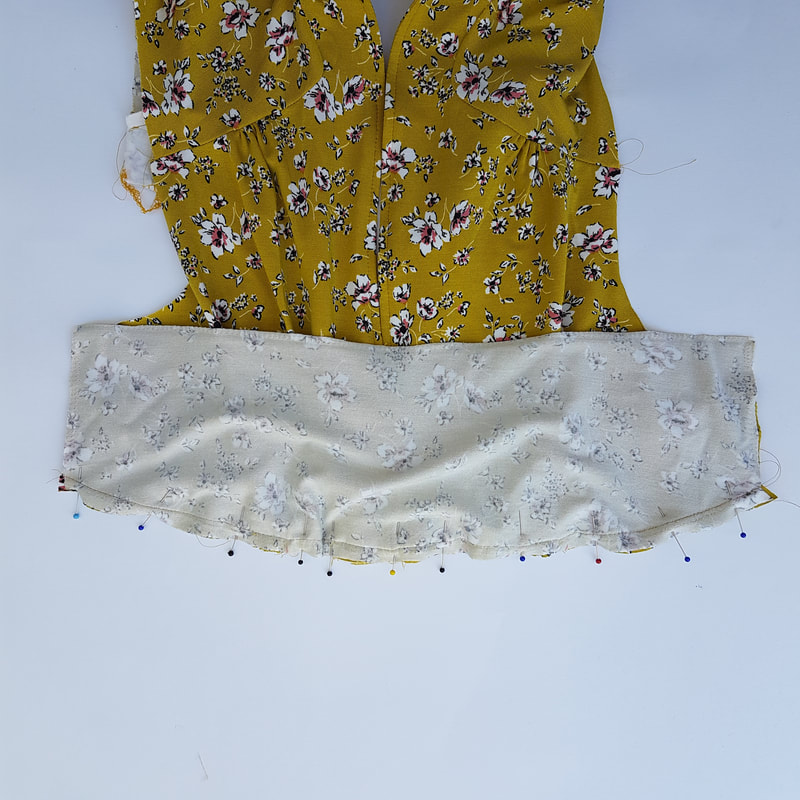
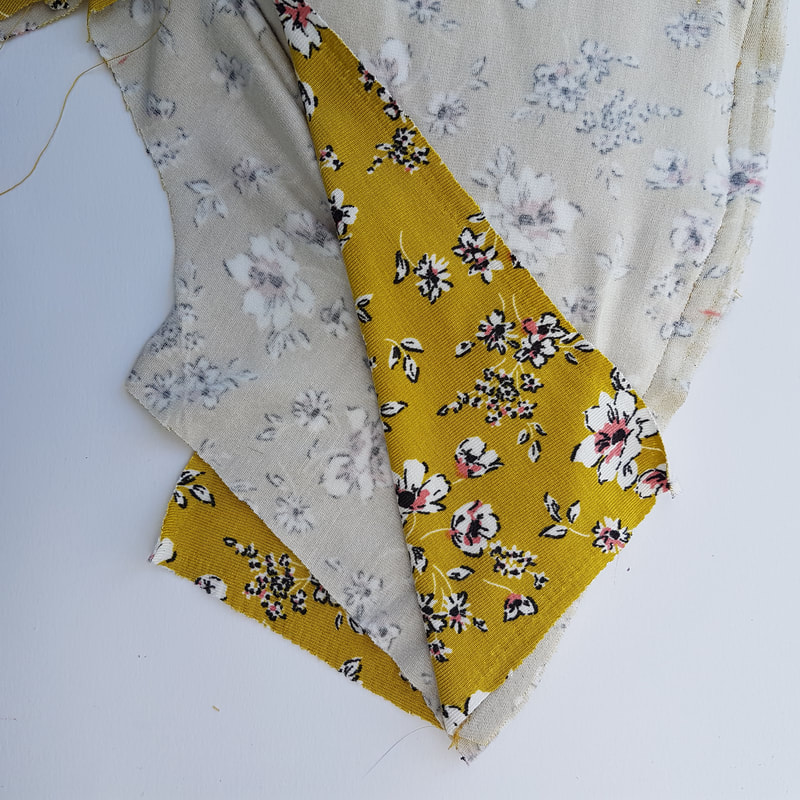
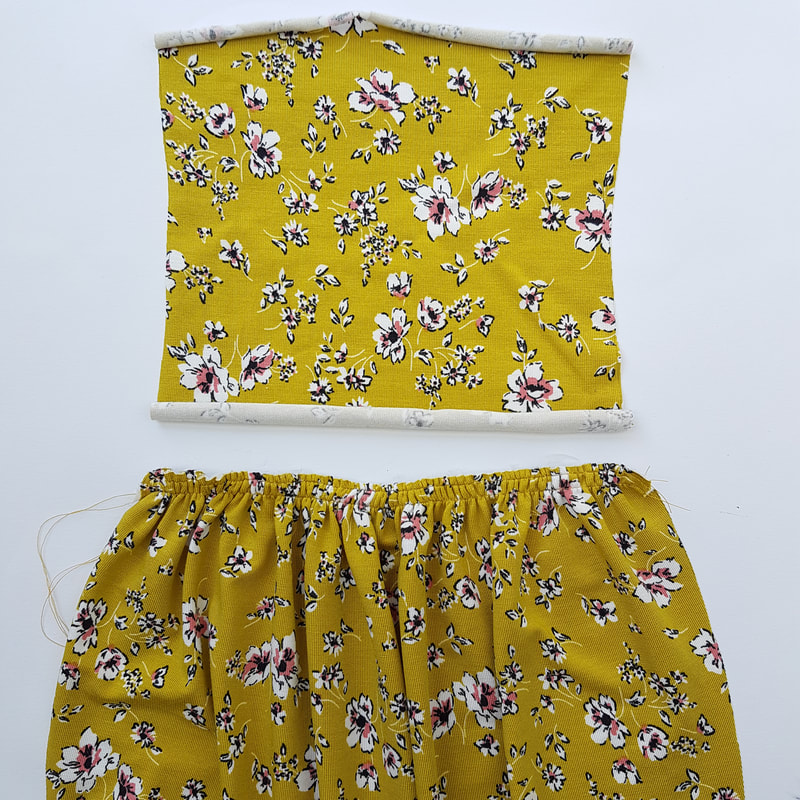
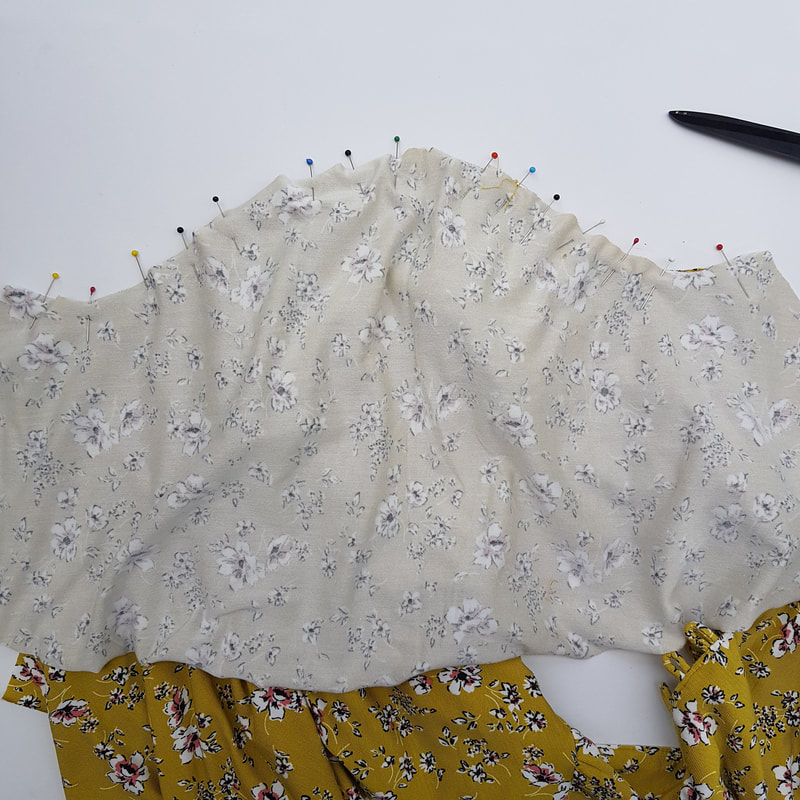
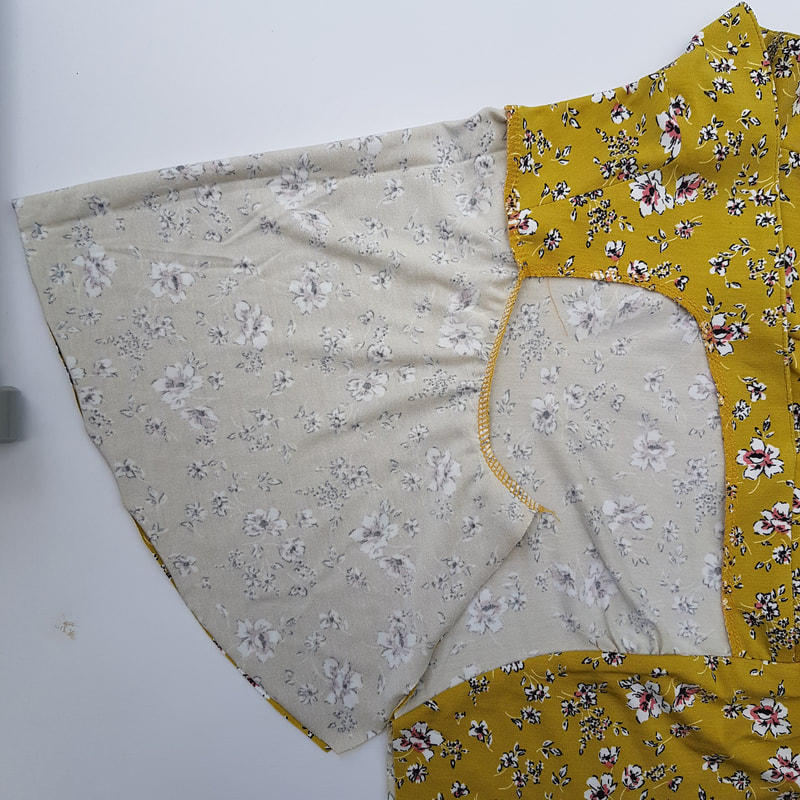
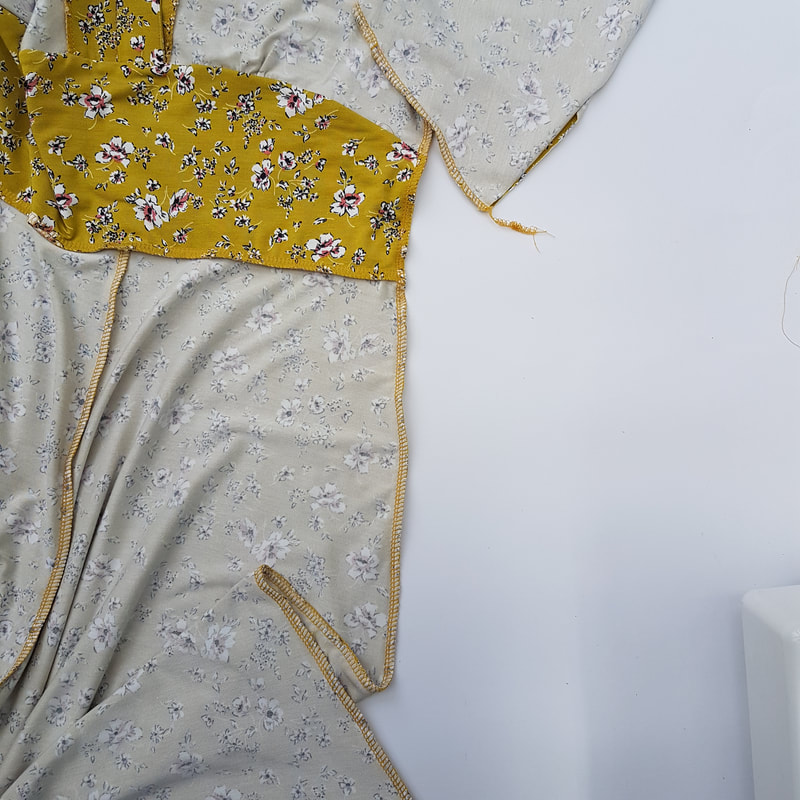
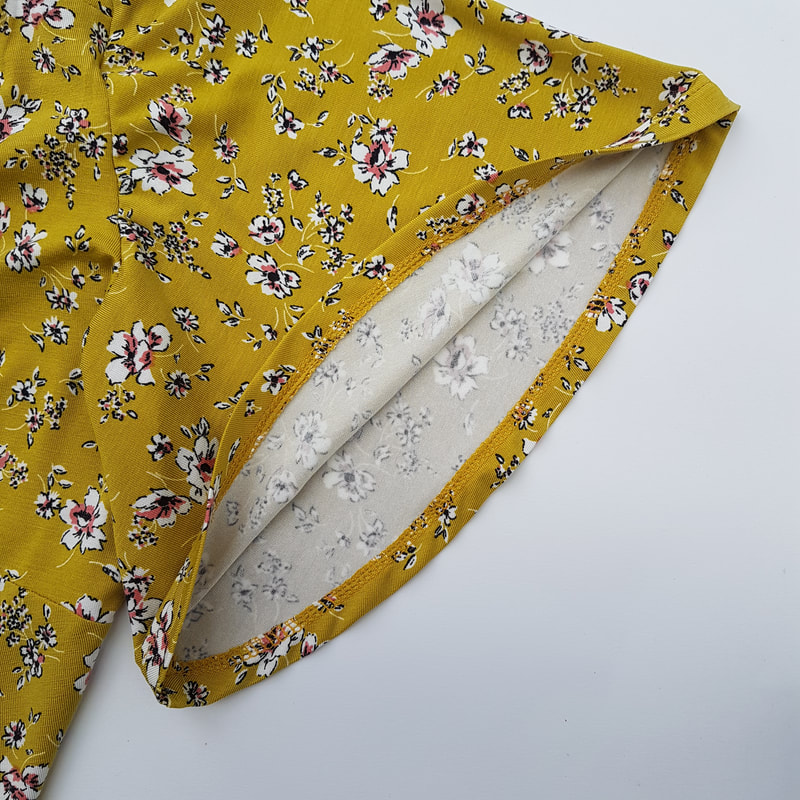
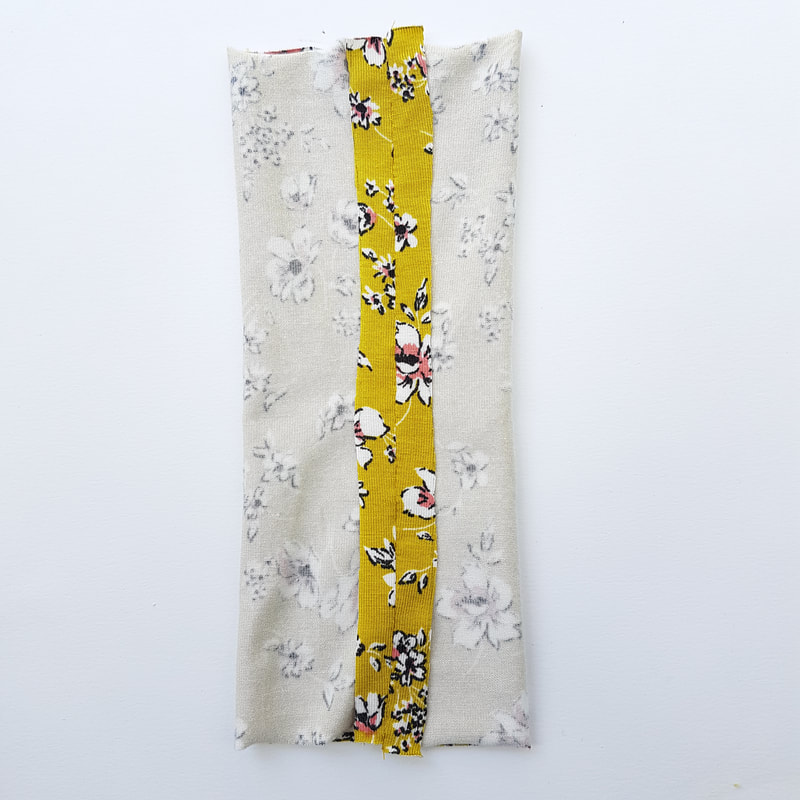
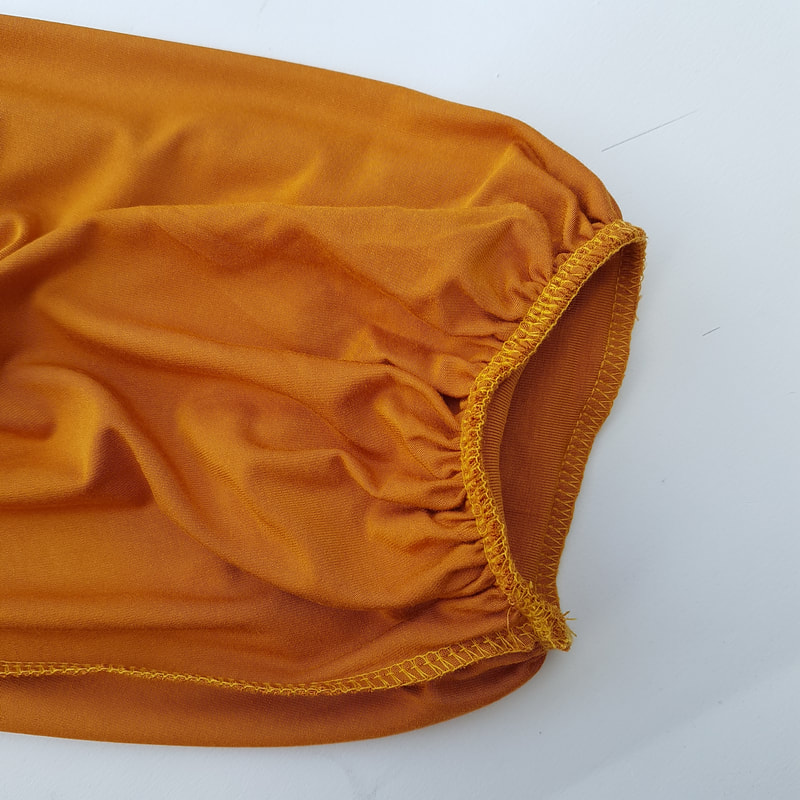
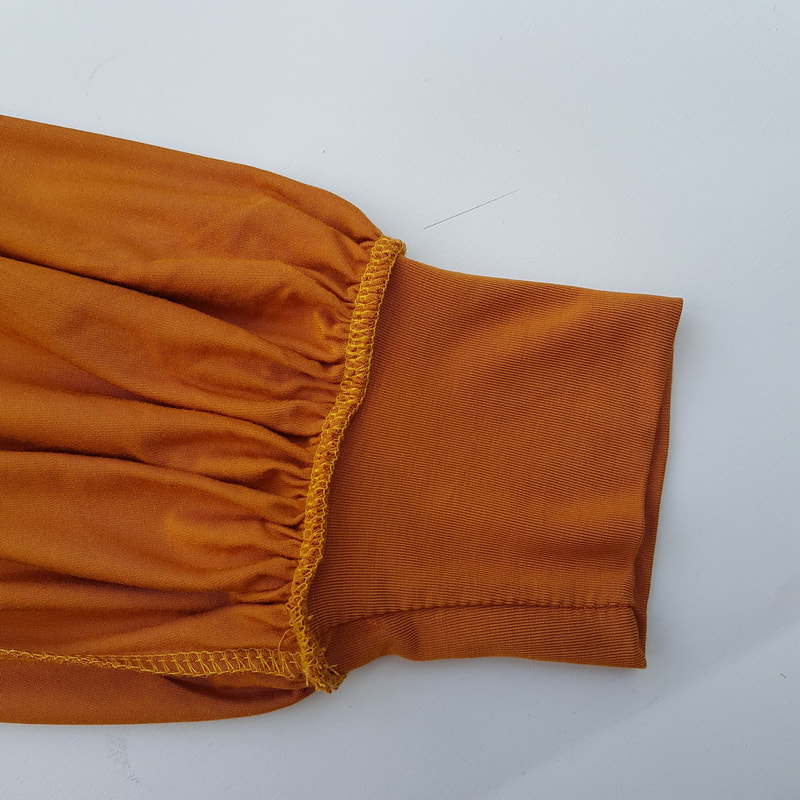
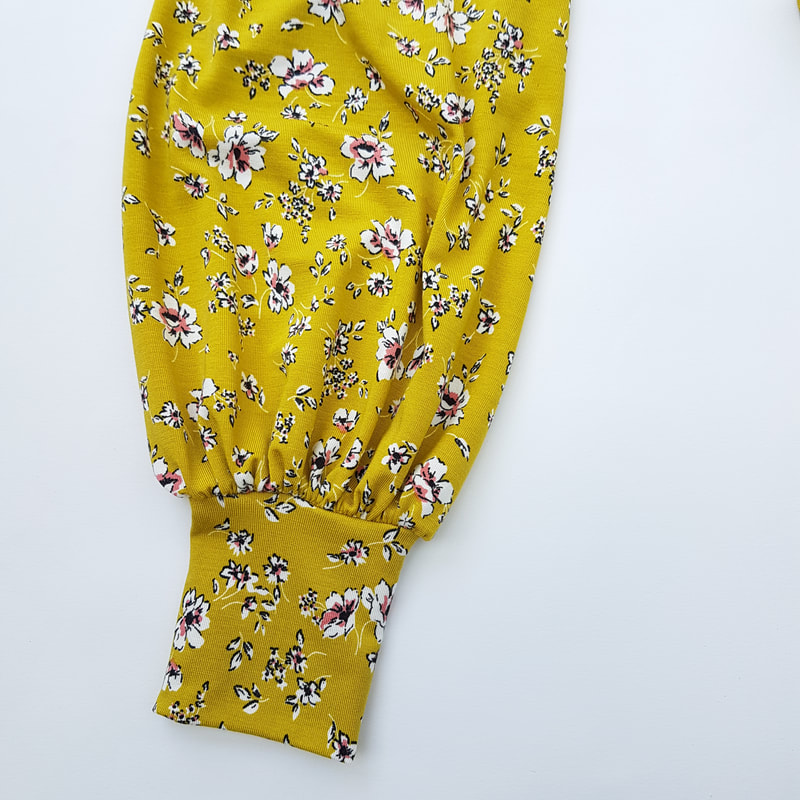
7. Mouwen en rok Sleeves and skirt Er zijn twee verschillende mouw opties: 1. Een lange pof/trompet mouw. 2. Een korte royale vlindermouw. There are two options for the sleeve. 1. A long puffy Bishops sleeve. 2. A Short generous butterfly sleeve.
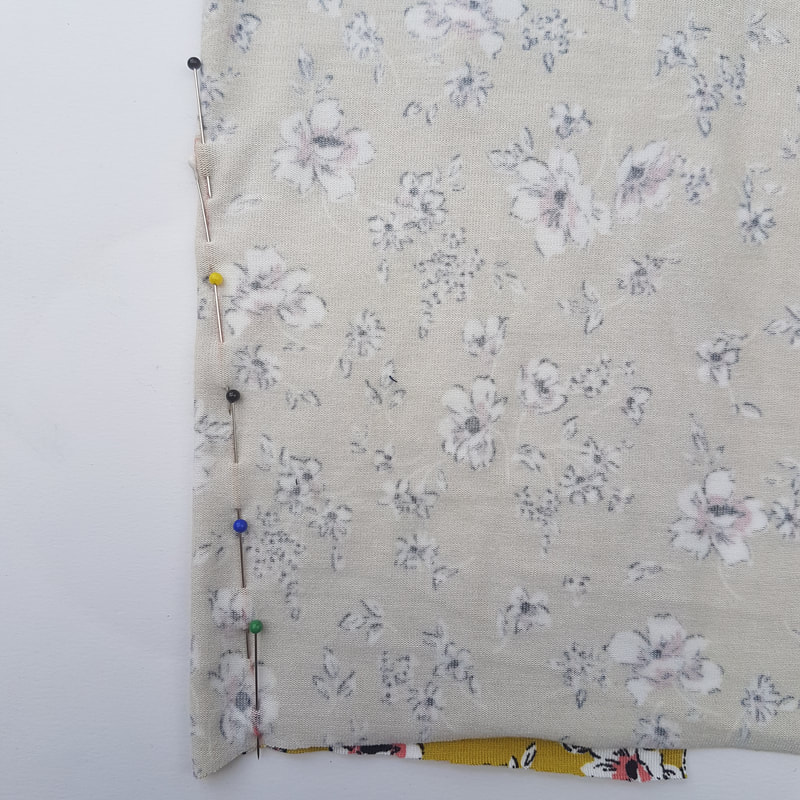
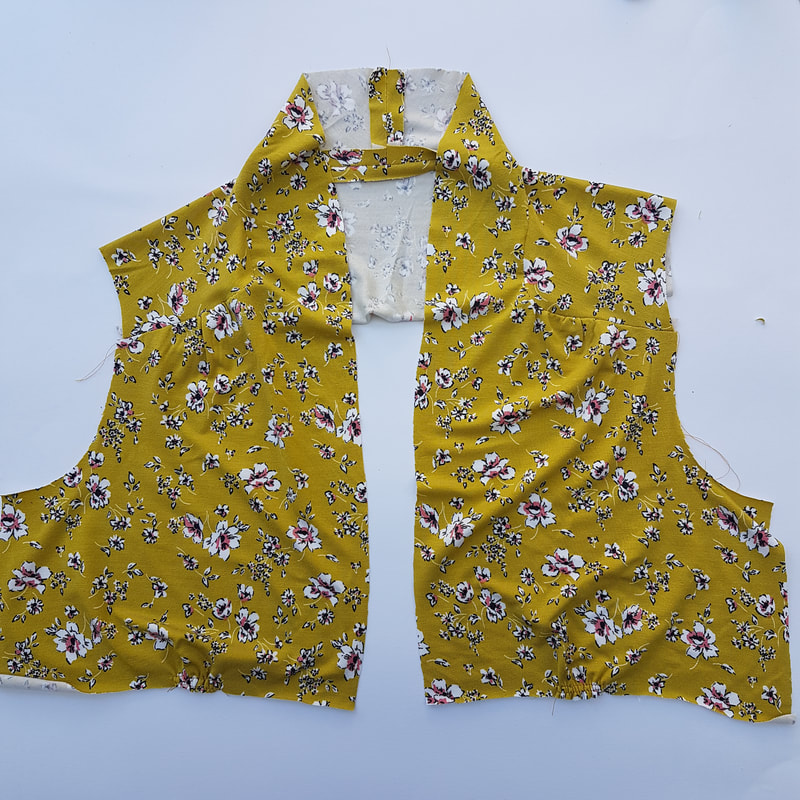
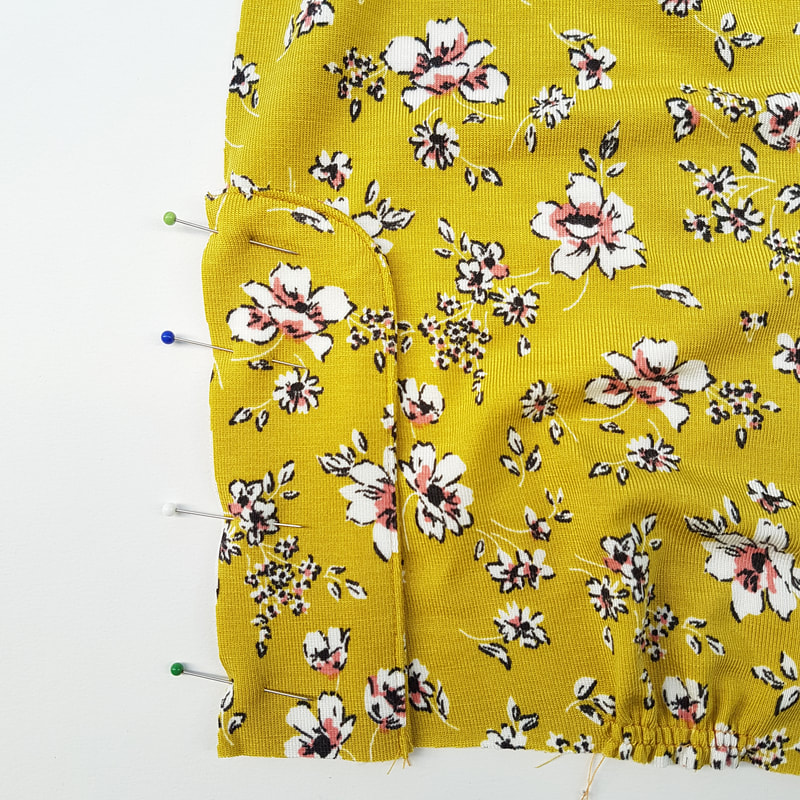
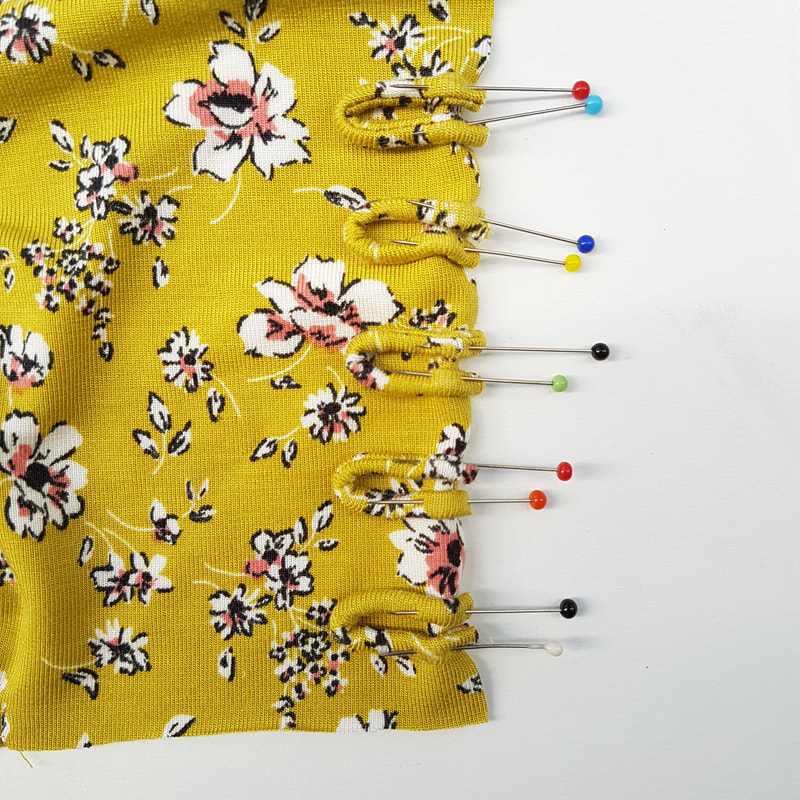
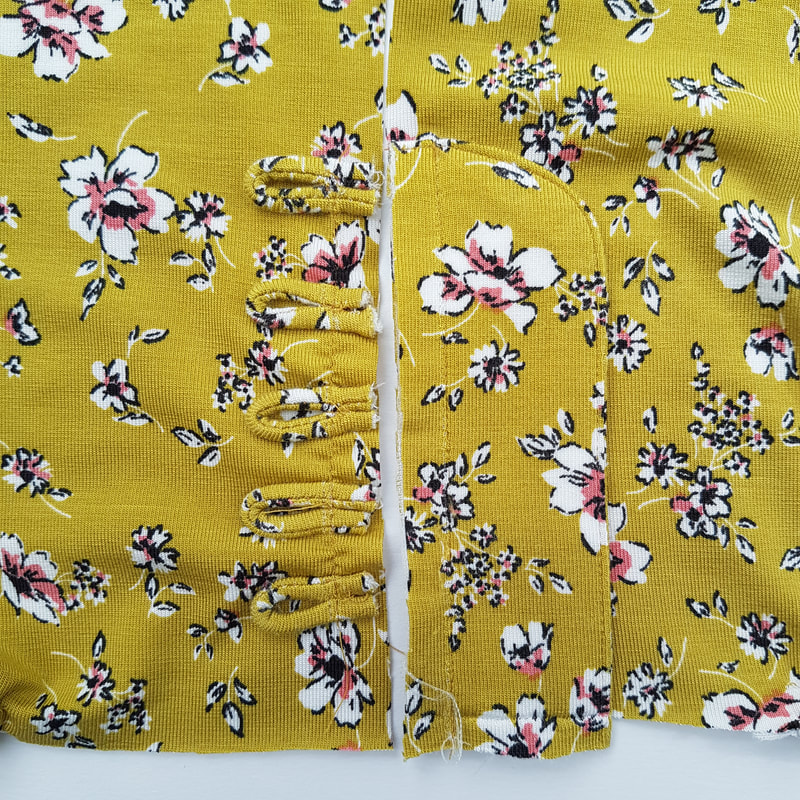
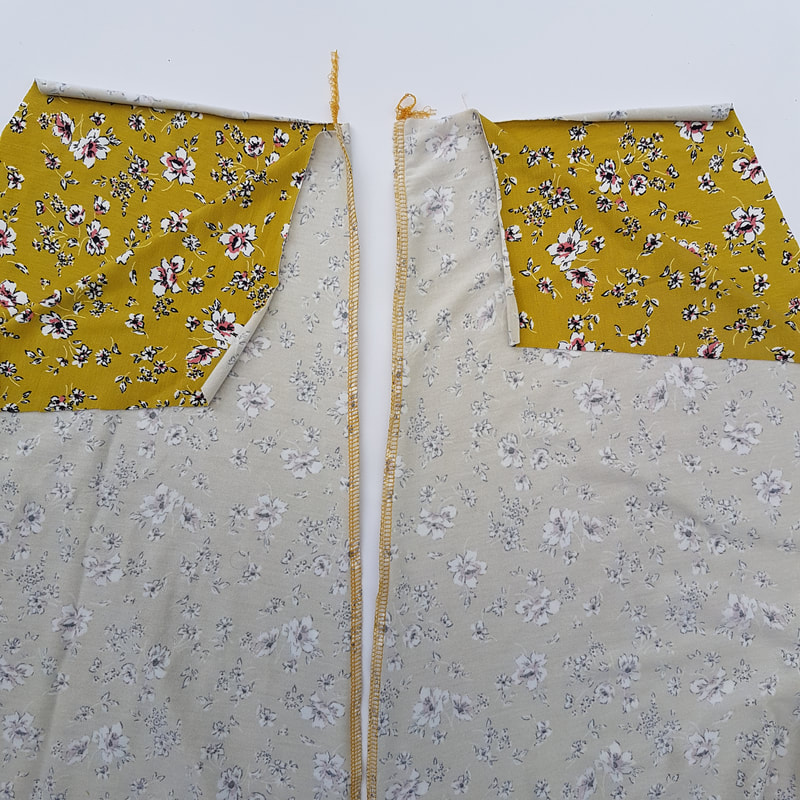
8. Zijnaden, zomen en knoopsluiting Sideseams, hems and buttonclosure
Nog een laatste keer strijken en je jurk is klaar!
A final press and your dress is ready! Comments are closed.
|
For all the latest patterns to buy visit my Etsy shop today. |