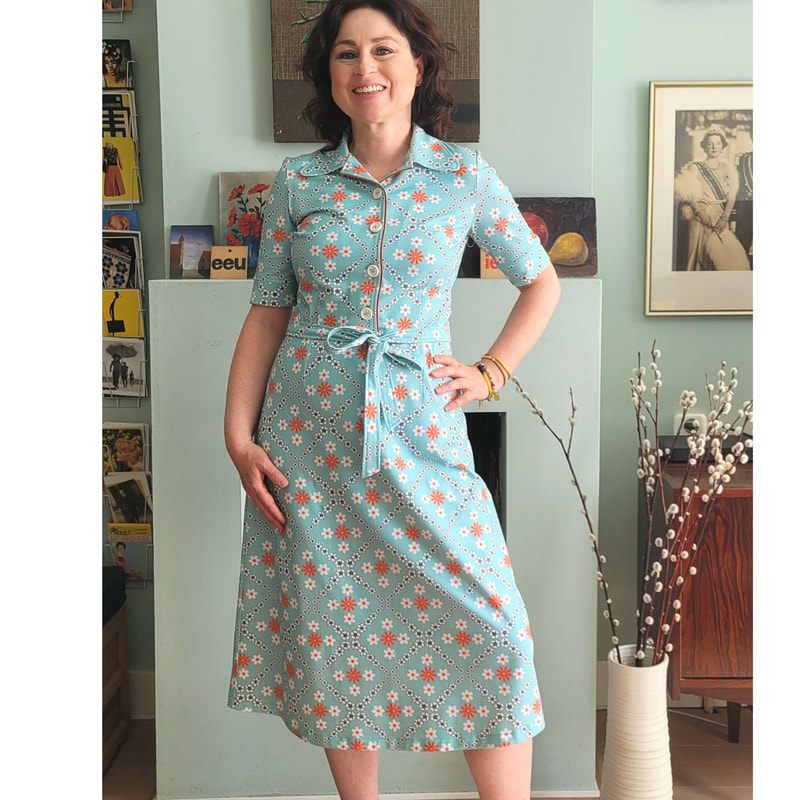
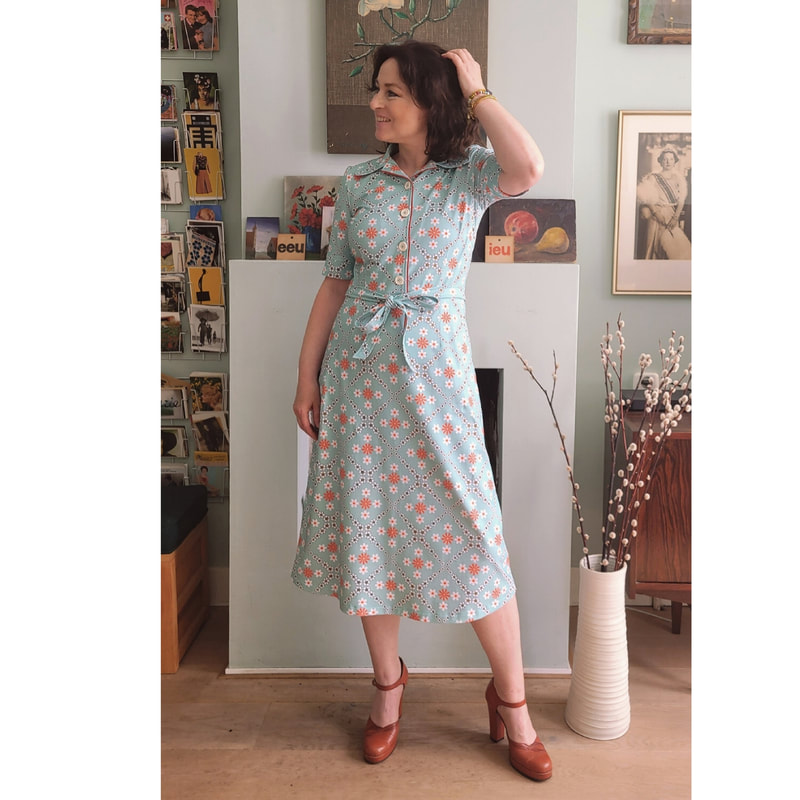
Doorknoop jurk 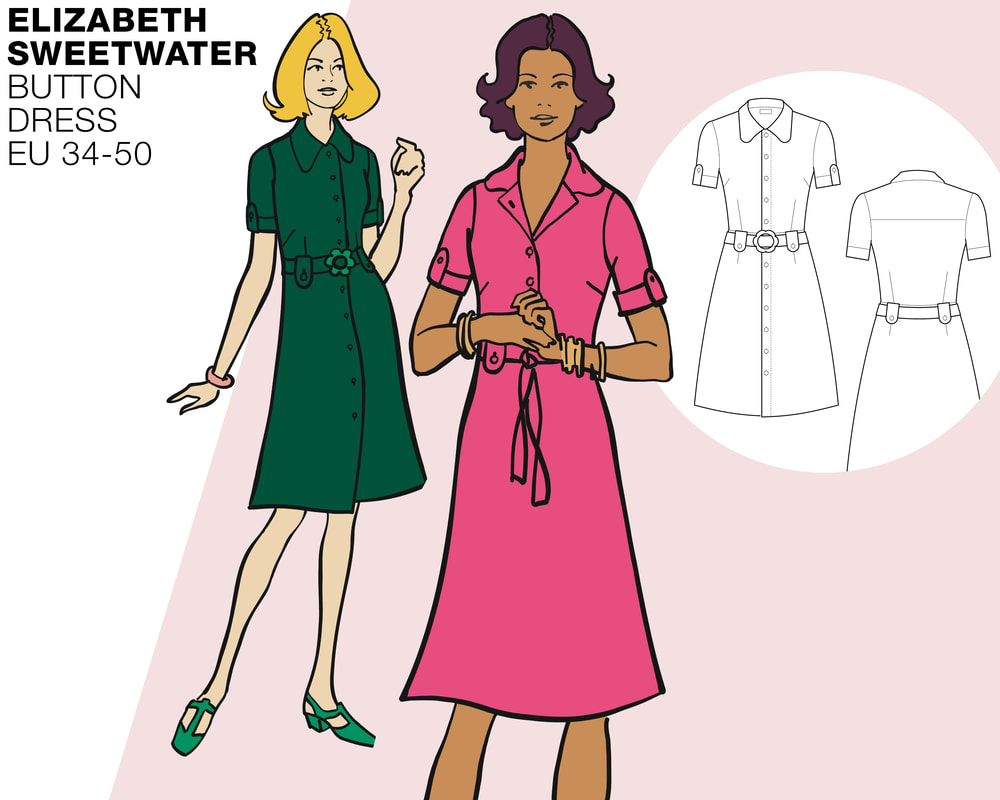 Introductie De button dress is een heerlijk tijdloos jurkje die je helemaal naar eigen smaak kunt maken. Er is een doorknoop variant of een met een glad rokdeel. De riem kun je strikken of met een (bloem) gesp dragen. Hou je van een uitdaging dan maak je de jurk met piping biesjes en en knoop lussen maar begin je liever simpel dan laat je de details weg en laat je de stof spreken. Dit jurkje is in ieder seizoen geweldig en heeft daarom zowel korte als 3/4 mouwen. Voor een stoere jurk kies je een french terry (een lichte sweat kwaliteit), voor een wat vrouwelijker uiterlijk kies je een single jersey tricot in katoen of viscose. Ik leg je in deze tutorial stap voor stap uit hoe je deze jurk kunt maken. Veel maak- en draagplezier! Introductie Introduction The button dress is een great timeless dress that you can make to your own taste. There's a variant that has buttons all the way down to the hem or one with a skirt part without buttons. You can choose a tie belt or one with a (flower) buckle. If you like a challenge than you make the dress with piping details and button flaps. If you'd rather start with a simpeler project you can easily leave out the details and let the fabric do the talking. This dress is great in every season and so it has both short and 3/4 length sleeves to choose from. For a sporty style dress, choose a french terry (a light sweat fabric), or for a more feminine look choose a single jersey knit in cotton of viscose. In this step by step tutorial I will explain how to make this dress Have fun making and wearing the dress!
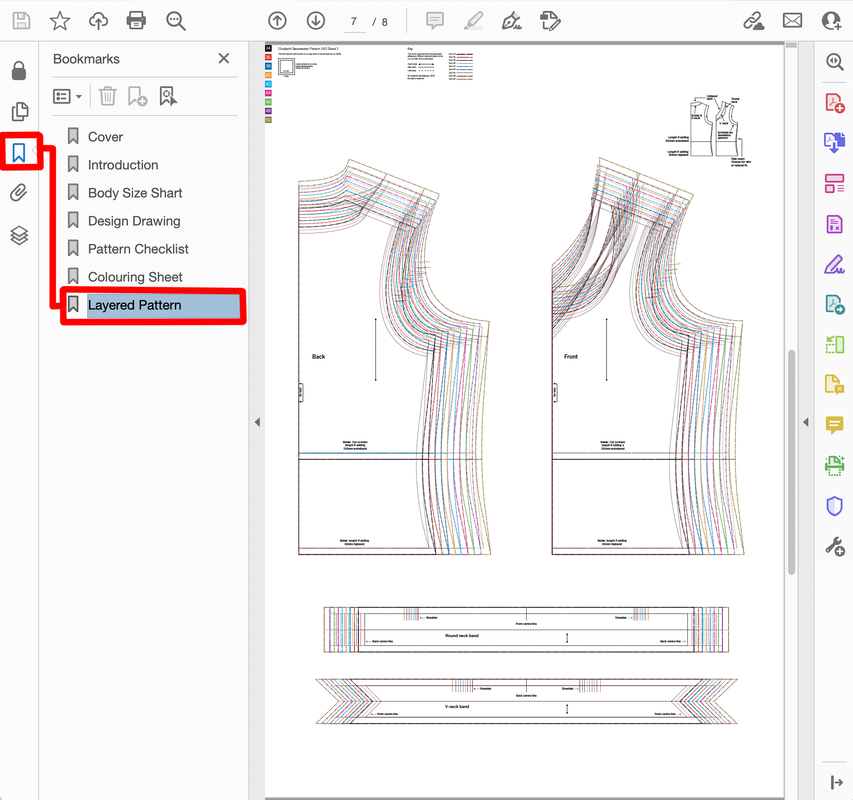
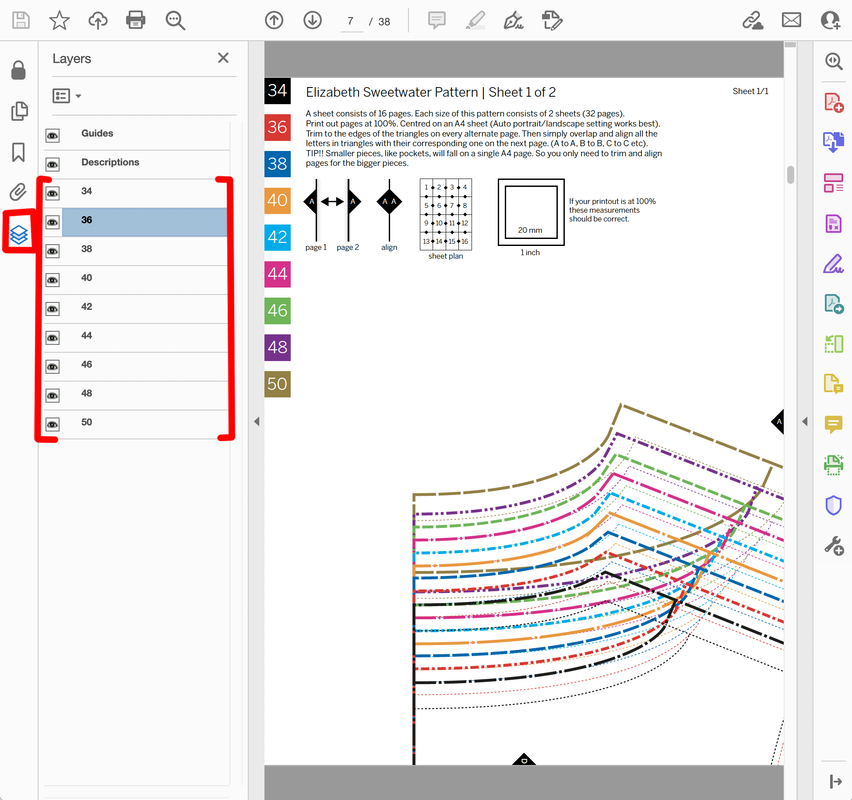
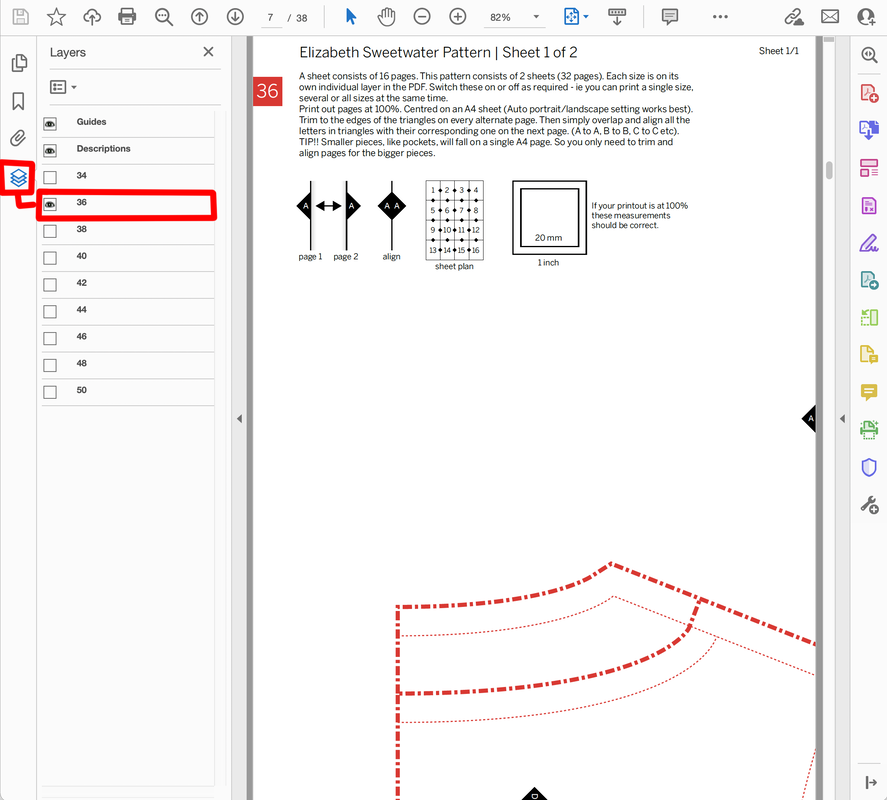
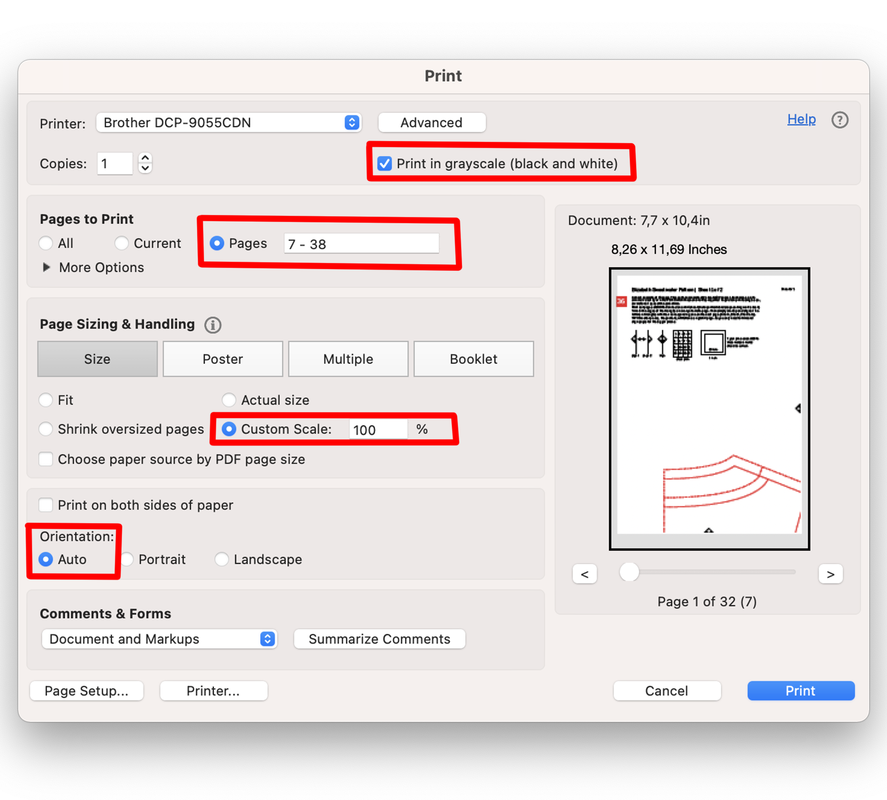
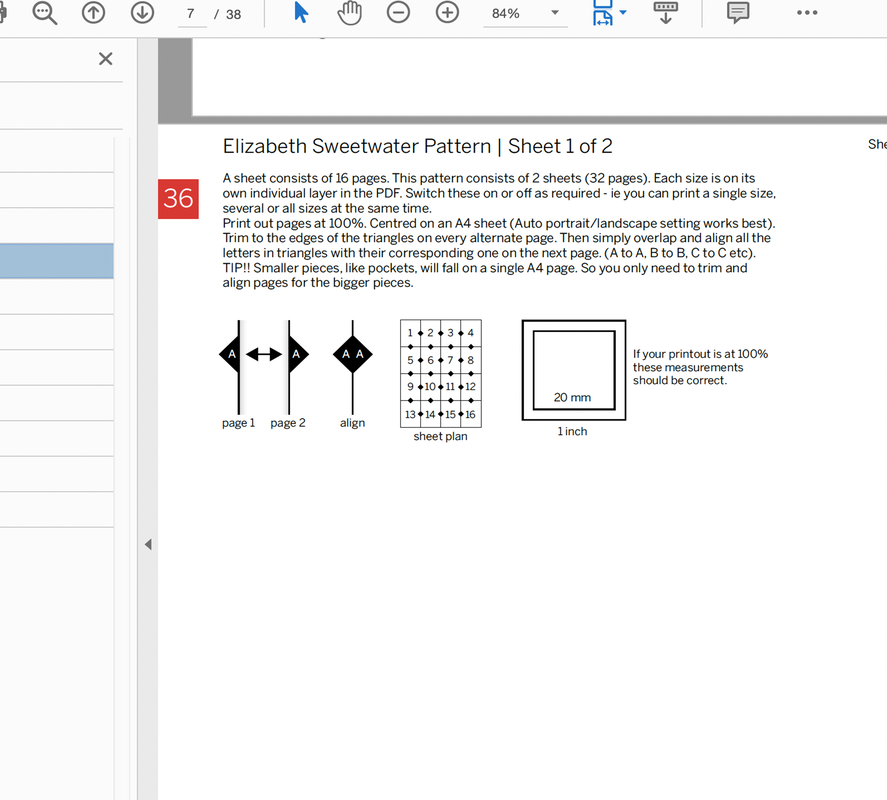
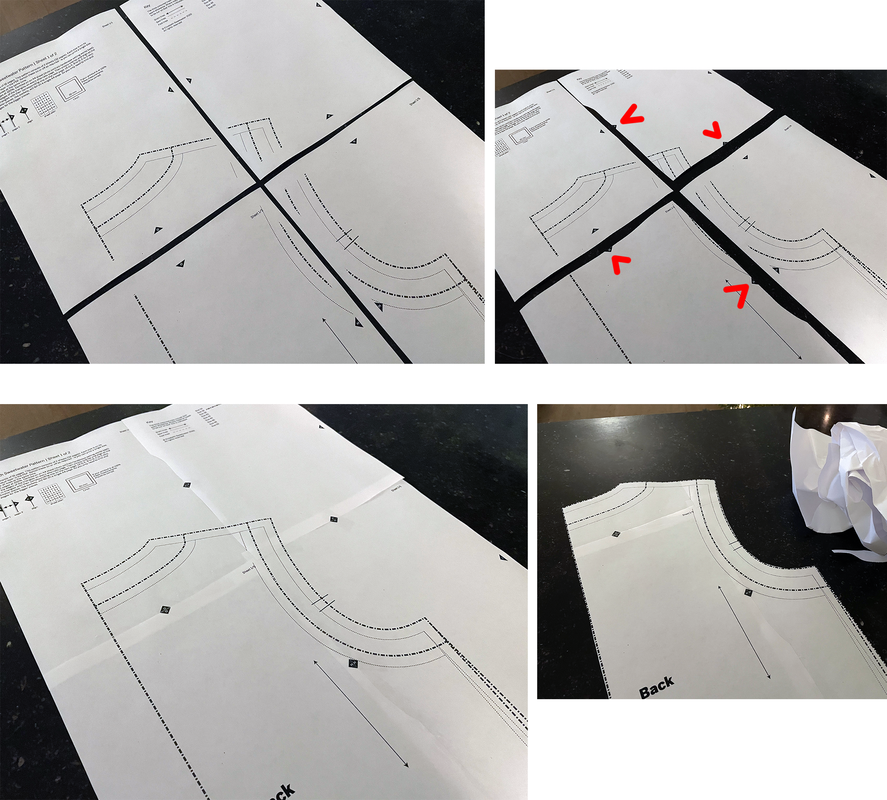
1. De voorbereiding Getting prepared Bij aankoop van een van onze patronen ontvangt u 3 PDF-bestanden: een voor thuisprinters om op A4-papier af te drukken, een tweede voor A0-gebruikers om af te drukken in een printshop en een derde is voor mensen die een overheadprojector gebruiken. De volgende algemene introductietekst geeft een overzicht van hoe onze patroon-pdf's zijn opgezet en legt uit hoe je de A4-versie kunt afdrukken en hoe je de pagina's aan elkaar kunt plakken. A0-gebruikers kunnen bij hun printshop aangeven welke pagina's ze nodig hebben. Op de projector bestanden staan alle panden in dezelfde richting. On purchasing any of our patterns you will receive 3 PDF files: one for home printers to print on A4 paper, a second at A0 is for printshop users and a third is for sewers who use an overhead projector. The following general introduction text provides an overview of how our pattern pdfs are set up and explains how to print out the A4 version and how to stick the pages together. A0 users should simply instruct their printshop which pages they require. Projector users will note that all pieces have the grain direction facing the same way.
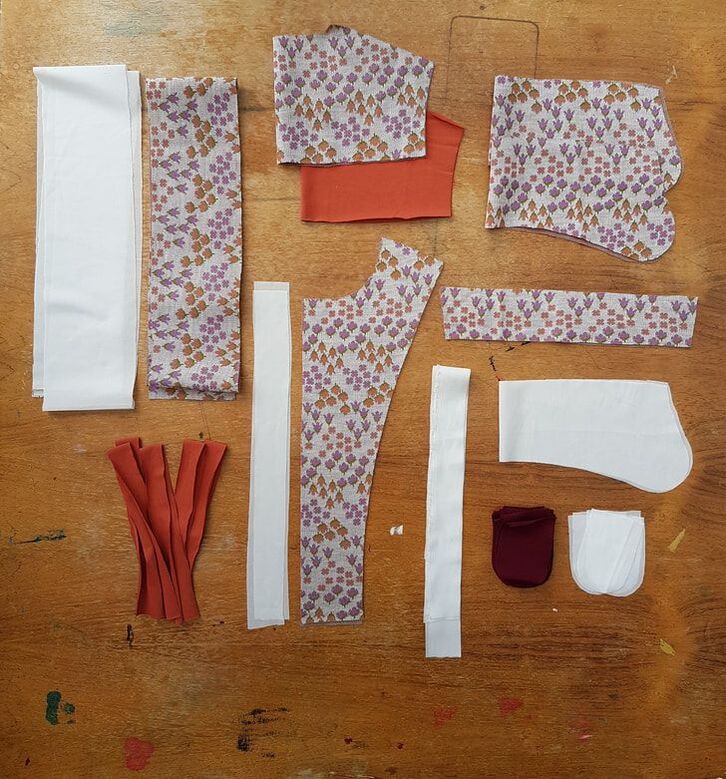
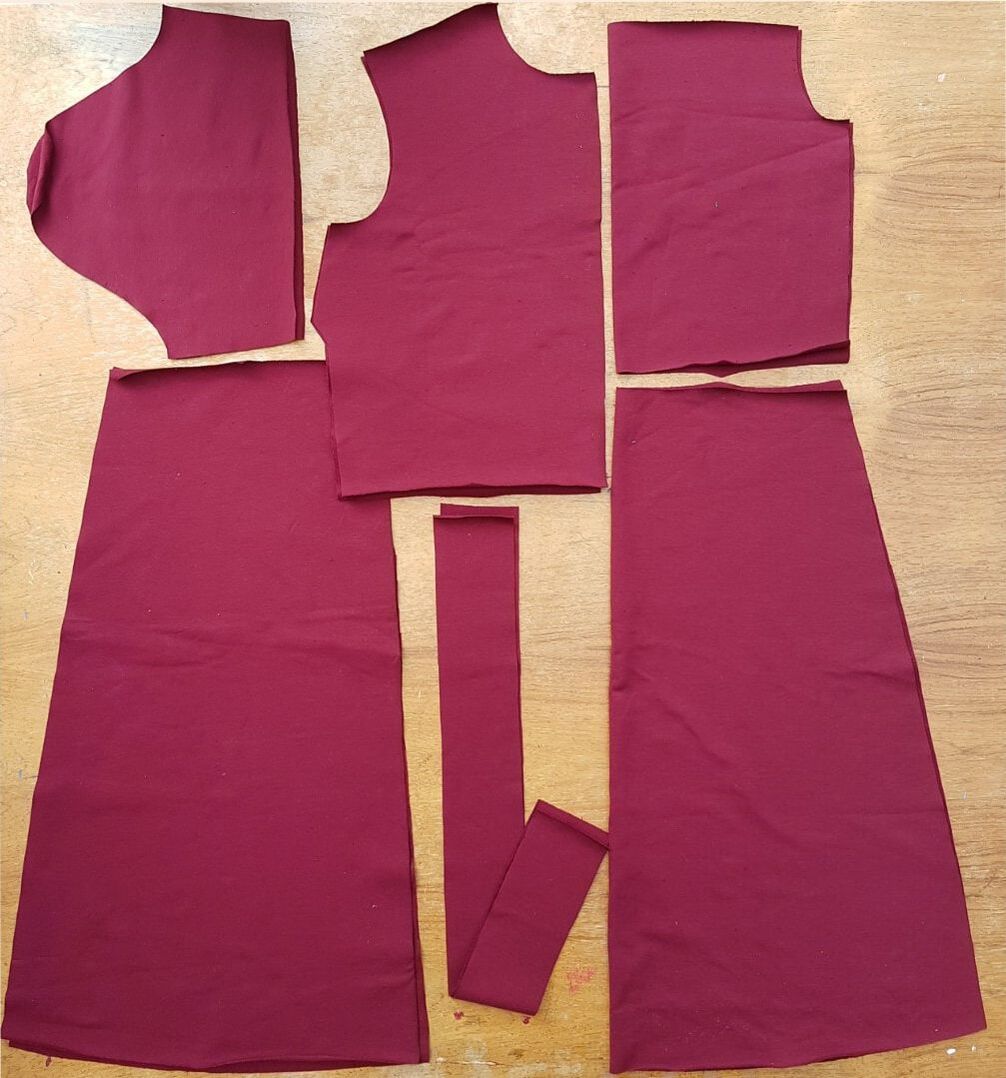
1g. Nu je al je stukken hebt uitgeknipt raadpleeg het onderstaande overzicht om je voor te bereiden op het uitknippen van de door jou gekozen stof. Now you have cut out all your pieces consult the overview below to prepare yourself for the next stage of cutting out the pieces from your chosen material.
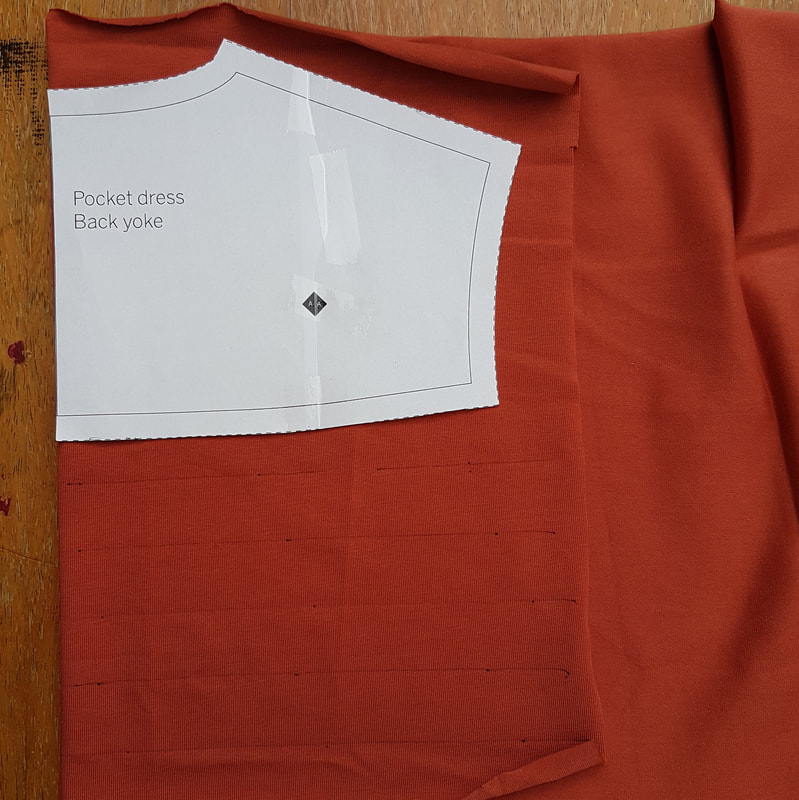
2. Delen op de stof leggen Layout pattern pieces on fabric 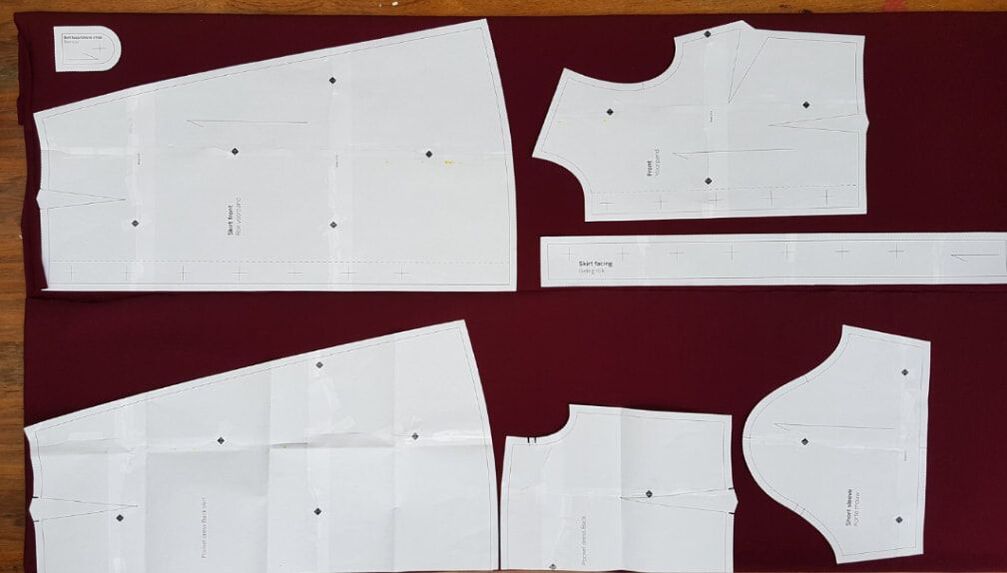 2a. Vouw de stof zo dat je twee vouw kanten krijgt. Leg elk rokdeel aan een vouw voor de jurk met het rokdeel zonder knopen.(let op dat je de rok met de middenvoor lijn aan de vouw legt) Voor de jurk met knopen tot onder leg je het voor rok pand niet aan de vouw. Vanaf maat 40 ze passen niet meer naast elkaar. Je moet ze dan onder elkaar leggen. Je kunt dan wel naast elk rokdeel een achterpand deel of mouwdeel plaatsen. Fold the fabric in a way that you get two folds either side. Place each skirt part on fold fro the dress variant without buttons on the skirt. (make sure you place the midfront line on fold. For the dress with the skirt with buttons you don't lay the skirt part on fold. For size 40 up to 44 (US size 10 up to 14) the sleeve and pocket have to go underneath the front, side- and back pieces. From size 16 you will need to fit the pocket and sleeve piece next to each skirt part (see next section).
3. Checklijst Checklist
Goed om te weten Ik ga in deze werkbeschrijving uit van het gebruik van een overlock machine. Mocht je daar niet over beschikken dan kun je een zig-zag steek gebruiken op een gewone naaimachine. Ik raad dan wel aan om er altijd een stretch stiksel naast te plaatsen. De naadtoeslag van de patronen is 1cm. Check wat de breedte instelling van je naad is op je lockmachine is. Is het 0,7cm dan kun je tijdens het stikken 3mm wegsnijden. De stretchnaden stik je met een stretchsteek instelling op de gewone naaimachine. Good to know For this tutorial an overlock machine was being used for sewing most of the garment. However, it is possible to use a regular sewing machine and sew with a zigzag stitch. I do recommend sewing an extra stretch stitch next to it to create clean lines. The seam allowance of the patterns is 10mm. Check the seam width setting of your overlock machine. Is it less than 7mm? Then you can cut away a little while sewing. The stretch seams can be sewn using the stretch setting on a regular sewing machine. 4. Markering, opstrijken van vlieseline en coupenaden Marking pieces, ironing on interfacing and darts
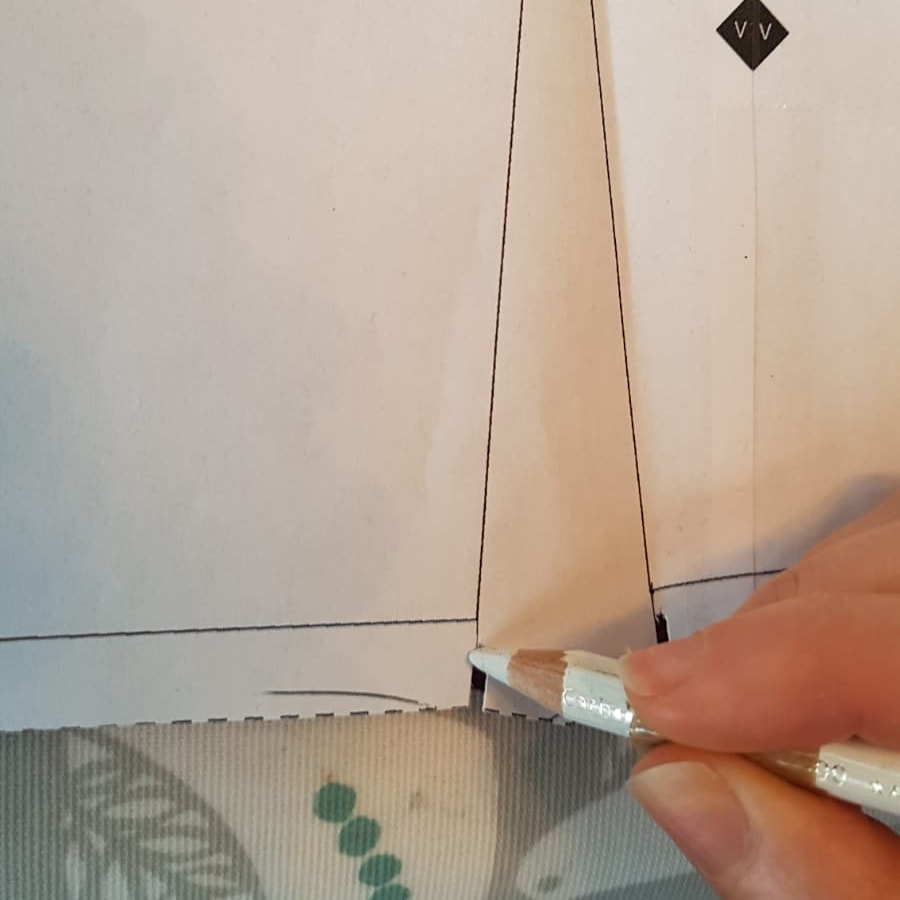
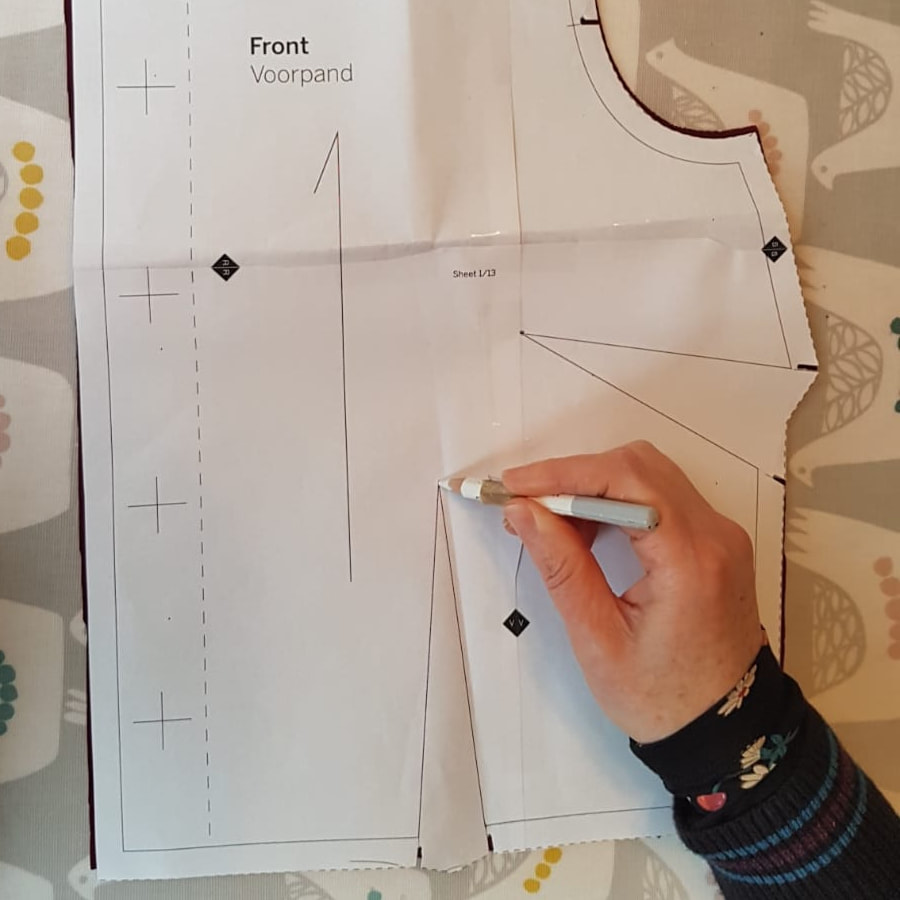
4a. Kopieer alle coupenaden en pastekentjes op de achterkant van de stof. Je kunt hier carbon papier (speciaal voor dit doel) en een radeerwieltje voor gebruiken of zoals hier gaatjes prikken in het patroon waar de coupelijnen staan. Copy all the darts and marks on the backside of the fabric. You can use carbon paper and a tracing wheel or make some holes on the lines of your pattern and copy these with a chalk pen on your pattern piece.
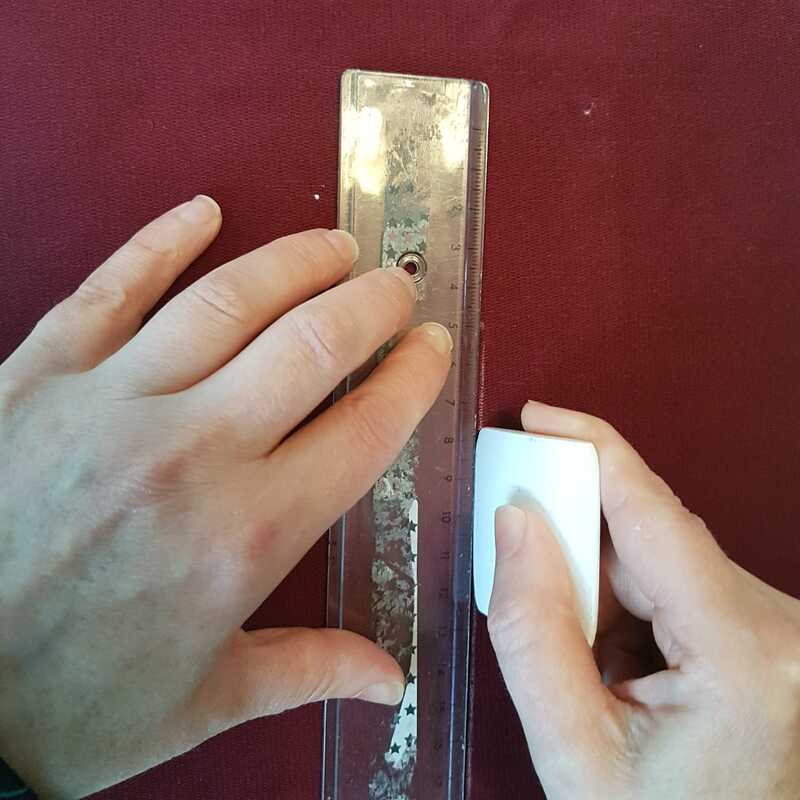
4b. Vervolgens deze markeringen overnemen op je patroondeel en deze met elkaar verbinden. Je kunt ook de coupenaden uit het papieren patroon knippen en overtrekken met een krijtje of uitwasbare pen. Now you can connect the markings.It is also possible to cut out the dart shape in the paper pattern and trace the line with a chalk pen.
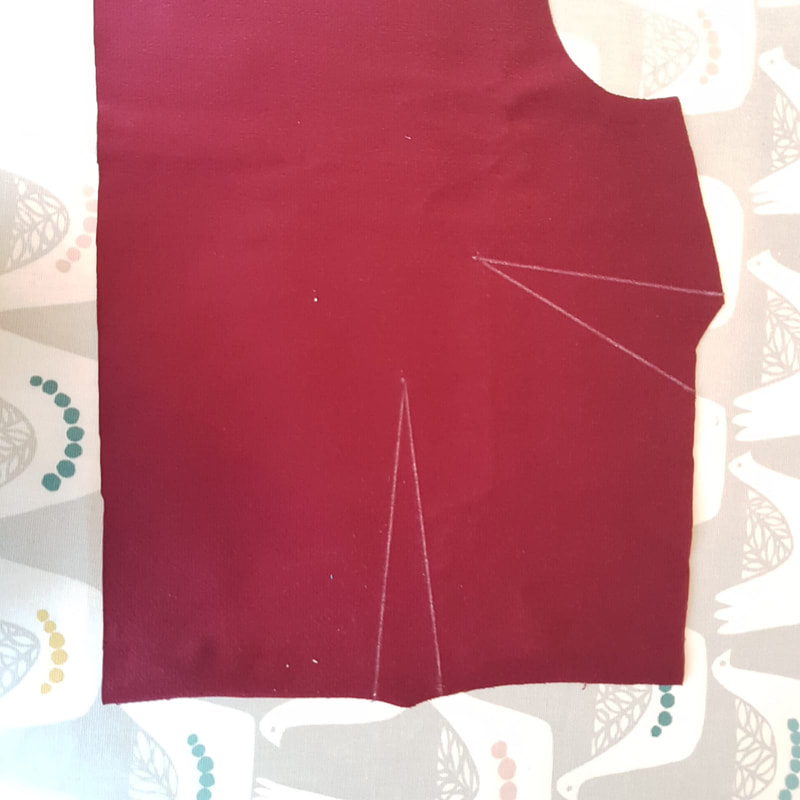
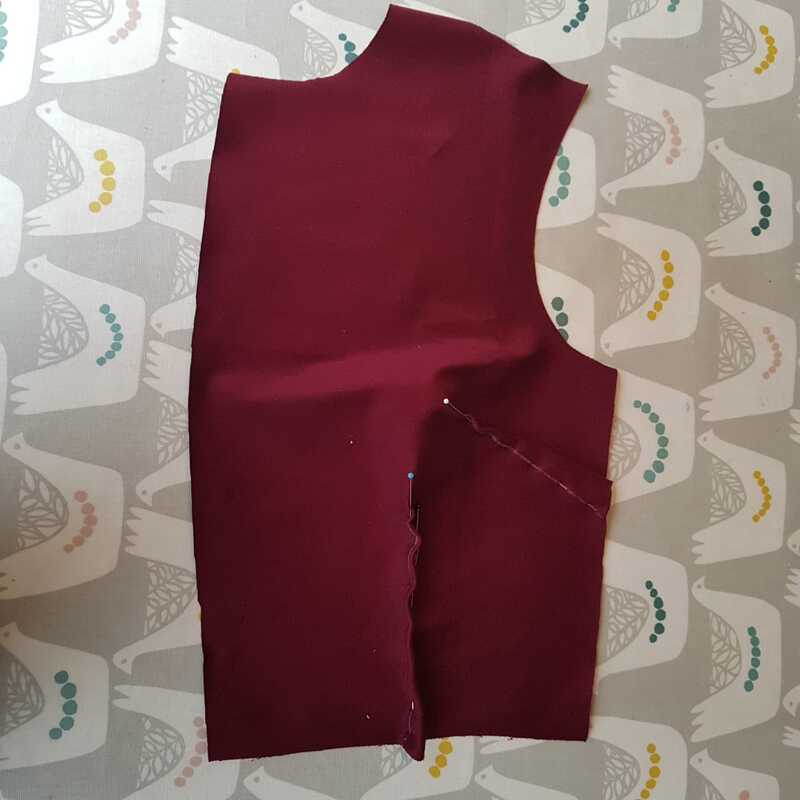
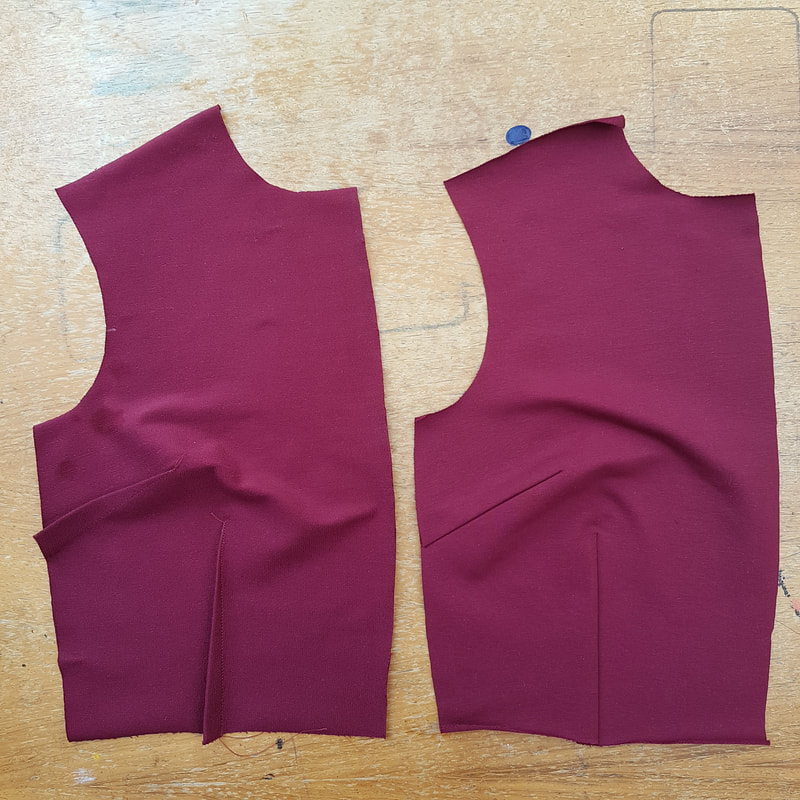
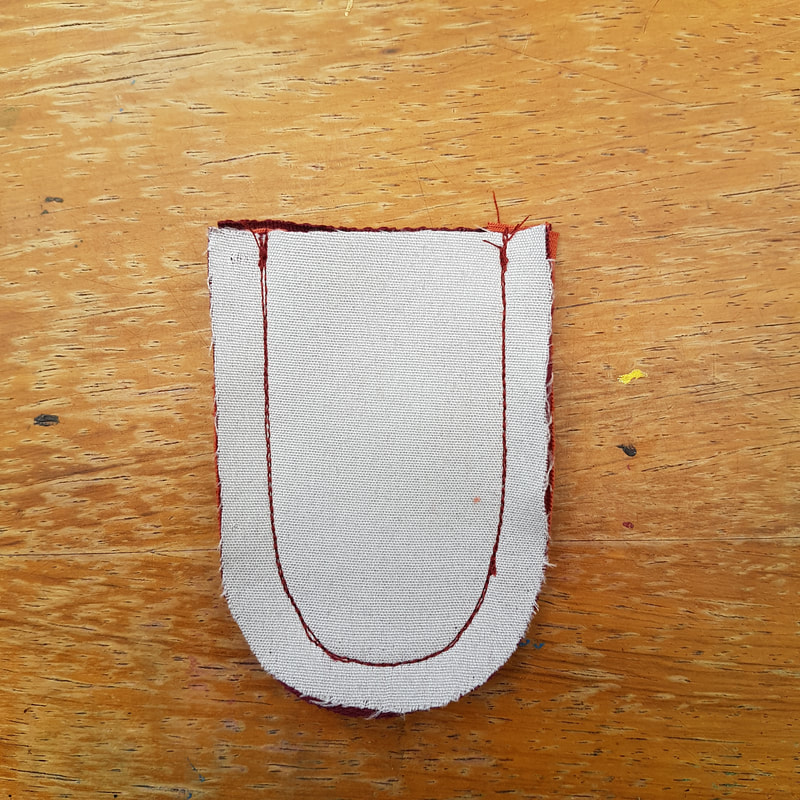
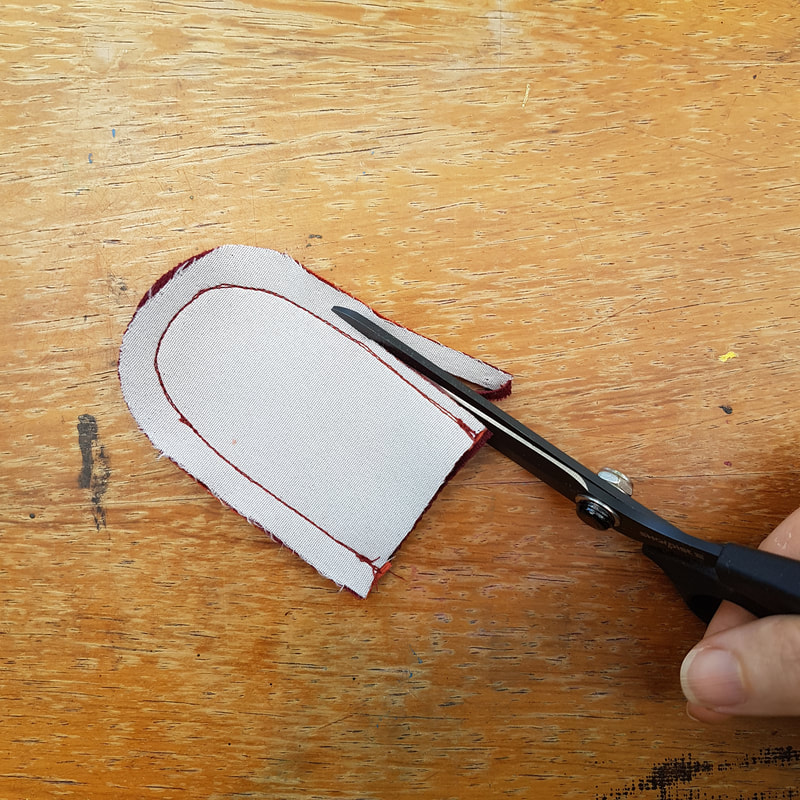
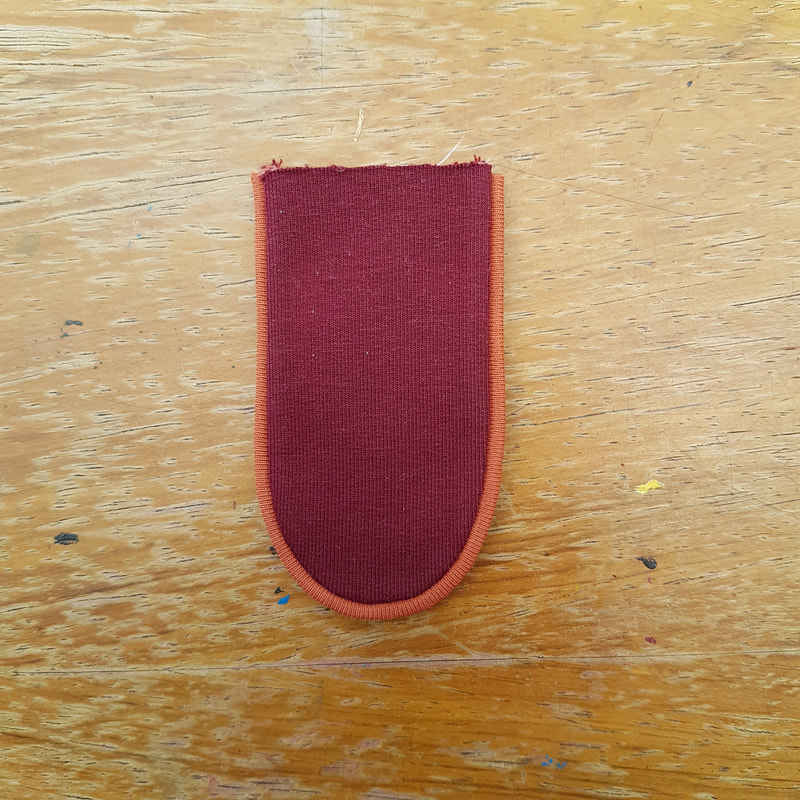
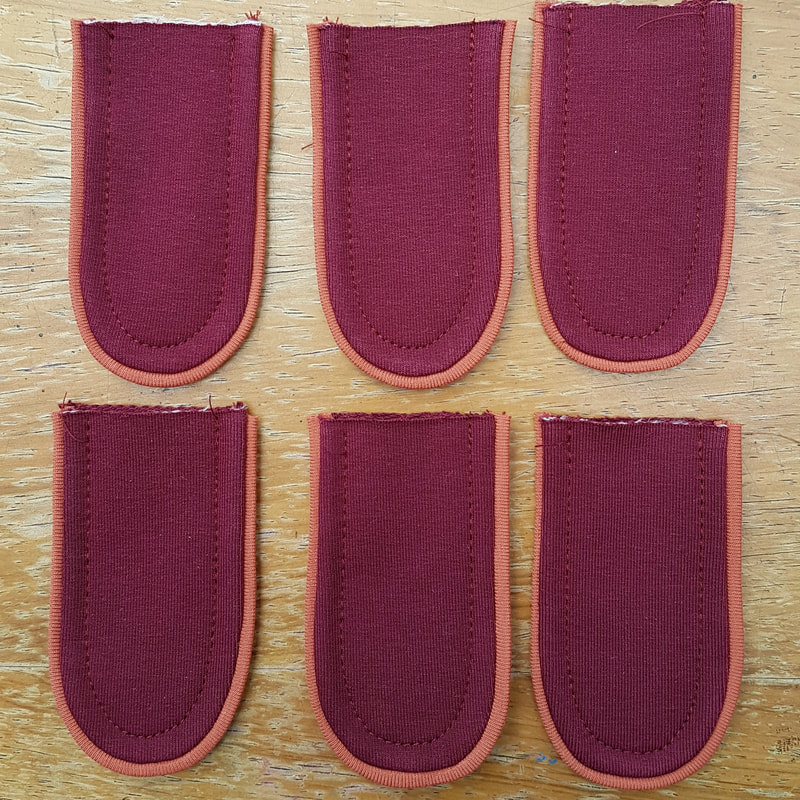
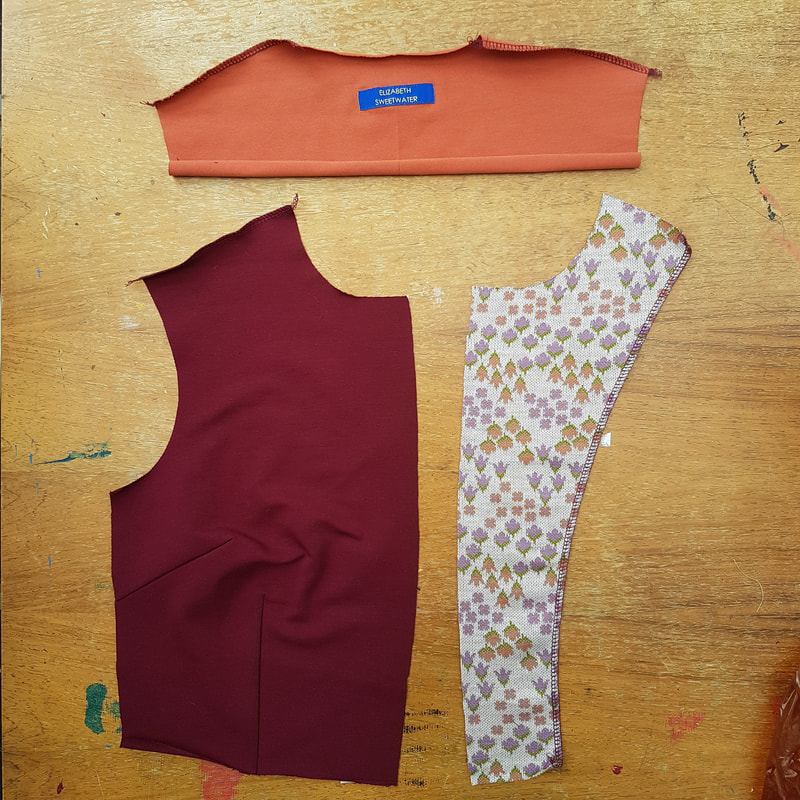
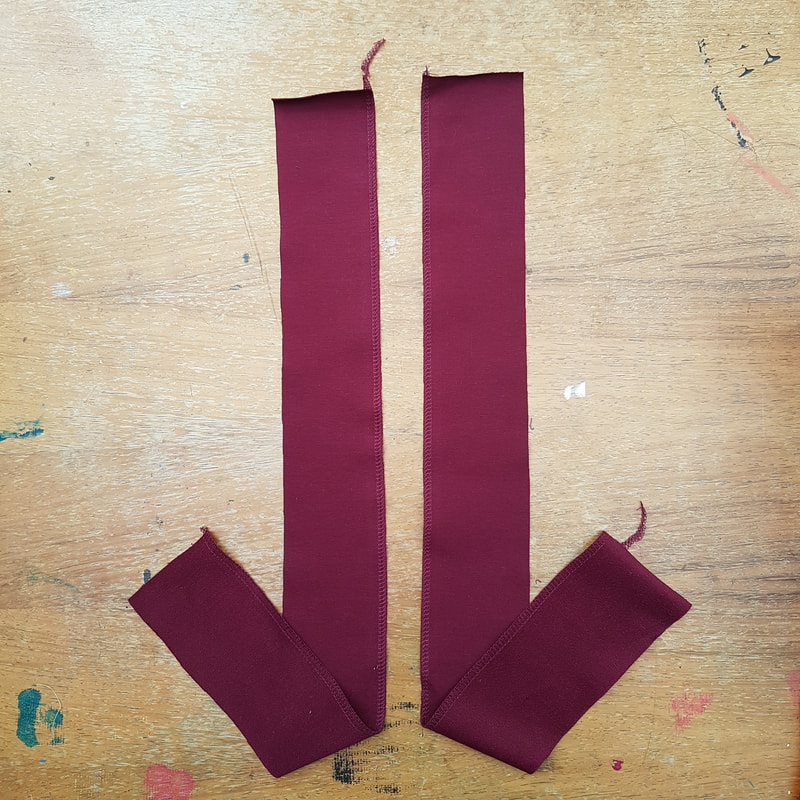
4c. Vouw het pandje in het midden van de coupe naad markering en speld de coupenaad van onder naar boven. Stik de coupenaad met een stretchsteek op een reguliere naaimachine. Fold the garment piece in half though the middle of the dart marking and pin from bottom to top. Sew the dart with a stretch stitch setting on your sewing machine. 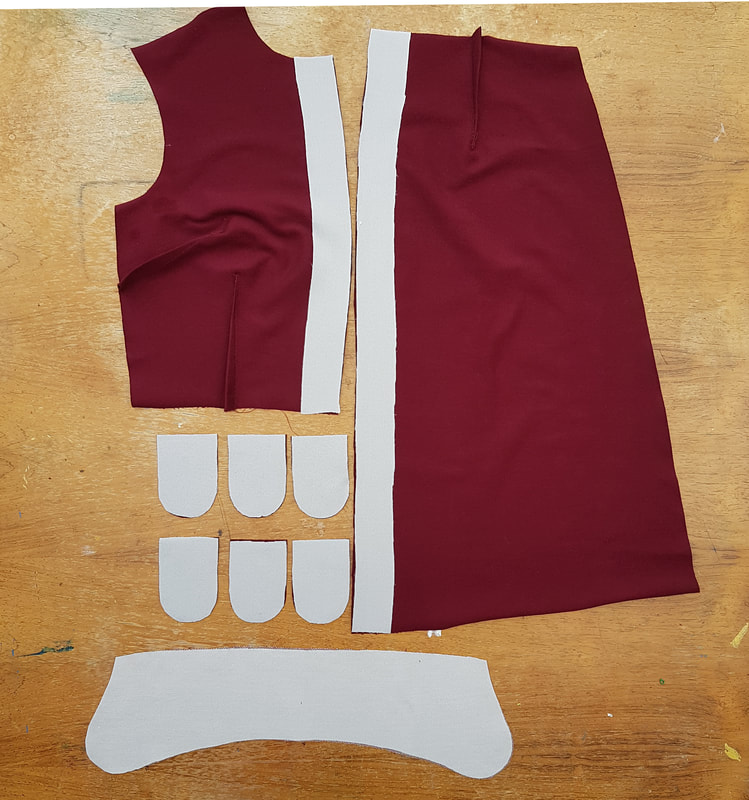 4d. Strijk de vlieseline versteviging op: - kraag 1 deel - midden voor van de voorpandjes - midden voor van rok delen - de helft van de lussen Iron on the fusible interlining on: - collar one side - mid front of both front pieces - mid front of skirt parts - half of the loops 5. Piping en lusjes Piping and loops
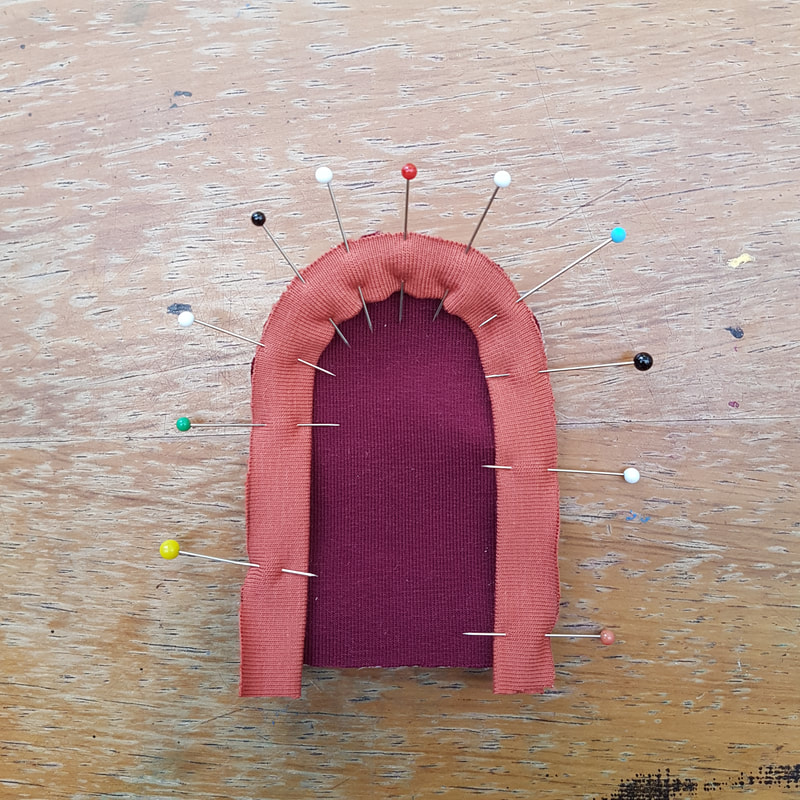
6. Kraag Collar
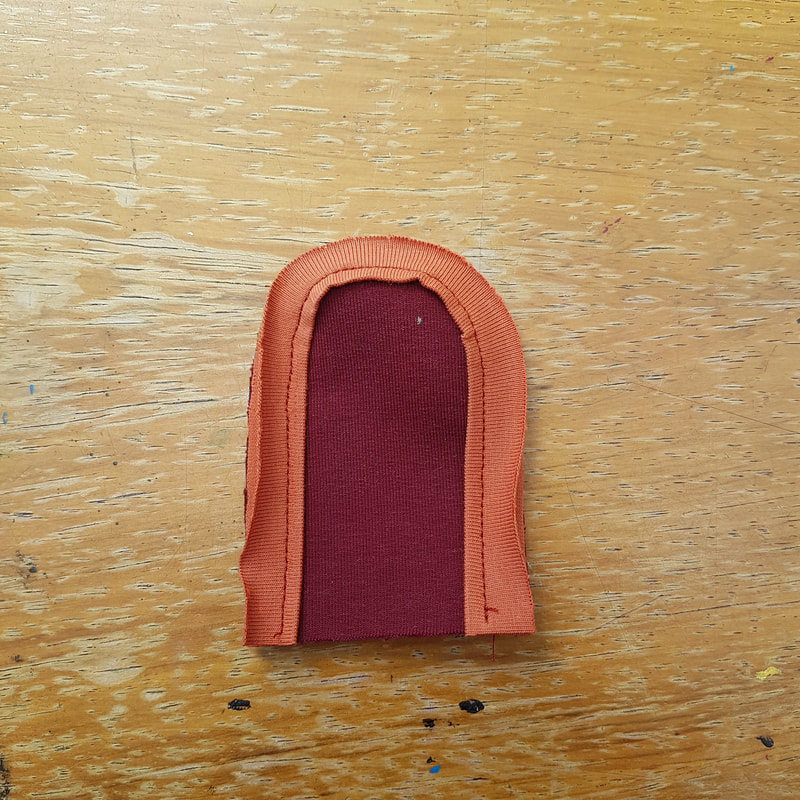
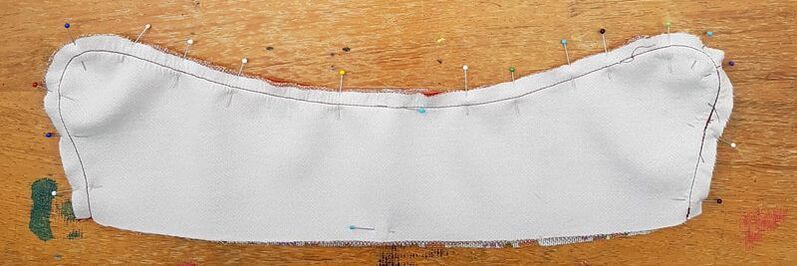 6c. Leg het andere deel zonder versteviging met de goede kant tegen de goede kant van het zojuist gestikte deel. Speld en stik op de kant waar je het stiksel ziet. Ga precies over dit stiksel heen. Place the other part that is not enforced on top of the part you just stitched, right sides together. Pin and sew on the side that has the visible stitch line. Go over this stitch line very precisely.
6f. Werk de randen af van de schouders en de buitenrand van de voorpand beleg delen en rokpand beleg delen. Je kunt ook eerst de beleg delen aan elkaar zetten en in één keer het hele beleg deel afwerken. Maak je de jurk met het rokdeel zonder knopen dan heb je alleen een beleg aan het voorpand, niet het rokdeel. Finish the edges of the shoulders and the outside of the front facing parts and the skirt facing parts. You can also sew together the facing parts first and the finish the edge in one go. When you make the dress with the skirt without buttons than you only use the front facing part, not the skirt facing.
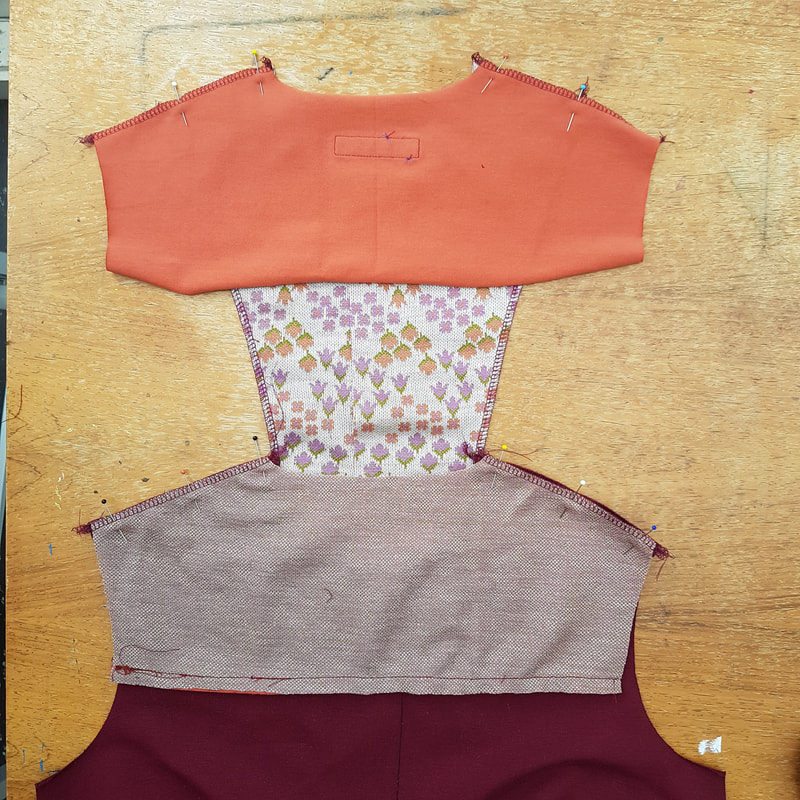
6g. Speld en stik de schoudernaden met de goede kanten op elkaar en pers de naden open. Speld en stik de schoudernaden van de beleg delen met de goede kanten op elkaar en pers de naden open. Pin and sew the shoulderseams right way on top of each other and press the seams open. Then pin and sew the shoulderseams of the lining right way on top of each other and press the seams open. 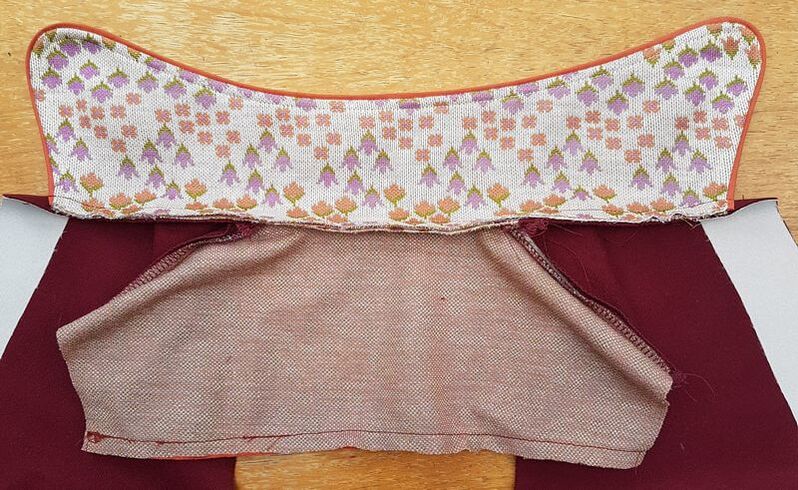 6h. Stik de kraag tegen de hals aan, gebruik de pastekentjes op het patroon. Pers de naad open. Sew the collar to the neck, using the indicators on the pattern. Press open the seam. 7. Panden aan elkaar zetten, beleg en achterpas Putting the dress together, facing and backyoke
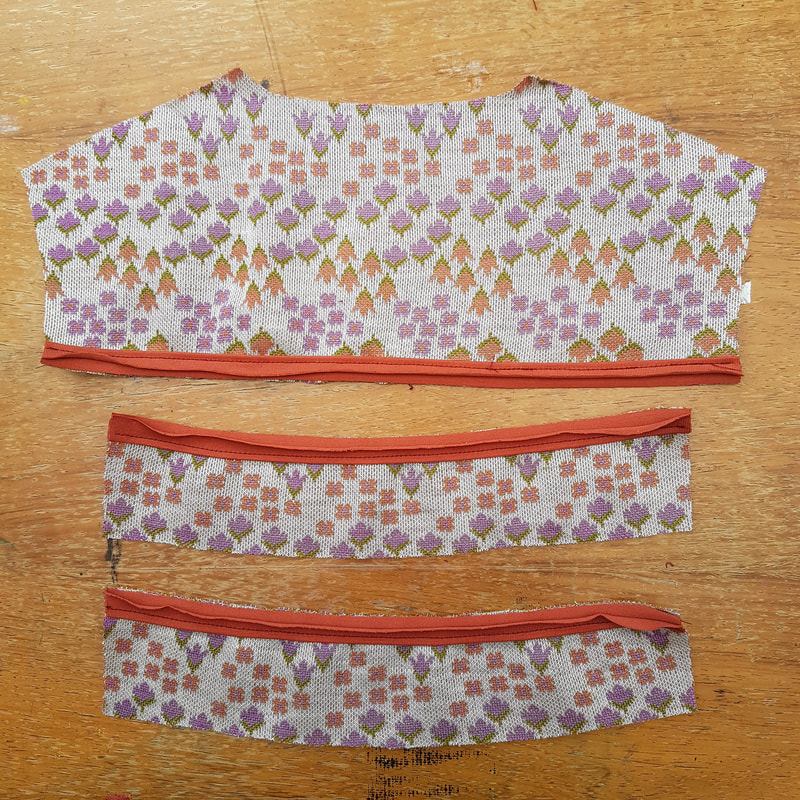
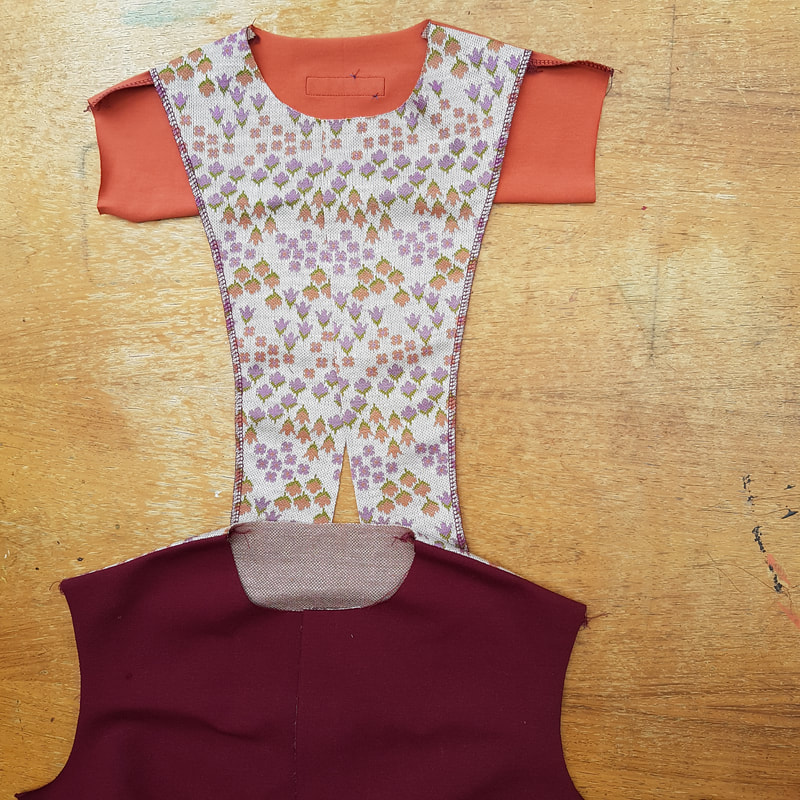
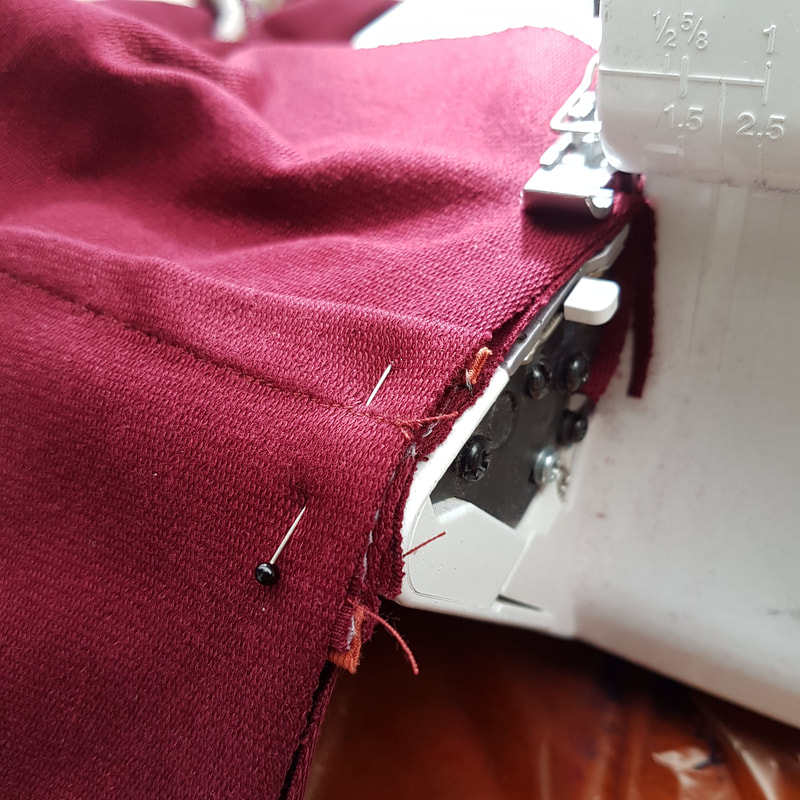
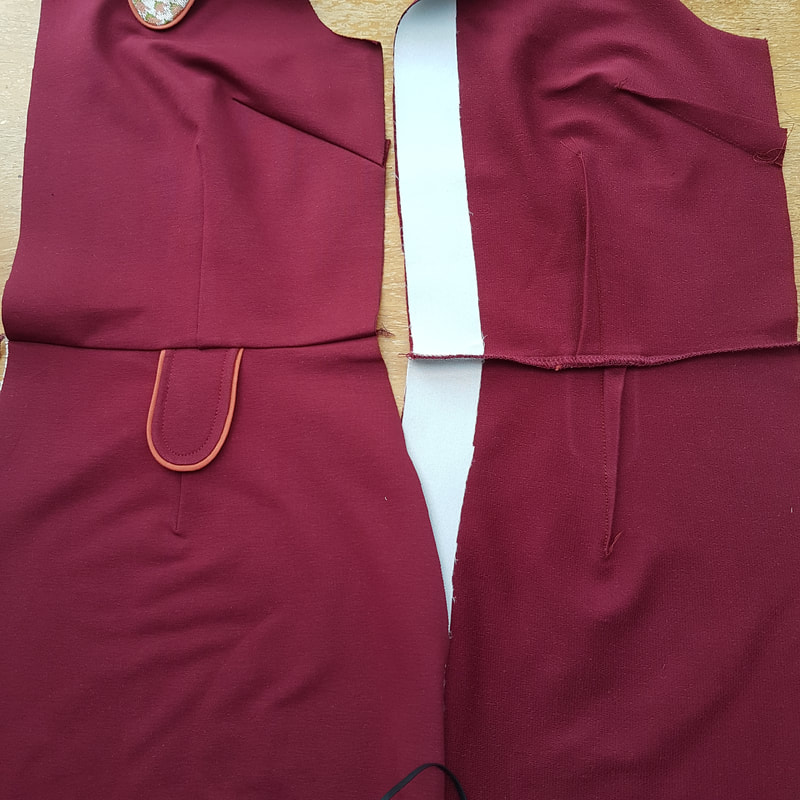
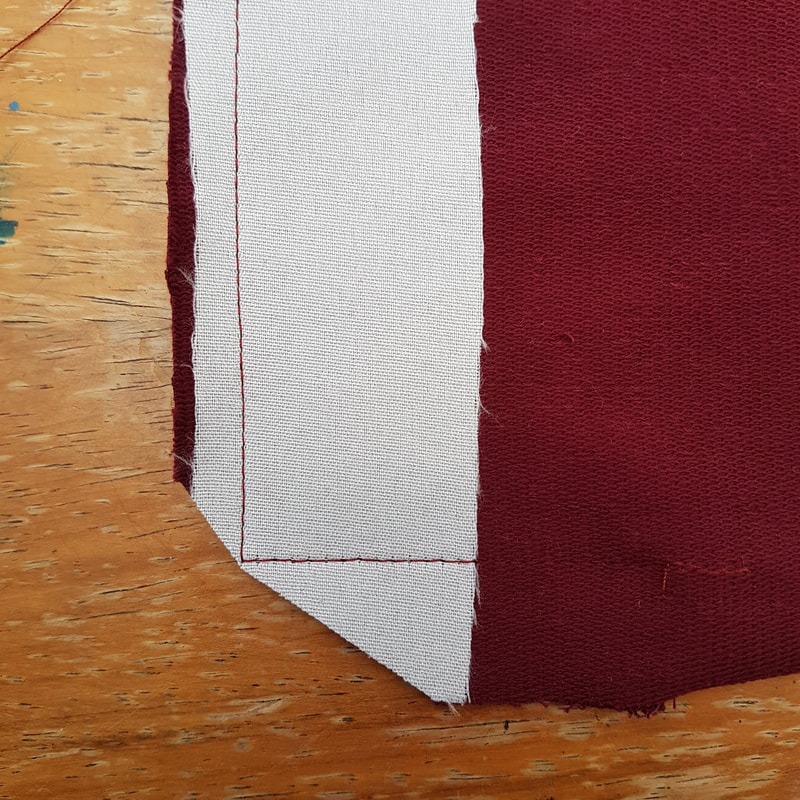
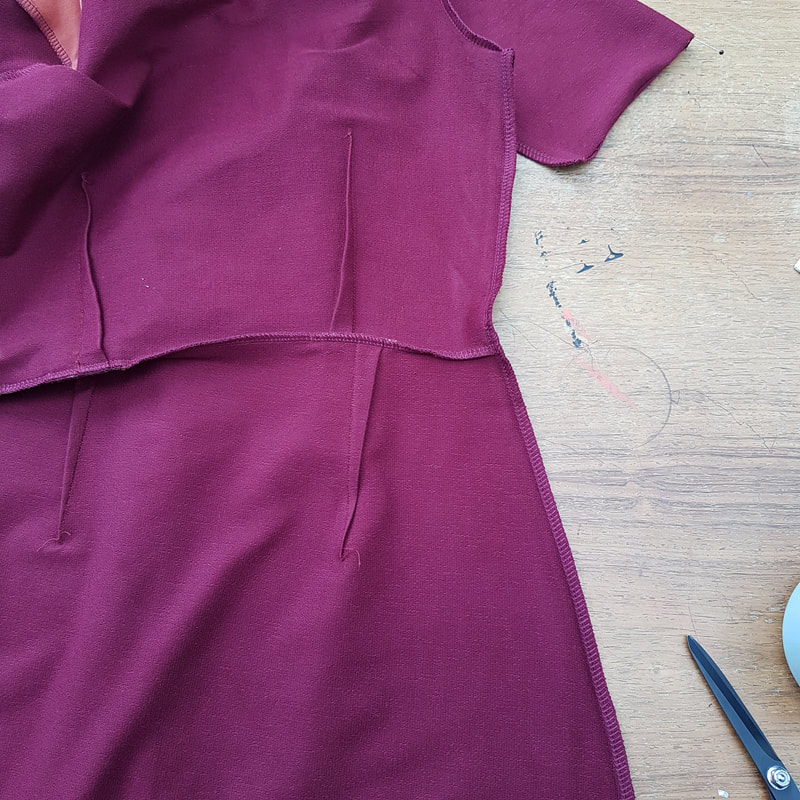
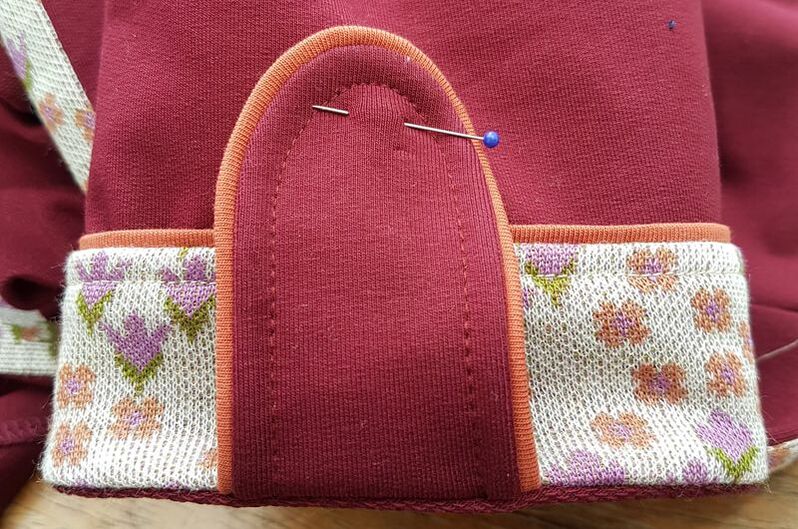
7a. en 7b. Speld de voorpanden tegen de rokpanden (of in het geval van de rok zonder knopen: rokpand) en het achterpand tegen het achter rokpand. De naden van de rok gaan hierbij naar buiten en de naden van het voor-en achterpand gaan naar binnen. Zo heb je geen dikke stukken aan elkaar. Hiertussen stik je de lussen. Stik de delen aan elkaar met de overlock machine op 0,7 cm. Je snijdt daarbij een paar mm. weg. Doe het voorzichtig, de lus mag niet wegschuiven. Eventueel een stuk naaien door alleen te draaien aan het handwiel, zodat je nauwkeurig door het dikke stuk van de lus kunt naaien. Pin the front pieces to the skirt pieces (or in case of the dress without buttons on the skirt: skirtpiece) and the back piece to the back skirt piece. The darts of the skirt have to be folded outwards, the darts of the top have to be folded inwards. This way you don't have two darts on top of one another. Sew the loops In between. Sew the pieces together with the overlock machine on 0.7 cm from the edge. Cut away a couple of mm. Sew carefully, you don't want the loop to move. If needed, sew the loop part bij just using the handwheel, so you will have total control of the thicker area. De voor-en achterkant van het voorpand. The front-and back of the front of the dress. 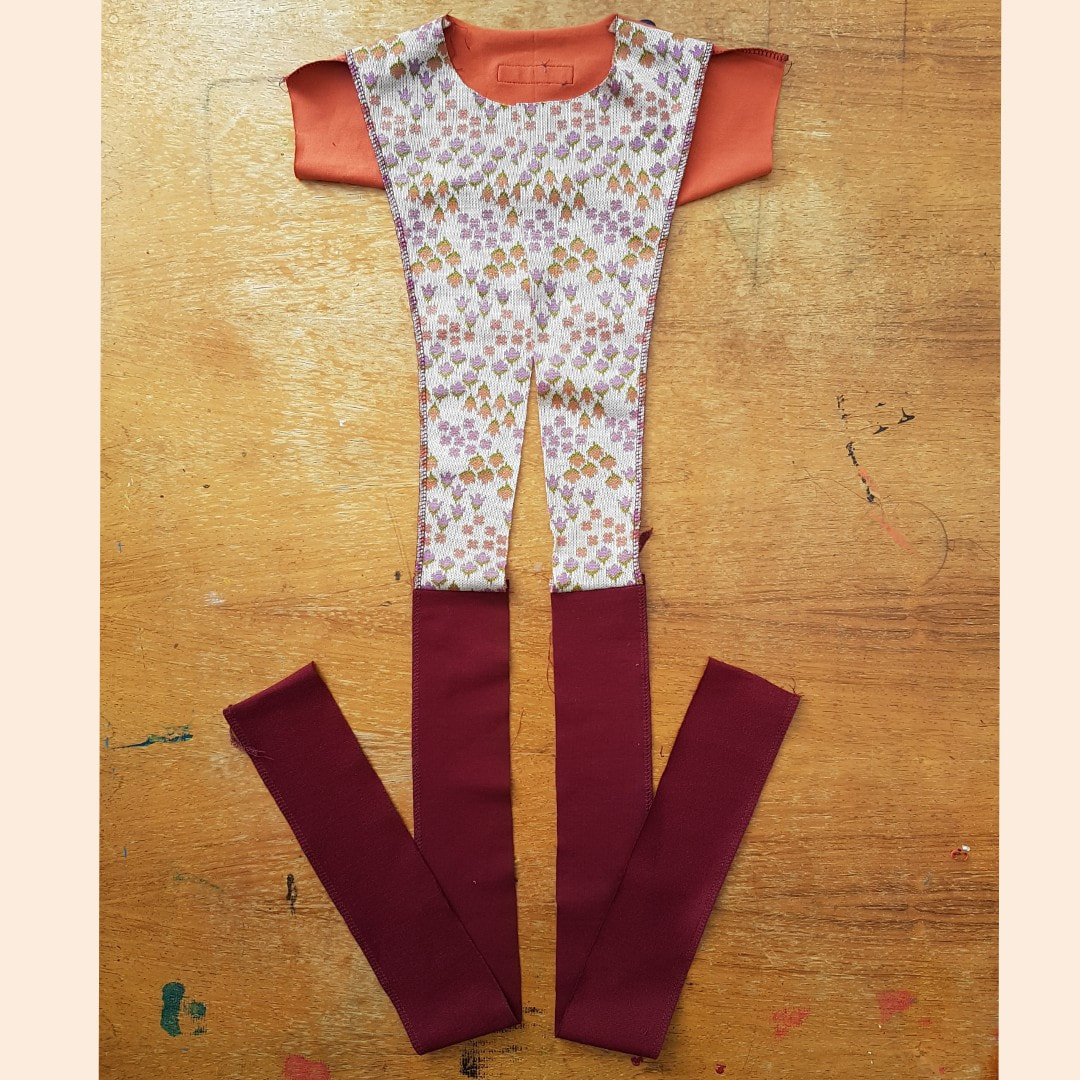 7c. The schoudernaden van het beleg zijn dichtgestikt (zie 6g). Earlier you have sewn the shouder seams of the facing together (see 6g).
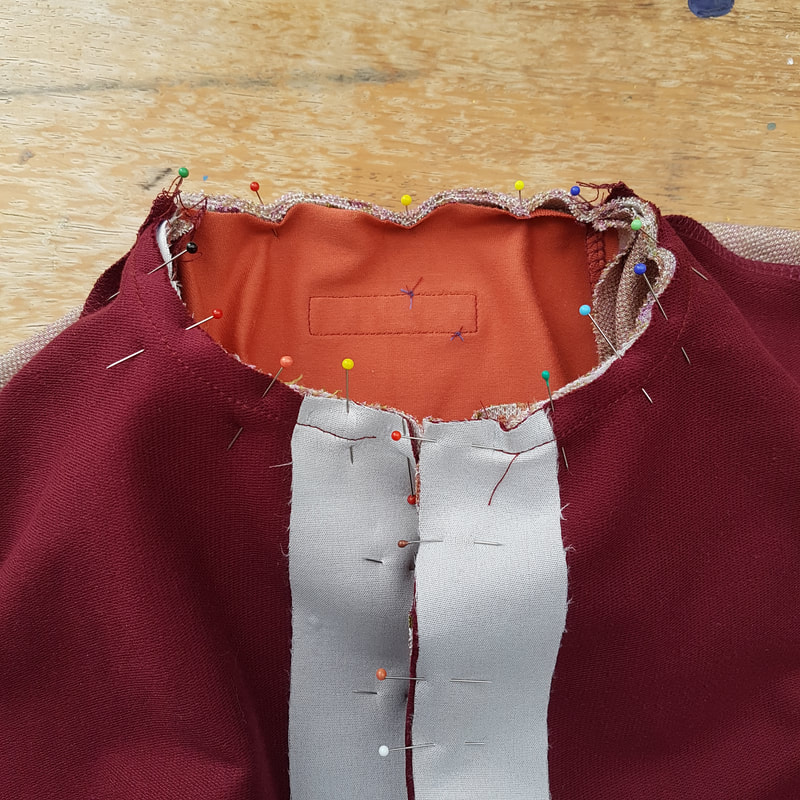
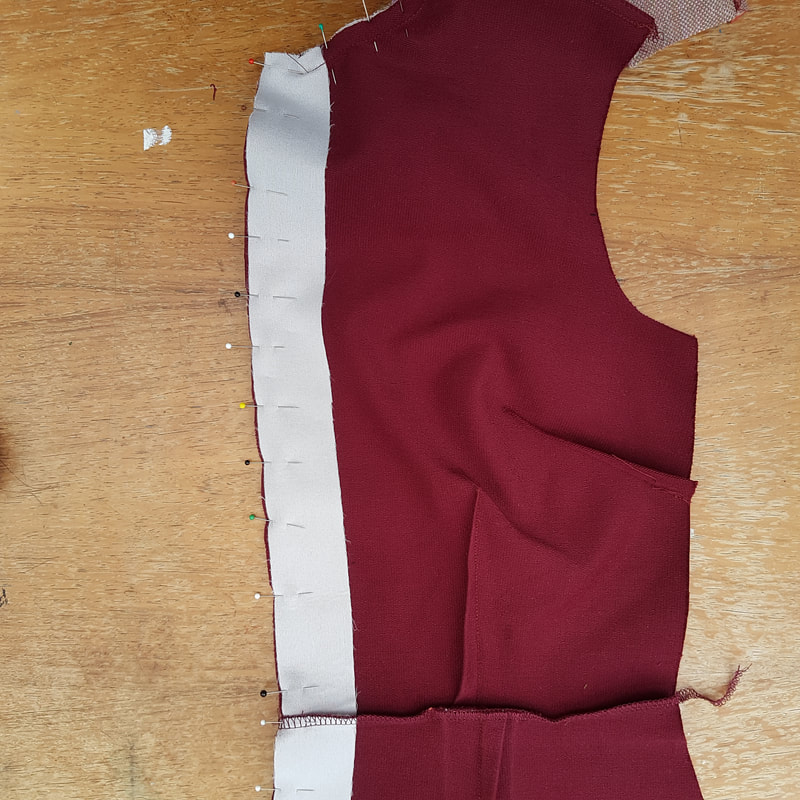
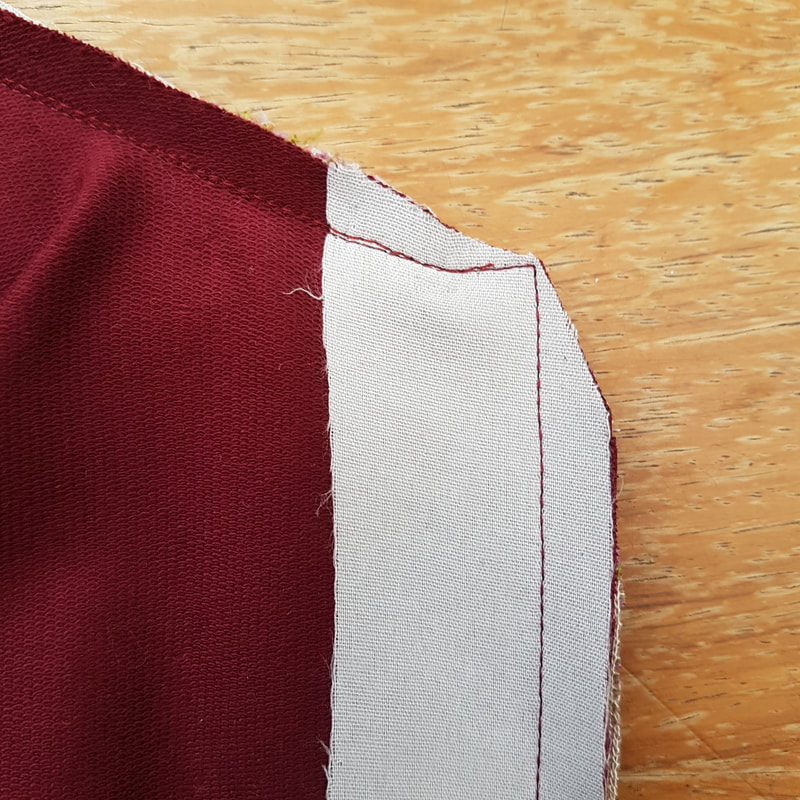
7d. Speld het beleg tegen de middenvoor rand en langs de hals met de goede kanten op elkaar en naai op 1 cm van de kant. Langs de hals kun je het best een stretch steek gebruiken. Pin the facing against the midfront edge and the neck line with the right sides together and sew on 1 cm from the edge. Along the neck it's best to use a stretch stitch.
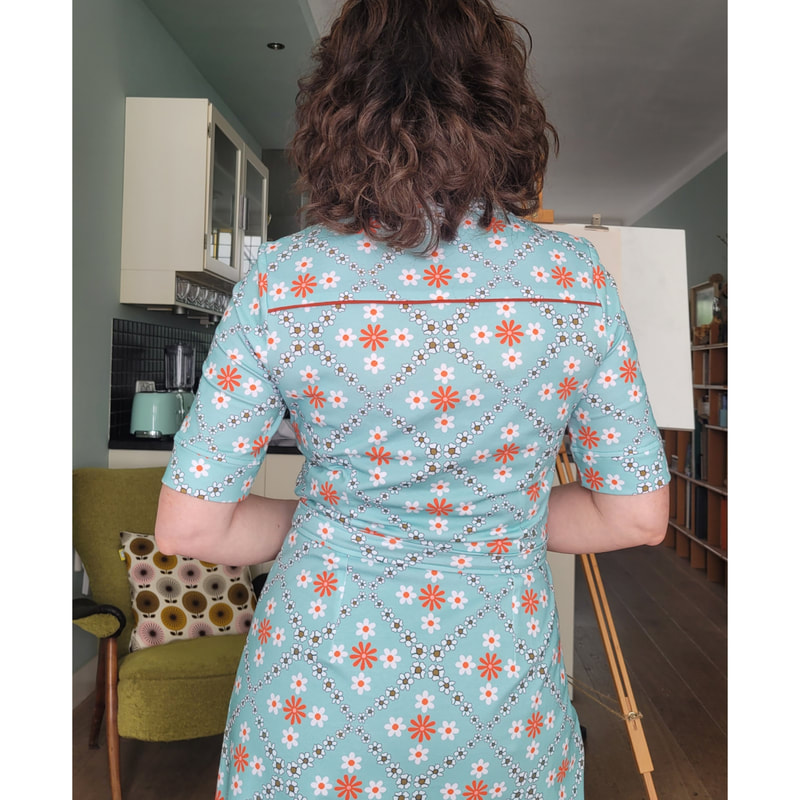
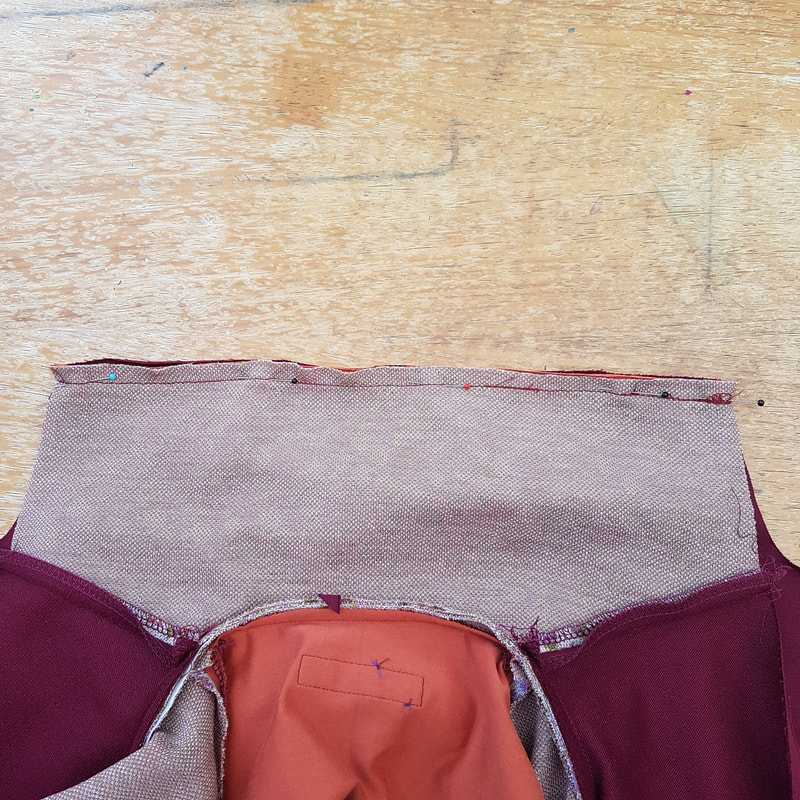
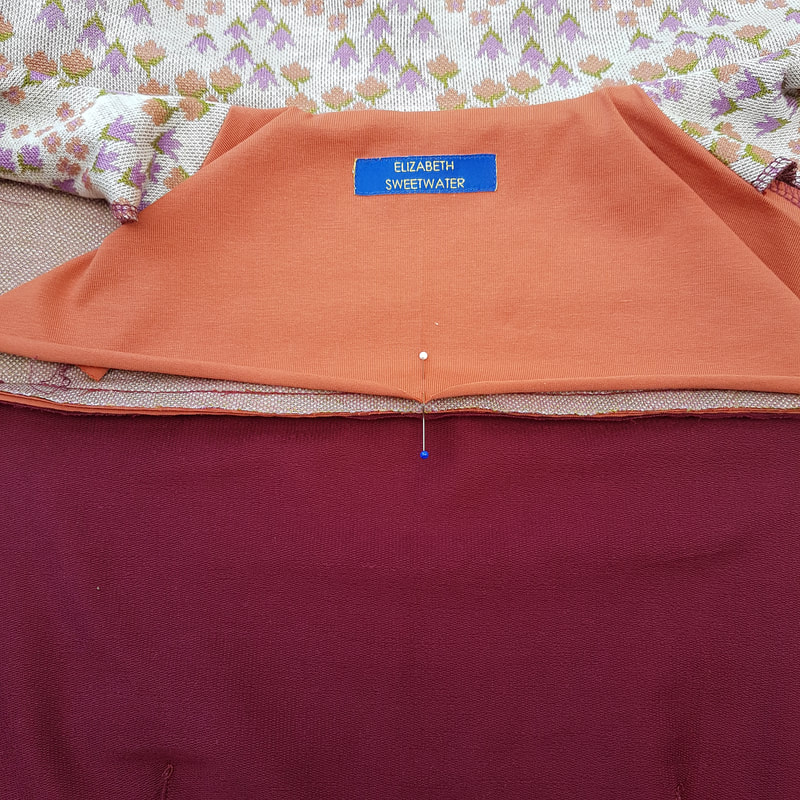
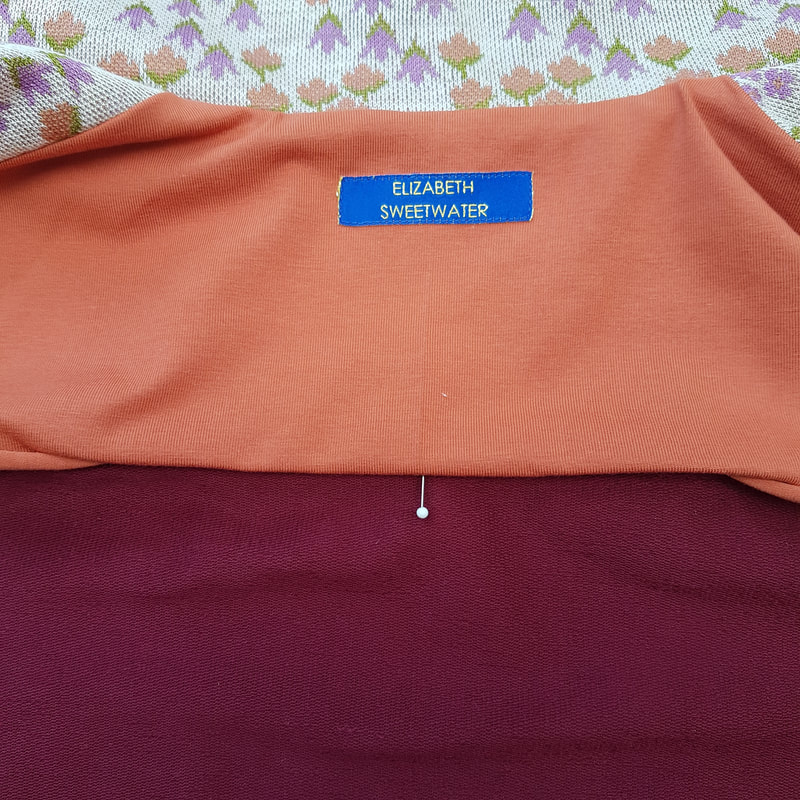
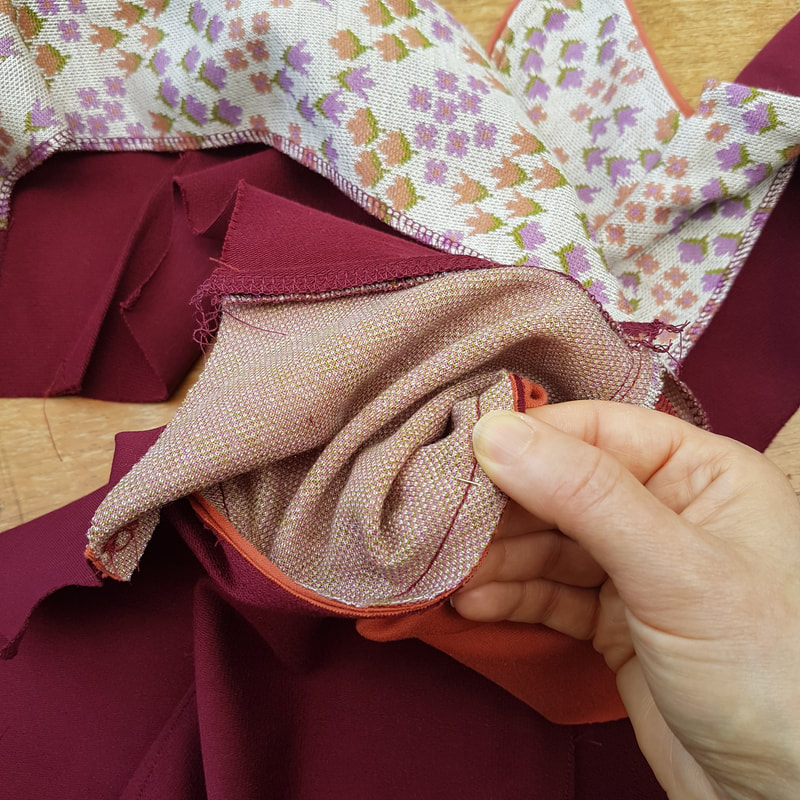
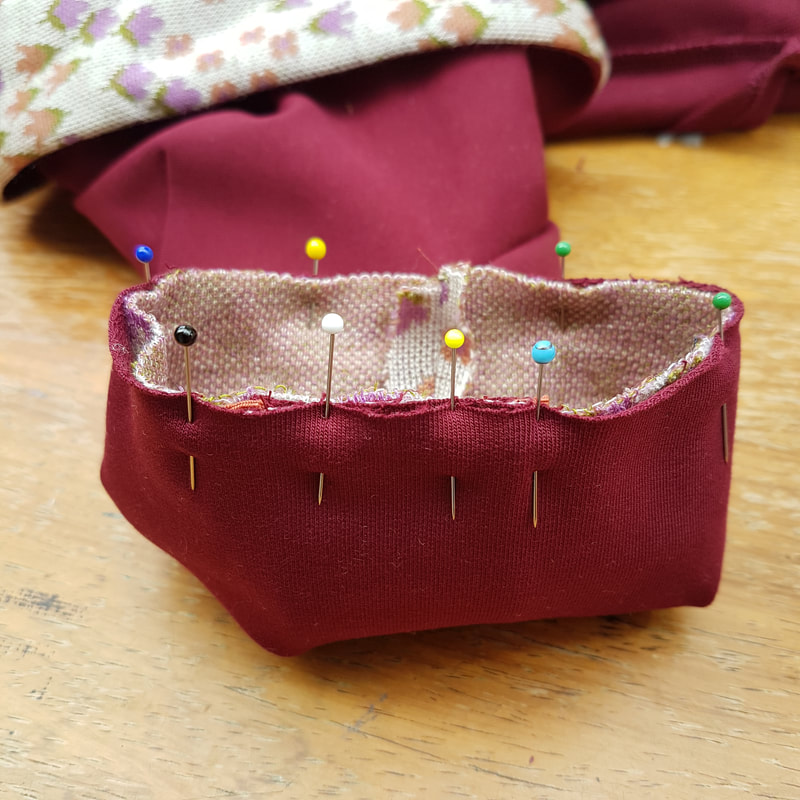
7i. Geef het midden aan van zowel de rugpas als de voering rugpas. Vouw de voering rugpas 1 cm in en leg beide middenpunten op elkaar. Indicate the middle of both back yoke as the back yoke facing. Fold the facing part in 1 cm and line up both middle points.
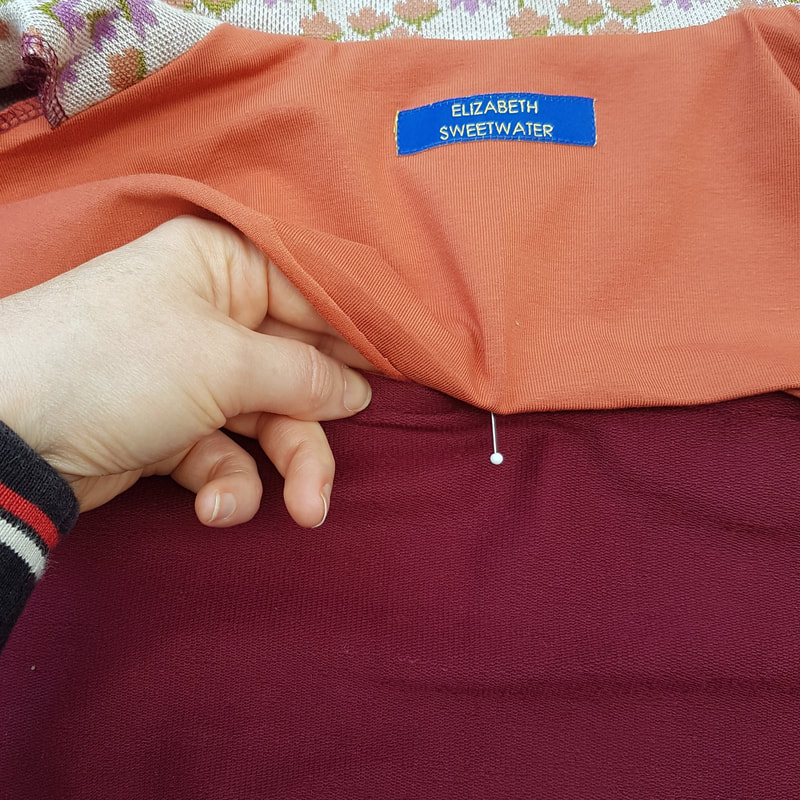
7j. Pak met duim en wijsvinger de twee naden bij elkaar. Pinch with your thumb and indexfinger the seams together.
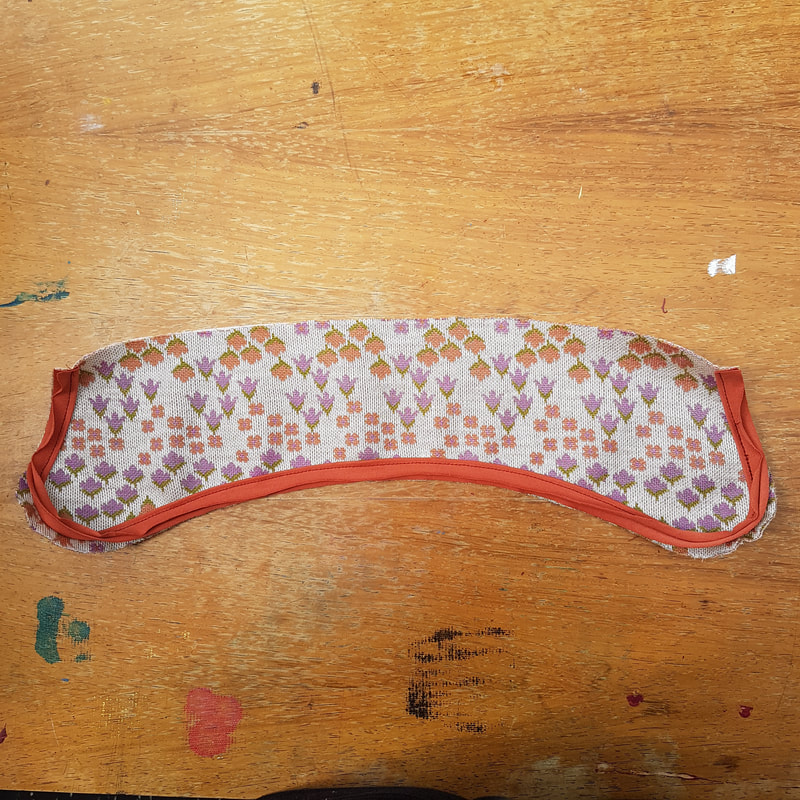
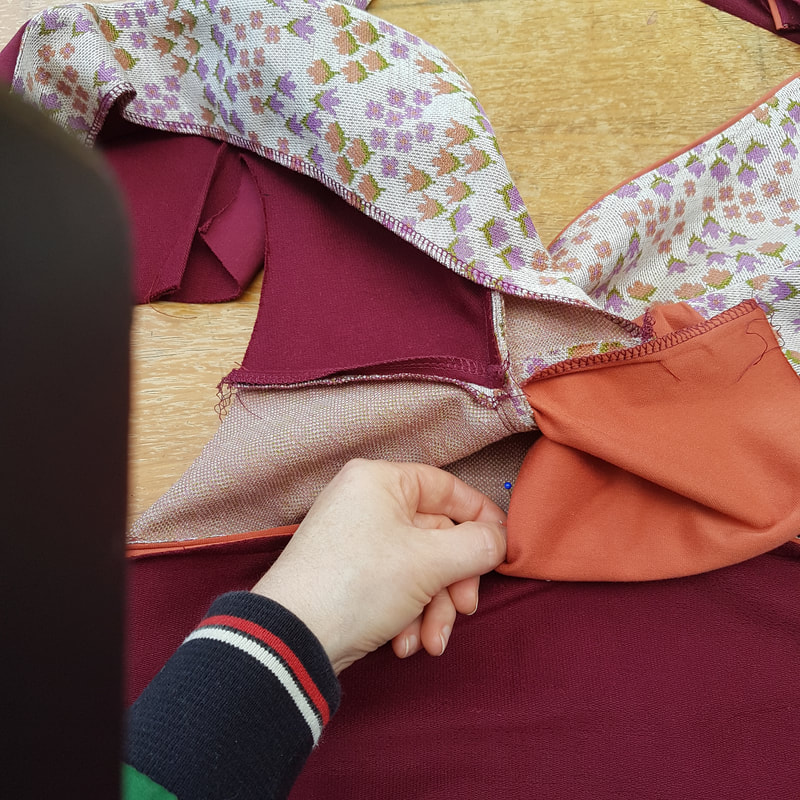
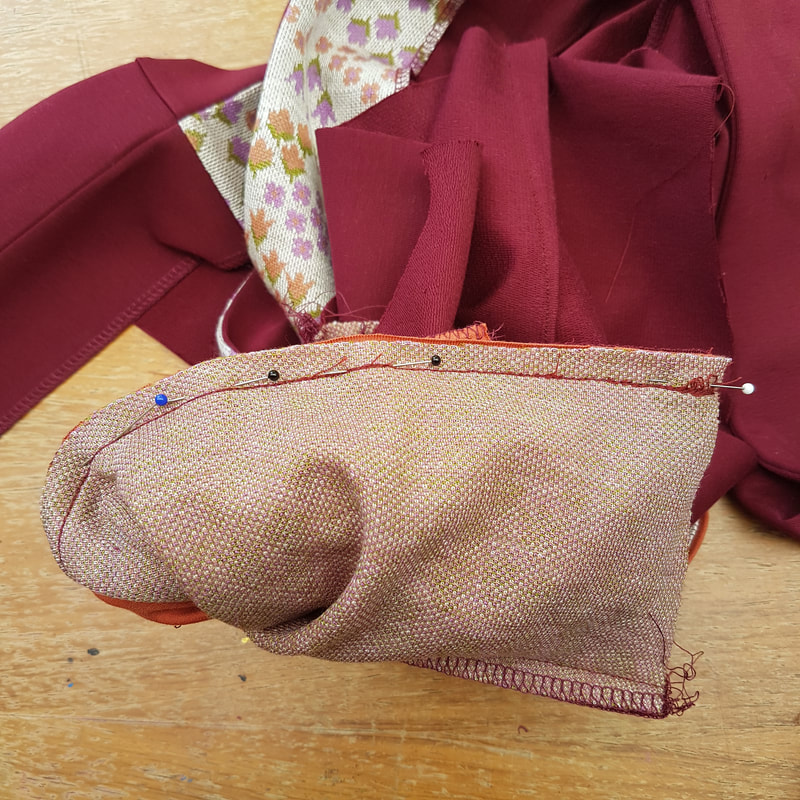
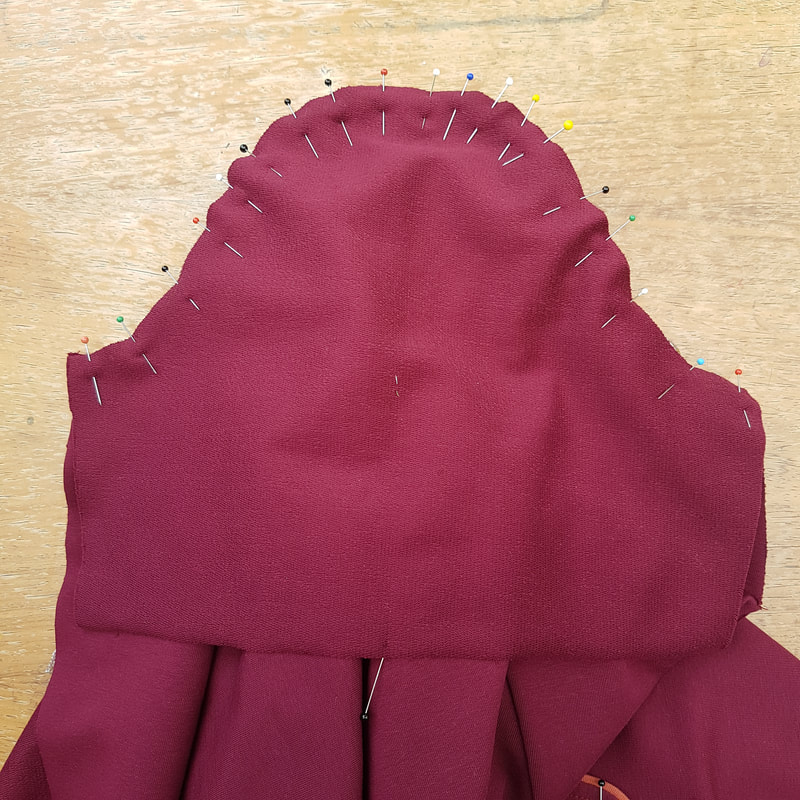
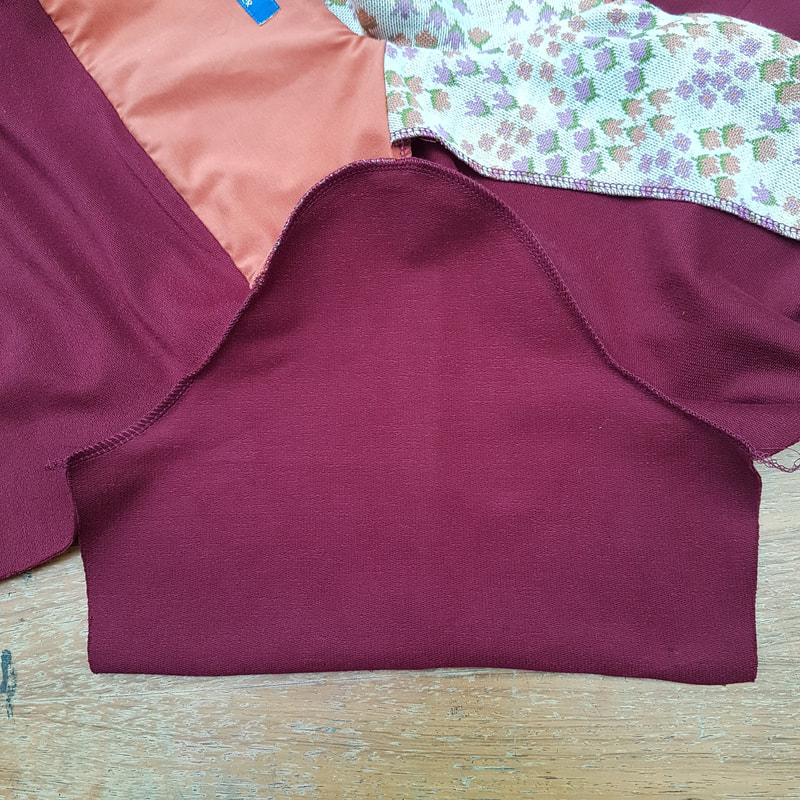
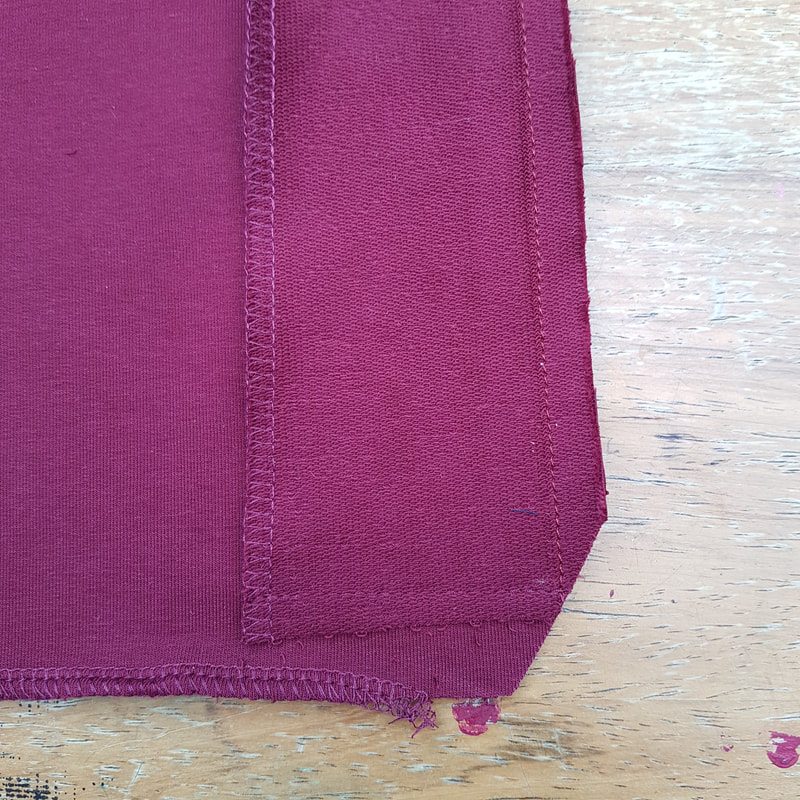
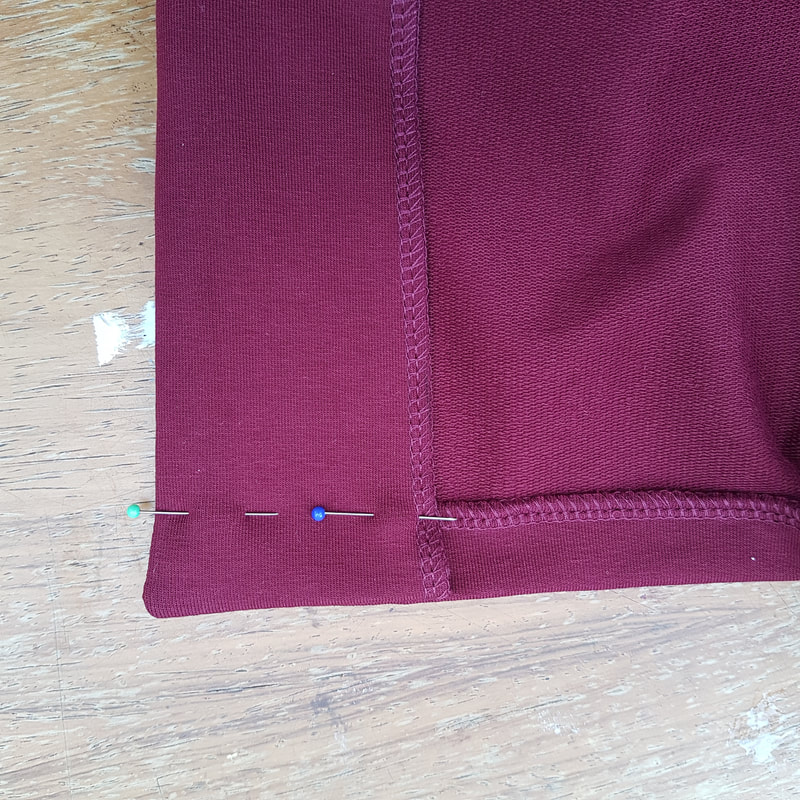
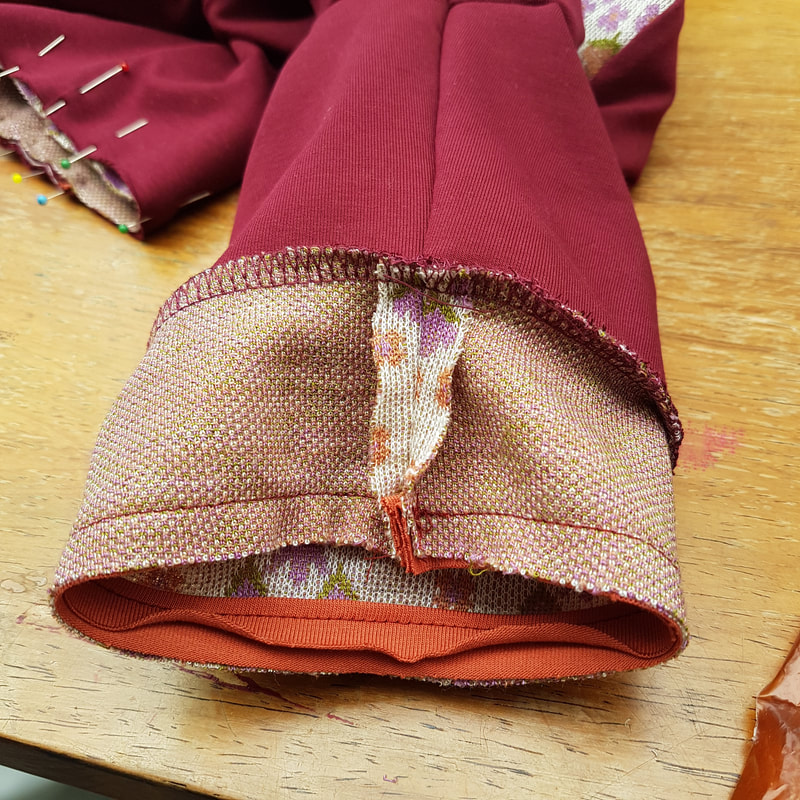
7k. Draai binnenstebuiten zodat je erbij kunt. Begin vanaf middenachter met spelden. Stik de naad met een stretch steek. Turn inside out so you can reach the seam.Pin seam starting from midback. Stitch the seam with a stretch stitch. 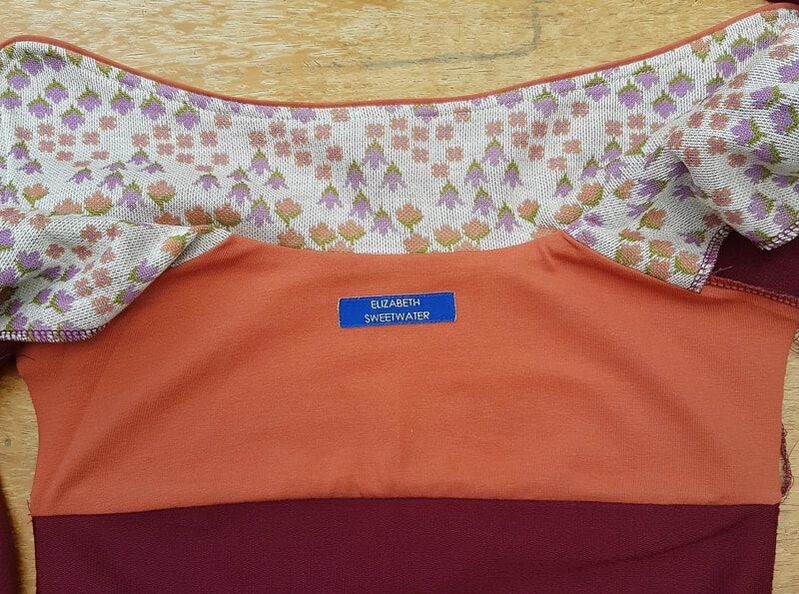 7l. Het beleg is nu aangezet zonder zichtbare naad. The facing is now attached without a visible seam. 8. Mouwen, zijnaden en zoom Sleeves, sideseams and hem
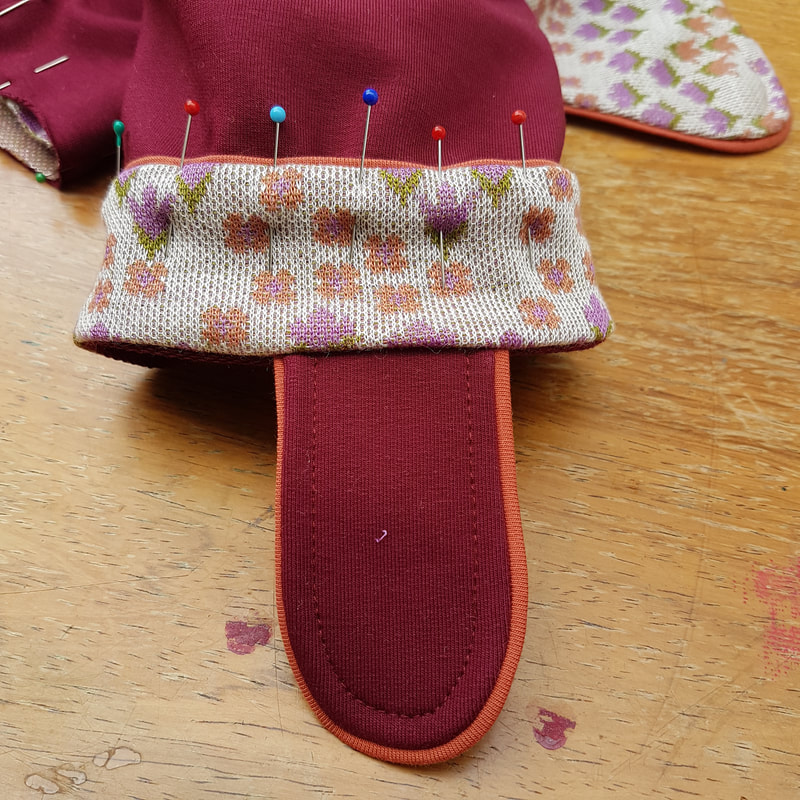
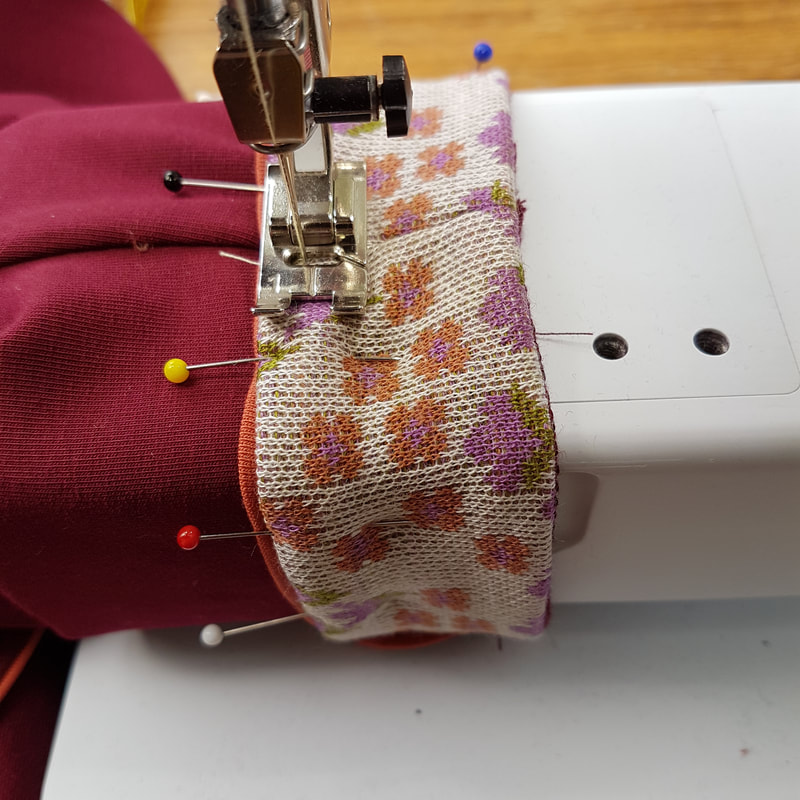
9. Mouwafwerking Finishing of the sleeve
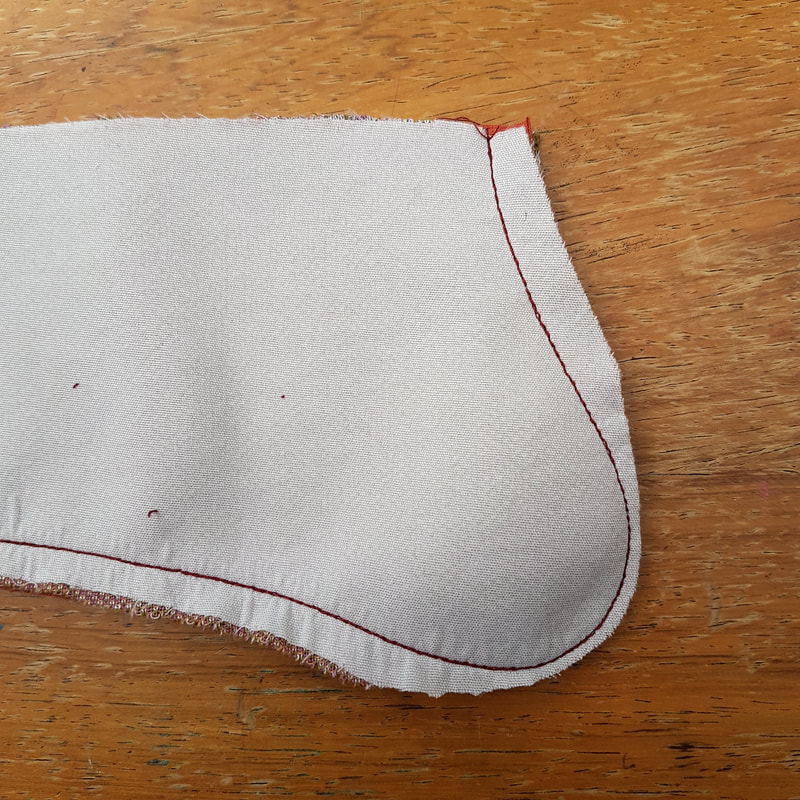
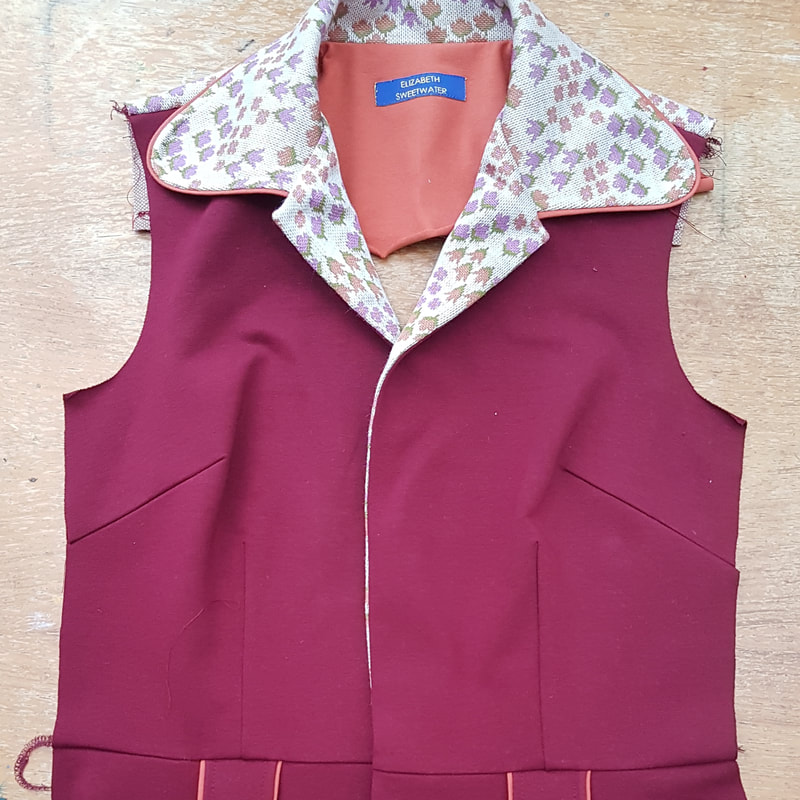
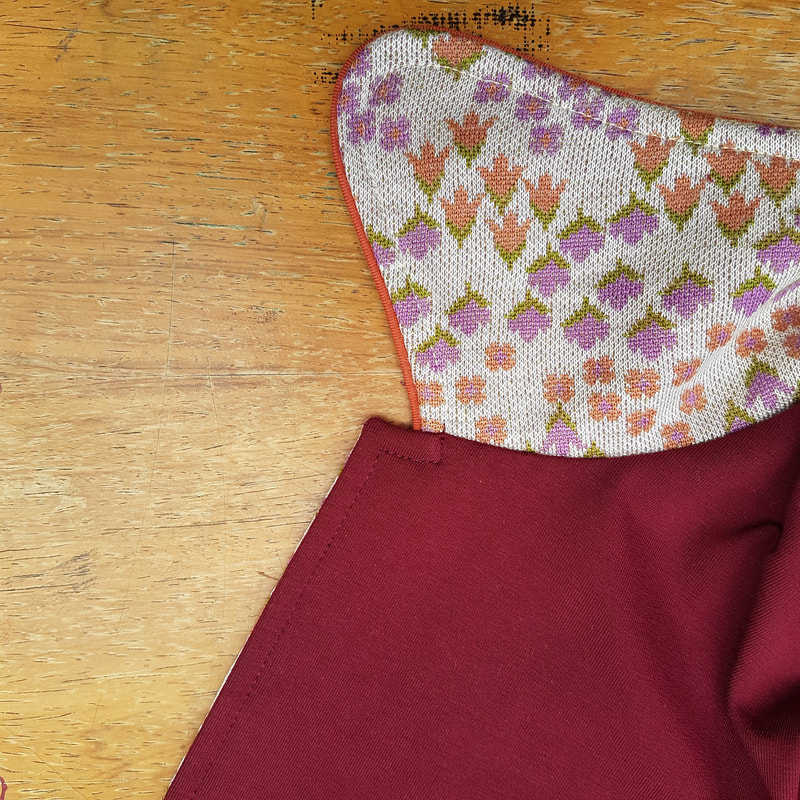
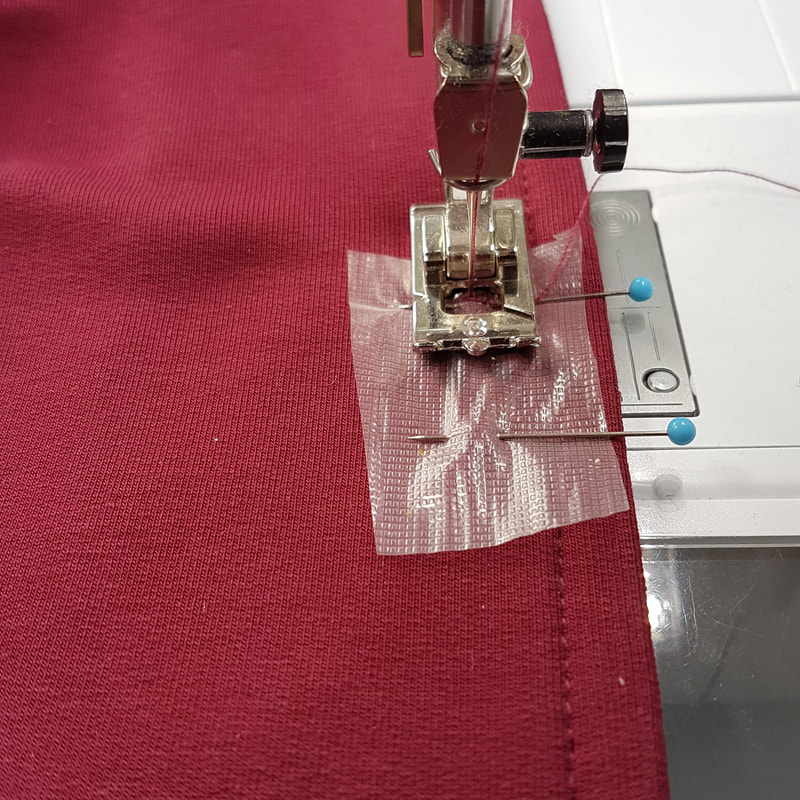
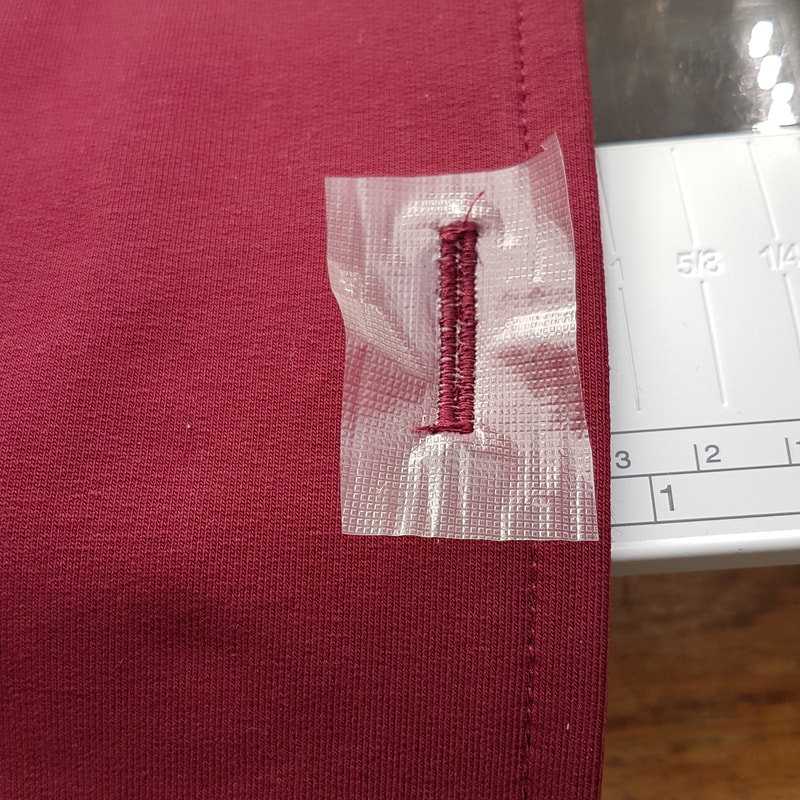
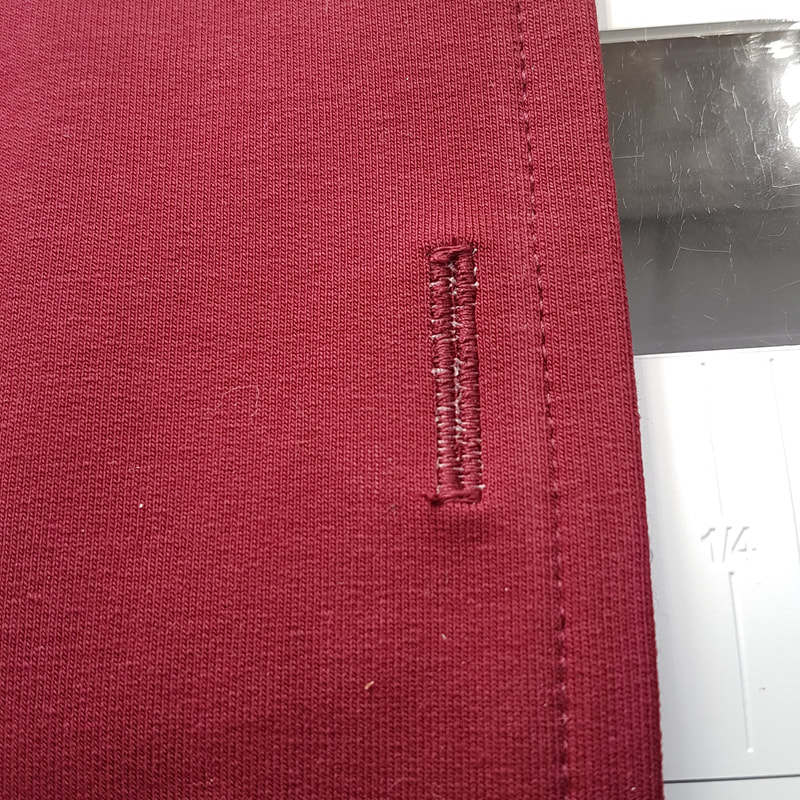
 9e. Zo ziet het eruit als het klaar is. This is what it looks like when finished. 10. Ceintuur en knoopsgaten Belt and buttons
Nu de jurk netjes strijken en ze is klaar! Give your dress a final press and she's finished! 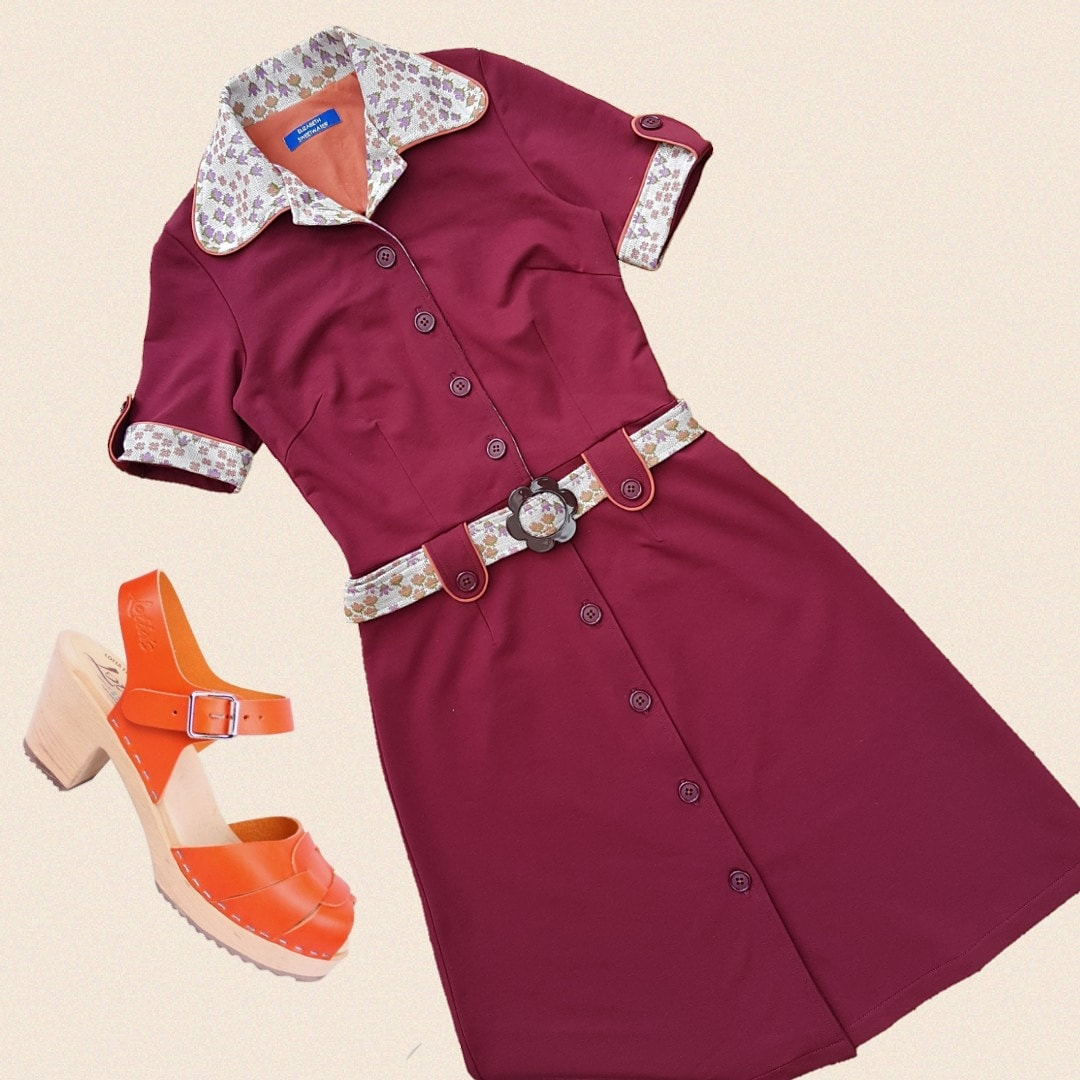 Comments are closed.
|

For all the latest patterns to buy visit my Etsy shop today.
|